How to Clean Sticky Wood Kitchen Cabinets: A Step-by-Step Guide
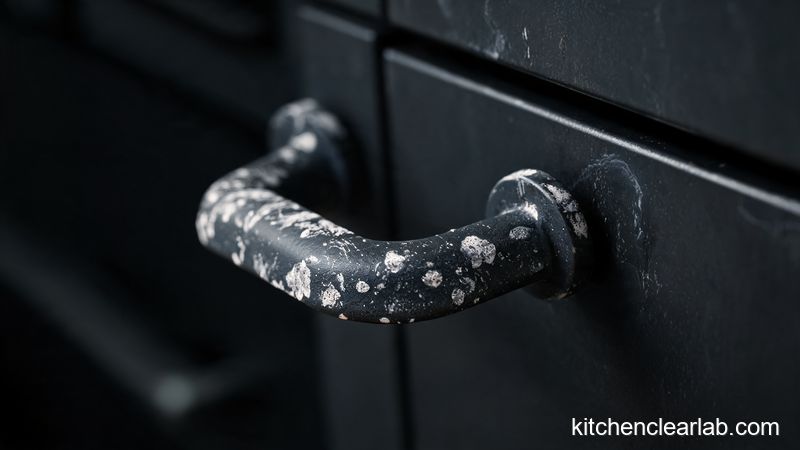
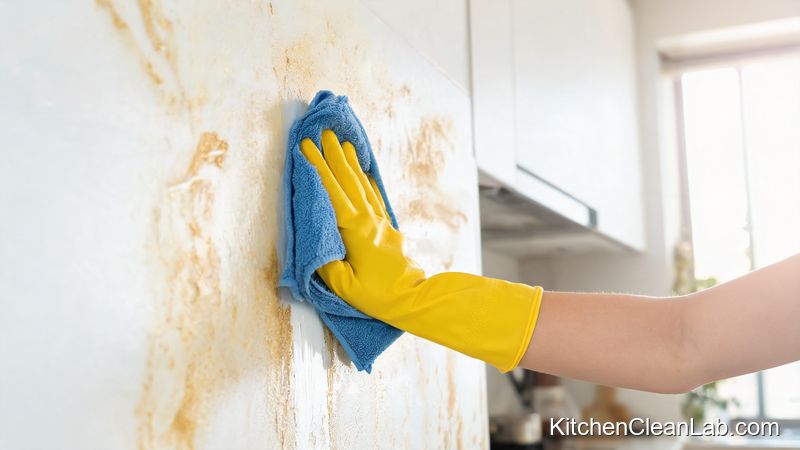
If your wood kitchen cabinets feel tacky, grabby, or faintly gummy when you run a hand across them, you are not dealing with ordinary dust. You are touching a layer of aerosolized cooking grease that has bonded with dust, moisture, and airborne food particles into a sticky film that keeps attracting more grime. It is one of the most common kitchen clean frustrations, and it gets worse in kitchens with weak ventilation or cabinets positioned close to the range.
The good news: sticky residue comes off with supplies you already own, and you do not need a harsh degreaser. The bad news: the wrong product or too much water can compromise a factory finish, and the damage often shows up weeks later, long after you have forgotten which spray bottle you used.
This guide covers the exact method cleaning pros and wood specialists recommend for cleaning sticky wood kitchen cabinets — including a gentle dish soap solution, the baking soda paste trick for stubborn spots, a quick-reference table, and the mistakes that quietly destroy cabinetry.
Quick Answer: Best Method by Situation
Not every sticky cabinet needs the same treatment. Use this table to pick the gentlest method that will actually work, then follow the step-by-step instructions below.
| Situation | Best Method | What to Avoid |
|---|---|---|
| Light, weekly grease film | 2–3 drops of mild dish soap in 2 cups of warm water | Soaking the wood or letting it air dry |
| Tacky film on cabinets beside the stove | Dish soap solution, then a diluted vinegar wipe (1 part vinegar to 4 parts water) | Undiluted vinegar or repeated acidic wiping |
| Hard, gummy spots and crevices | Baking soda and water paste applied with a soft toothbrush | Scouring pads, steel wool, aggressive scrubbing |
| Antique, painted, or delicate finishes | Diluted mild soap only, after testing a hidden spot | All-purpose degreasers and alkaline cleaners |
| After every wash | Immediate buff-dry with a soft microfiber towel | Leaving water to sit on joints and edges |
Why Wood Kitchen Cabinets Get Sticky in the First Place
When fats and oils are heated, they do not stay in the pan. They aerosolize into microscopic droplets that ride air currents around the room. Your range hood captures some of them; the rest settle on the nearest vertical surfaces — usually the cabinet doors flanking the cooktop. Add household dust and ambient humidity and the grease oxidizes into a tacky, varnish-like film.
Once that film exists, it behaves like flypaper. Flour dust, pet hair, and cooking spray overspray all stick to it, which is why the problem seems to accelerate over a few months instead of building up gradually. Cabinets with oil-based or low-sheen finishes, older stained doors, and painted cabinets are the most vulnerable, because their surfaces are slightly more porous or easier to damage.
What You Actually Need (Skip the Gadgets)
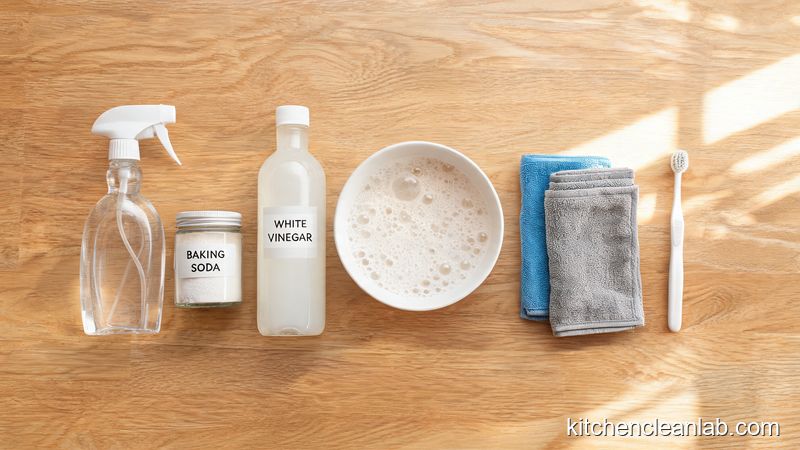
- Mild liquid dish soap — a grease-cutting formula works well and stays gentle on finishes
- Warm water — warm, never hot enough to soften the finish
- Two or three soft microfiber cloths — one for washing, one for rinsing, one for drying
- A soft sponge — the non-scratch side only
- A soft-bristle toothbrush — for grooves, raised panel edges, and hardware
- Baking soda — for stubborn tacky patches
- Distilled white vinegar — used sparingly and always diluted
- A spray bottle — for a light vinegar rinse
- A dry lint-free towel — for immediate drying
- Optional: a wood-specific oil soap such as Murphy Oil Soap or Weiman Wood Cleaner for periodic conditioning
Step-by-Step: Cleaning Sticky Wood Kitchen Cabinets
Step 1: Empty the Doors and Dust From the Top Down
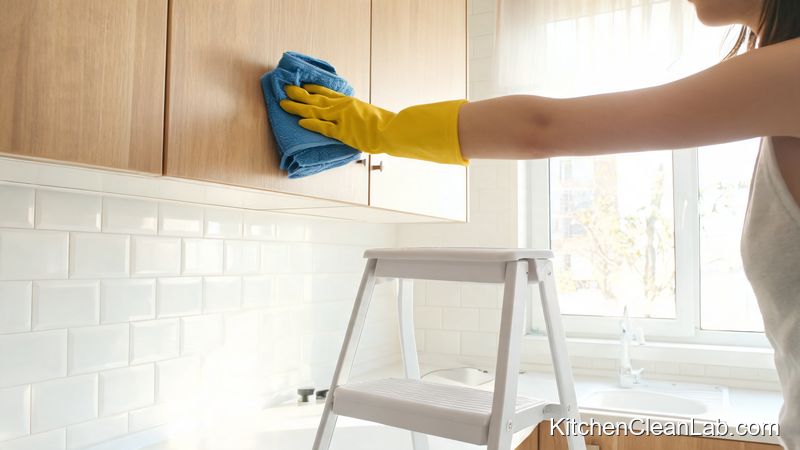
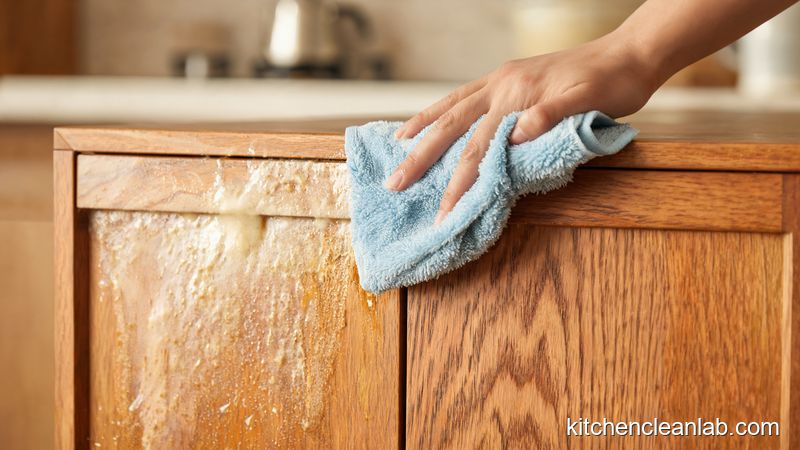
Clear countertop items that might splash, and remove anything resting against the doors. Before any liquid touches the wood, wipe the cabinet faces with a dry microfiber cloth, working from the top of the upper cabinets downward. Dry-dusting first prevents you from smearing loose debris into a paste that then dries in the crevices.
Step 2: Test a Hidden Spot First
Choose an inconspicuous area — the inside face of a door, the underside of a shelf, or the side of a cabinet run against a wall. Apply your cleaning solution there, wait a few minutes, and wipe dry. Check for dulling, cloudiness, tackiness, or color lift. If the finish reacts at all, stop and switch to plain water with a single drop of soap.
Step 3: Mix a Gentle Degreasing Solution
Add 2 to 3 drops of mild dish soap to roughly 2 cups of warm water. That is the entire formula — more soap does not mean more cleaning power, it just leaves residue that attracts new dust. If you prefer a spray bottle, mix 1 teaspoon of dish soap per quart of warm water and shake gently.
Step 4: Wipe With a Damp — Not Wet — Cloth
Dip your microfiber cloth, then wring it out until it is barely damp. Water is one of the most underrated threats to wood cabinetry: repeated moisture causes the wood fibers beneath the finish to swell, which eventually lifts or bubbles the finish. Keep the cloth dry enough that no water trails behind it.
Work in small sections, following the grain where possible, using light pressure and no more than two or three passes per area. Pay extra attention to the zone within arm's reach of the stove, plus the top edge of doors and the area around handles, where hands transfer oils.
Step 5: Rinse With a Diluted Vinegar Solution (Optional)
To remove soap residue, mix roughly 1 part distilled white vinegar to 4 parts water and lightly mist a clean cloth — not the cabinet. Wipe once, then move on. Vinegar is acidic and effective at cutting the last trace of grease, but it can damage wood finishes if it is used undiluted or on every cleaning. Reserve it for greasy cabinets, and skip it entirely on high-gloss or lacquered doors.
Step 6: Dry Immediately
Follow immediately with a dry, soft microfiber towel or lint-free cloth. Do not let the cabinets air dry. Buffing the surface dry prevents streaks, stops water from seeping into seams, and leaves the finish looking even rather than patchy. Edges and joints matter most, because that is where the finish is thinnest and water damage starts first.
Step 7: Clean the Hardware Separately
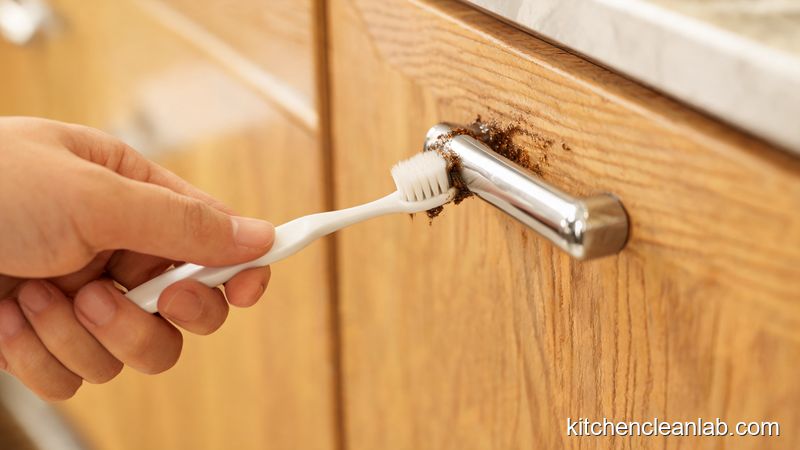
Handles and knobs hold more grease than the doors themselves because hands transfer oil to them every day. Wipe metal hardware with the same soapy solution and a soft cloth. If the hardware is removable, taking it off makes the job faster and prevents drips from running down the cabinet face. Dry each piece before reinstalling.
The Baking Soda Paste Method for Hard Sticky Spots
When a patch near the range hood or above the cooktop has cured into something closer to glue than grease, a mild soap solution may not be enough. This is where baking soda earns its reputation.
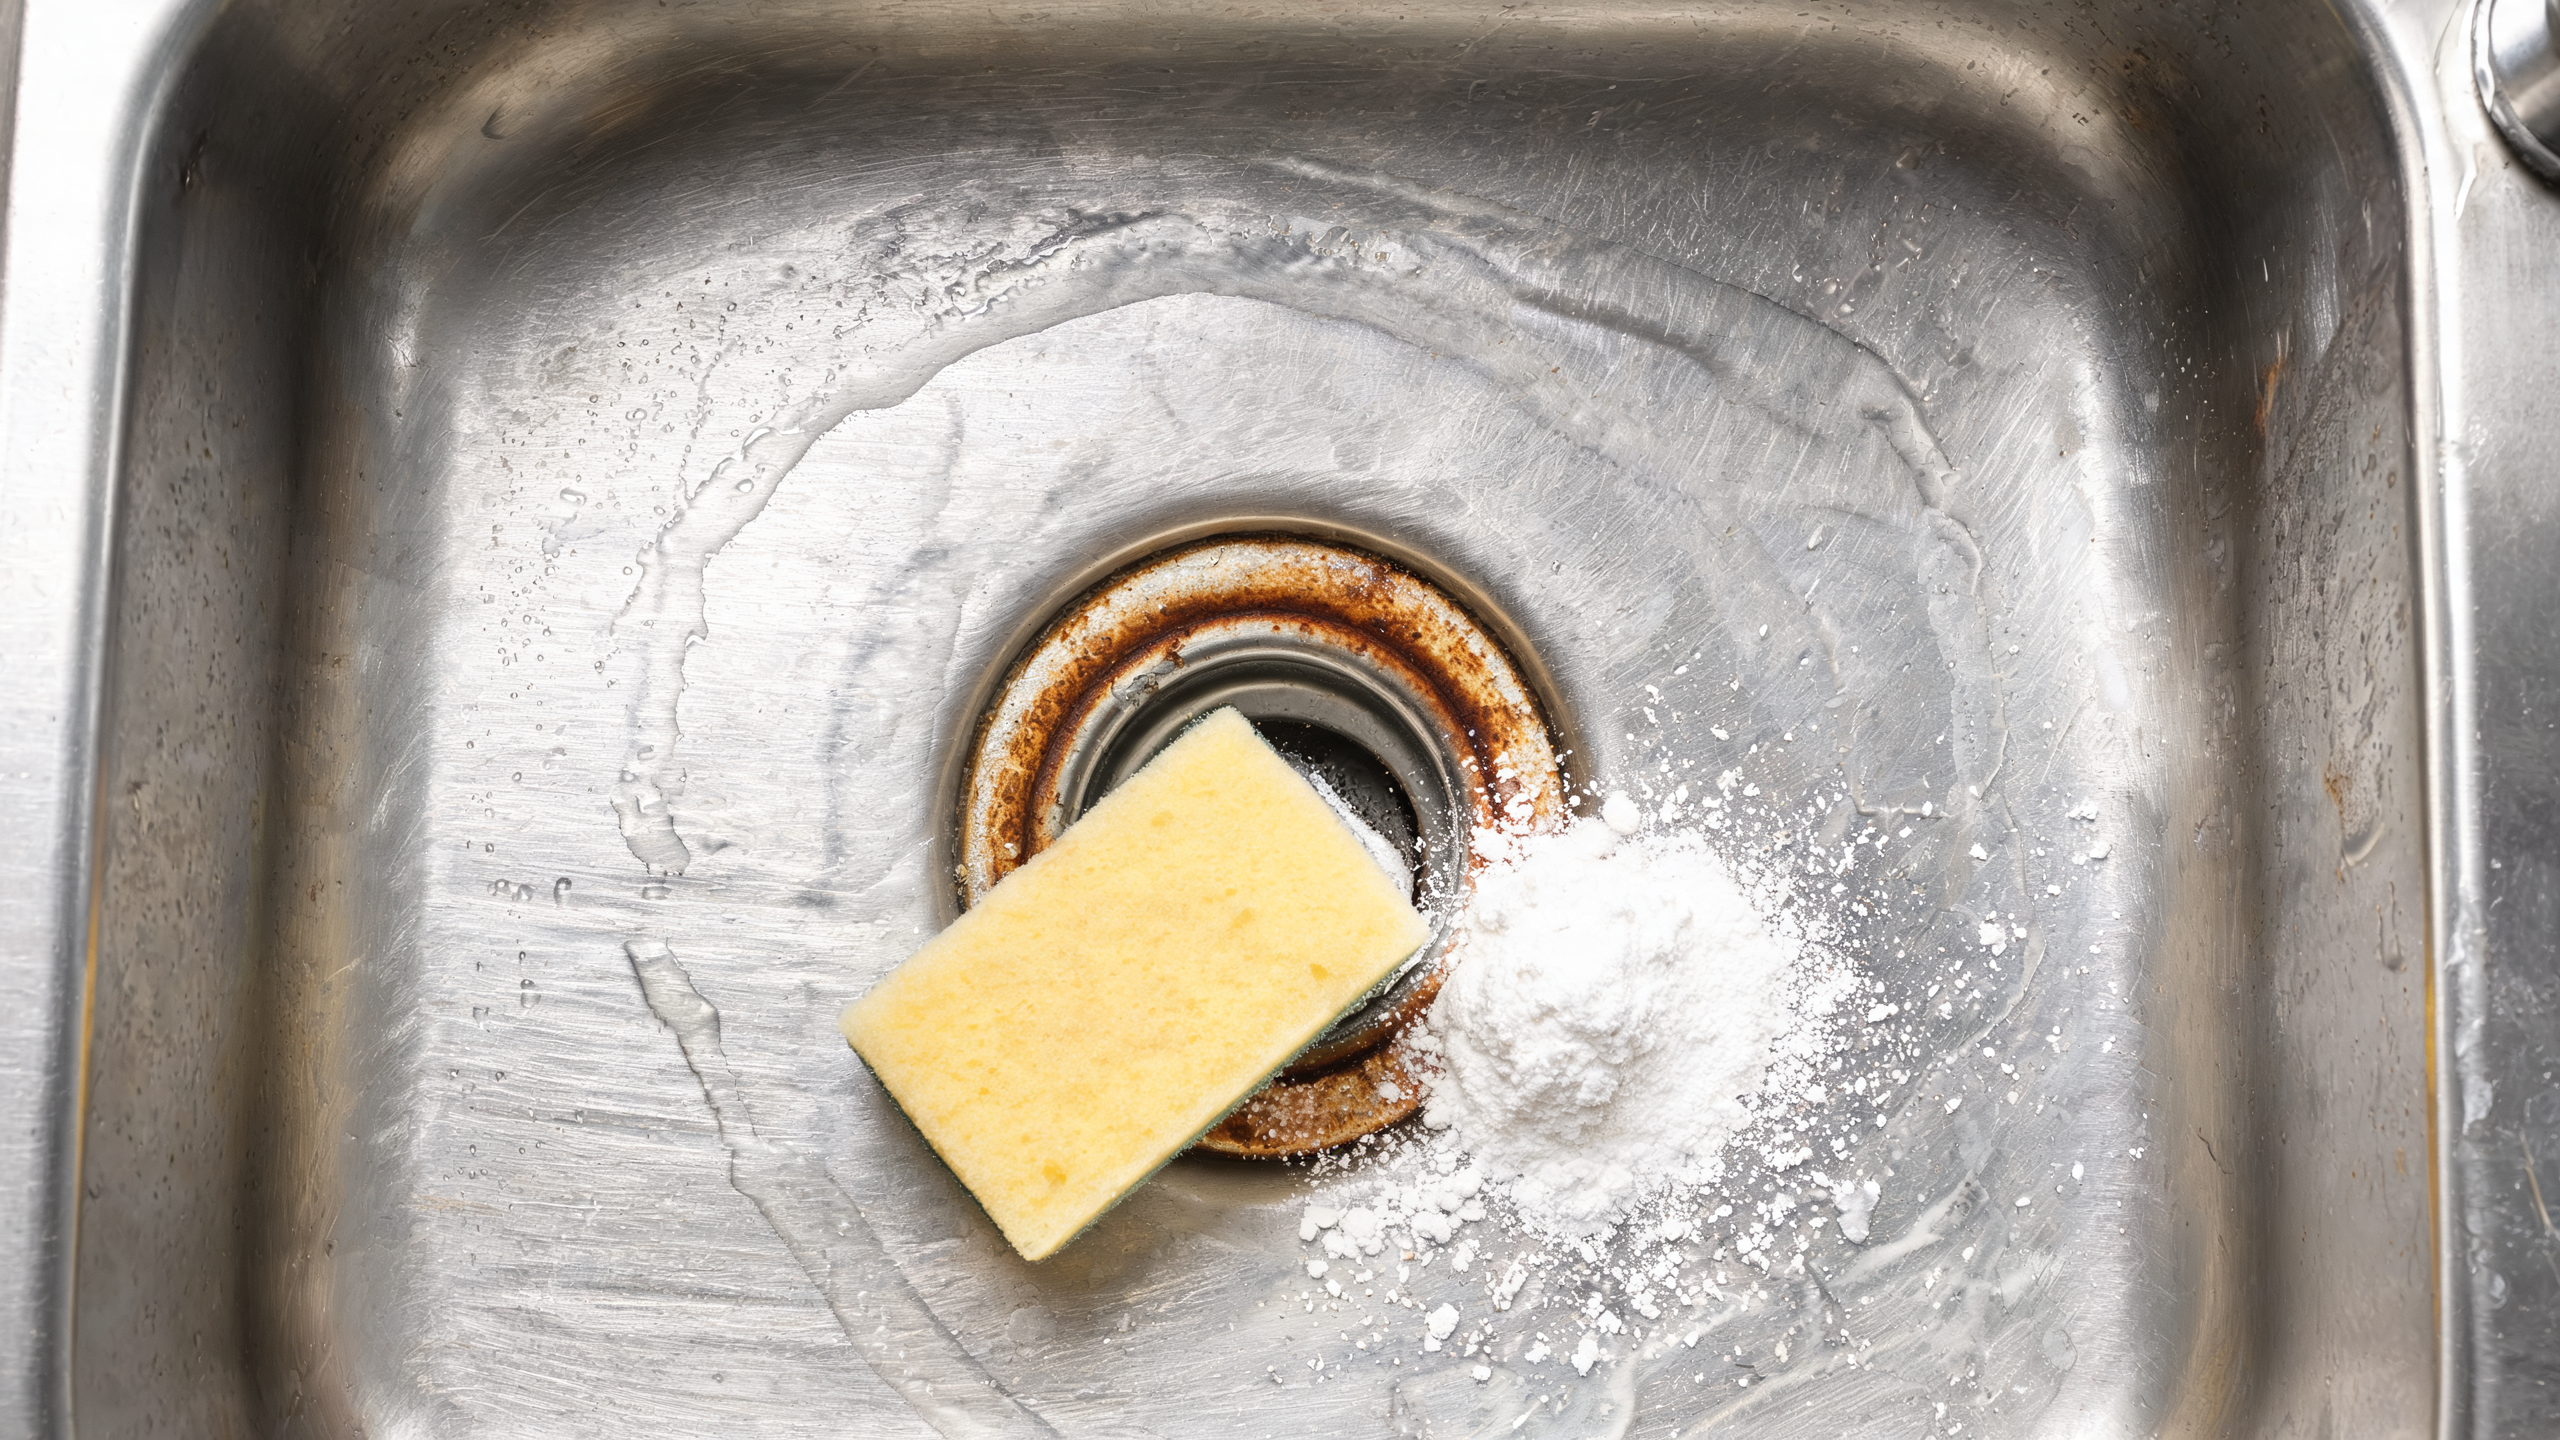
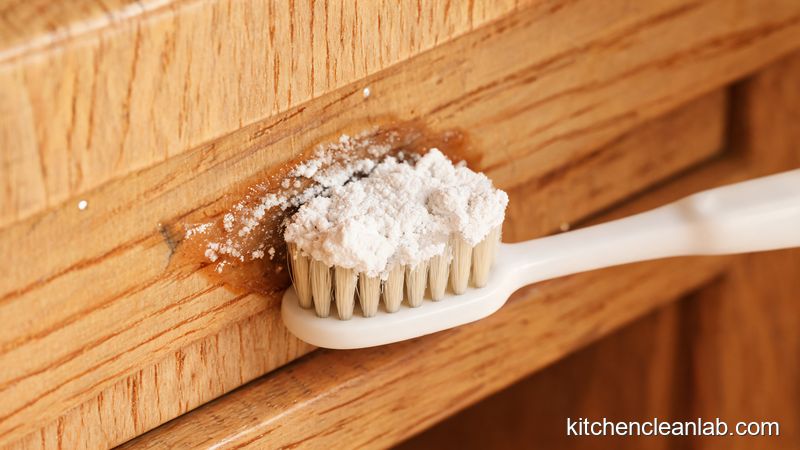
- Mix 3 parts baking soda with 1 part warm water until you have a thick paste — peanut butter consistency, not runny.
- Apply the paste to the sticky area with your fingers or a soft cloth.
- Let it sit for 2 to 3 minutes. The mild alkalinity helps break the grease bond so you do not have to scrub harder.
- Work the paste in with a soft-bristle toothbrush using gentle circular motions. Do not press hard and do not use a scouring pad. Baking soda is a mild abrasive, and aggressive scrubbing can dull the sheen or scratch the finish.
- Wipe the paste away with a clean, damp cloth, then dry the surface immediately.
Because baking soda is mildly abrasive, treat it as a spot treatment rather than a weekly routine. Once the sticky patch is gone, go back to plain dish soap and water for maintenance. If the cabinets are dry or look chalky afterward, apply a small amount of wood conditioner or an oil-based wood soap to a clean cloth and buff it in lightly to restore moisture.
7 Mistakes That Ruin Wood Cabinet Finishes
- Reaching for an abrasive scrubber. Scouring pads, steel wool, and stiff brushes leave micro-scratches that catch light badly and give the next round of grease more places to grab onto. You end up with cabinets that are technically clean but still look worn.
- Using the same degreaser you use on the stovetop. Many heavy-duty kitchen degreasers rely on alkaline compounds that destroy oil-based finishes on wood. The damage does not appear immediately — the finish starts lifting or peeling weeks later, and most people never connect it back to the cleaner.
- Flooding the wood with water. A dripping cloth pushes water into seams, joints, and panel edges. Over time the wood fibers swell, the finish loses its bond, and you get discoloration or bubbling that cannot be reversed.
- Skipping the test spot. Once the top layer of a finish is compromised, moisture and cleaning products slip underneath easily. Thirty seconds on the inside of a door can save an entire kitchen.
- Waiting until the buildup is severe. Fresh grease wipes off in seconds. Grease that has polymerized over months may need two or three gentle sessions instead of one aggressive one.
- Overusing vinegar. Vinegar is a helpful rinse when diluted, but repeated or undiluted use on finished wood can dull the surface over time.
- Cleaning in circles across the grain. Always wipe with the grain and dry in the same direction. Cross-grain wiping pushes residue into the pores and leaves visible streaks.
How Often Should You Clean Wood Kitchen Cabinets?
| Task | Frequency | Method |
|---|---|---|
| Wipe the zone around the stove | Weekly | Damp cloth with a drop of dish soap |
| Full exterior wipe-down | Every 2 to 4 weeks | Dish soap and warm water, buffed dry |
| Deep clean with vinegar rinse or baking soda paste | Every 3 to 6 months | Targeted spot treatment only |
| Interior shelves and door backs | Every 6 months | Dry dust, then lightly damp cloth |
| Condition with a wood oil soap | Every 3 to 6 months | Small amount on a soft cloth, buffed in |
If you fry, sauté, or roast several times a week, lean toward the shorter end of every range. Kitchens with strong ventilation and a habit of wiping while the surface is still warm can stretch the intervals.
How to Keep Cabinets From Getting Sticky Again
- Turn the range hood on before you start cooking and let it run a few minutes after you finish. Capturing airborne grease at the source is far easier than removing it from wood later.
- Wipe the splash zone while it is still warm. A quick pass with a damp cloth right after dinner prevents the film from ever curing.
- Use splatter screens and deeper pans when frying, especially on high heat.
- Keep the row of cabinets above and beside the range clear of decorative items that trap grease and make wiping awkward.
- Condition periodically. A light application of a wood-specific oil soap helps keep the finish sealed so grease sits on top rather than soaking in.
- Never leave cleaning spray pooling on a door. Spray the cloth, not the cabinet — always.
Are Commercial Cabinet Cleaners Safe?
Yes, if they are made for wood. Two widely trusted options are Murphy Oil Soap and Weiman Wood Cleaner — both are formulated for finished wood and are commonly recommended by cabinet and range hood manufacturers for their wood products. Always dilute according to the label and follow with a dry buff.
Avoid anything labeled as a heavy-duty degreaser, oven cleaner, bleach-based spray, ammonia solution, or abrasive cream cleanser. Those products are designed for tile, stainless steel, and porcelain, not for the finish on a wood door. When in doubt, dilute a small amount of mild dish soap in warm water instead — it is the safest default for weekly work.
Frequently Asked Questions
Why do wood kitchen cabinets become sticky over time?
Airborne cooking grease settles on cabinet surfaces and mixes with dust and moisture, forming a tacky film. Over time that film oxidizes and thickens, and it attracts additional dust, which makes the stickiness feel like it appeared suddenly even though it built up gradually.
What is the safest way to clean sticky wood kitchen cabinets?
A mild solution of dish soap and warm water applied with a barely damp microfiber cloth, followed immediately by a dry buff. Dish soap cuts grease while staying gentle on sealed wood, and immediate drying protects the finish from water damage.
Can I use vinegar on wood cabinets?
Yes, but only diluted and only occasionally. Mix roughly 1 part distilled white vinegar with 4 parts water, apply it to your cloth rather than the cabinet, and use it as a final rinse to remove soap residue. Undiluted or frequent vinegar use can dull a wood finish over time.
Does baking soda damage wood cabinet finishes?
Not when it is used correctly. A baking soda paste is a mild abrasive, so apply it gently with a soft toothbrush, let it sit for only a few minutes, and rinse thoroughly. Use it as a spot treatment for stubborn sticky areas rather than as your regular cleaning solution.
How do I get sticky grease off cabinet crevices and raised panel edges?
Use a soft-bristle toothbrush dipped in your soapy solution, or add a little baking soda to the bristles to form a light paste. Work along the groove gently, then wipe clean with a damp cloth and dry immediately. Never push a sharp tool into the crevice — it will chip the finish.
What should I do if my cabinets are still sticky after cleaning?
That usually means the residue has cured into multiple layers rather than one. Repeat the dish soap wash after a day or two, then try the baking soda paste on the worst patches. If the surface feels permanently tacky even after several gentle attempts, the finish itself may be degrading, and it is worth consulting a cabinet refinisher before applying anything stronger.
Final Thoughts
Learning how to clean sticky wood kitchen cabinets comes down to three principles: use the gentlest cleaner that works, keep water to an absolute minimum, and dry immediately. A dish soap and warm water solution handles routine grease, a diluted vinegar rinse clears soap residue, and a baking soda paste rescues hard cured spots — all without stripping the finish you paid for.
Clean the cabinets nearest the stove first, wipe the zone weekly while the surface is still warm, and your kitchen clean routine will stay a five-minute task instead of a weekend project. When in doubt about an unfamiliar product, test it on a hidden spot and check manufacturer guidance for your specific cabinetry before committing.