Why the Kitchen Needs a 3-Day Spring Deep Clean
A 3-day kitchen deep clean breaks heavy grease removal, appliance maintenance, and floor restoration into manageable sessions, so degreasers have time to work and you avoid fatigue. The kitchen sees more daily use than any other room, and its hidden areas—refrigerator coils, range hood baffles, cabinet interiors—collect grime that normal wiping misses.
Spring kitchen cleaning is not a light wipe-down. Over winter, cooking oil vapor settles on cabinet fronts, dust clings to the ceiling fan and hood, and expired jars pile up at the back of the fridge. A 3-day schedule gives you enough time to open windows, let cleaning agents dwell, and handle appliance components that rarely get attention. The result is a healthier cooking space, better appliance performance, and a baseline that is easier to maintain.
3-Day Kitchen Deep Cleaning at a Glance
| Day | Focus | Key Tasks | Time |
|---|---|---|---|
| Day 1 | Cabinets and fridge | Declutter shelves, remove expired food, wipe fridge interior, apply degreaser | 2.5–3 hours |
| Day 2 | Appliance interiors | Clean oven, range hood filters, dishwasher filter, microwave, refrigerator coils | 3–4 hours |
| Day 3 | Floors and hidden zones | Vacuum behind appliances, scrub grout, mop floors, sanitize trash area | 2–3 hours |
Day 1: Cabinet Declutter, Fridge Reset, and Degreaser Prep
Day 1 focuses on emptying cabinets, removing expired food, wiping refrigerator interiors, and applying degreaser to oven and backsplash surfaces before heavy scrubbing. This order prevents cross-contamination and lets cleaning products break down grease while you handle other tasks.
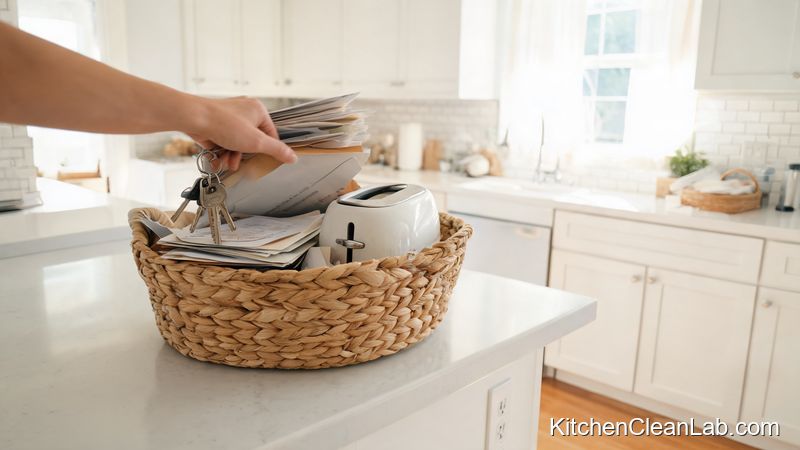
Start with a clear counter or kitchen table. Use three containers—trash, donate, and belongs elsewhere—so you do not have to leave the room repeatedly. Work one cabinet at a time, not all at once.
Step 1: Empty Cabinets and Sort What You Actually Use
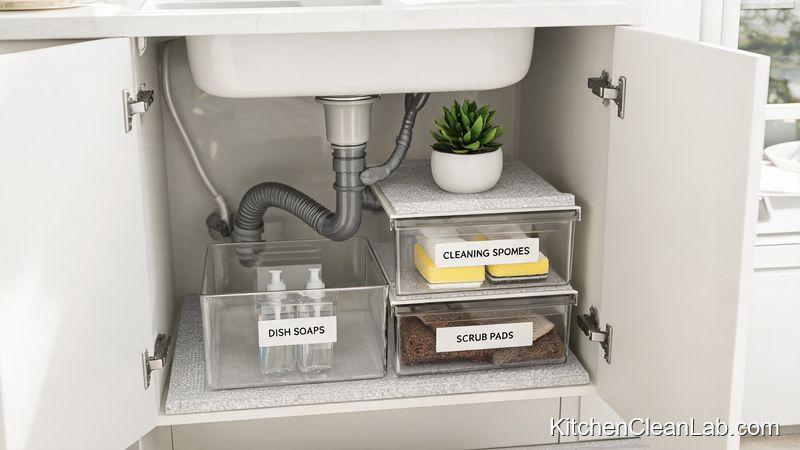
Remove everything from one storage zone. Check spice expiration dates, sniff oils for rancidity, and consolidate duplicate utensils. If you have not used an appliance or pan in over a year, put it in the donate pile. This is the highest-leverage step of the entire reset because it frees shelf space and reduces future visual clutter.
Step 2: Pull Everything Out of the Fridge and Clean Interior
Turn off the refrigerator or set it to a lower cooling mode if possible, then remove shelves and drawers. Wash removable parts in warm, soapy water, but avoid placing cold glass directly into hot water—it can crack. Wipe interior walls from top to bottom with a solution of warm water and a small amount of dish soap. For stuck-on spills, make a paste of baking soda and water, apply it, and let it sit for five minutes before wiping.
Do not use bleach inside a refrigerator. Bleach can damage gaskets and leave an odor that transfers to food. Dry all surfaces before replacing shelves.

Step 3: Apply Degreaser to Oven, Backsplash, and Cabinet Exteriors
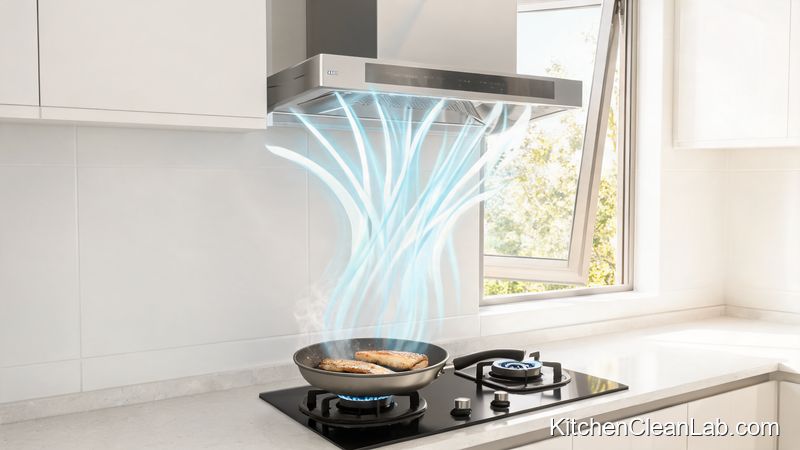
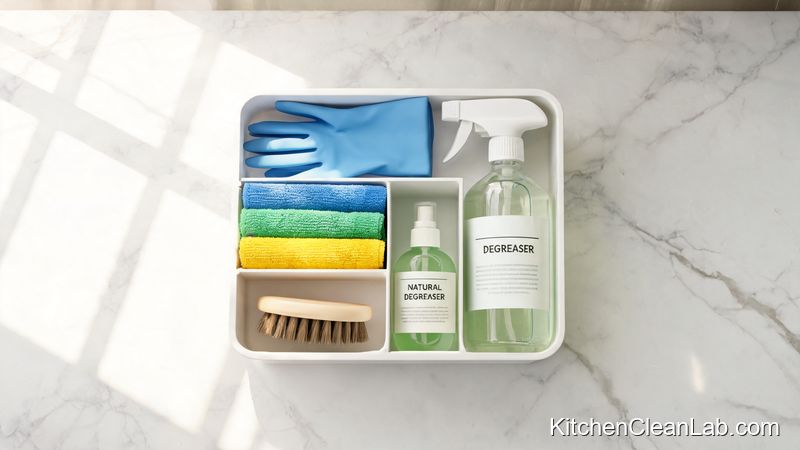
After the cabinets and fridge are done, spray a commercial degreaser or an enzyme cleaner on cool oven surfaces, the backsplash, range hood exterior, and cabinet fronts. Let it dwell for 10 to 15 minutes. This dwell time dissolves polymerized grease, so you wipe less. Open a window or run the exhaust fan, and wear rubber gloves because degreasers can be harsh on skin.
Day 1 checklist:
- Sort pantry items into keep, donate, and trash
- Wipe cabinet shelves and replace shelf liners if needed
- Clean fridge interior, door gaskets, and drawers
- Apply degreaser and wipe cabinet fronts, backsplash, and oven exterior
Day 2: Appliance Interiors and Hidden Contact Points
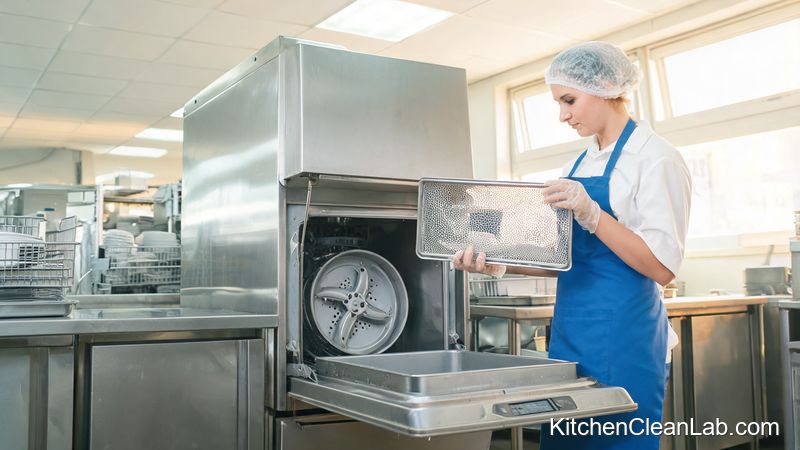
Day 2 targets cooked-on grease inside the oven, range hood filters, dishwasher trap, microwave ceiling, and refrigerator condenser coils. These areas hold odors and allergens, and cleaning them improves appliance efficiency and air quality in the kitchen.
This is the most labor-intensive day. You are not cleaning for appearance only; you are removing buildup that can make appliances run hotter, smell stale, or break down sooner.
Step 1: Oven Interior and Range Hood Grease Filter
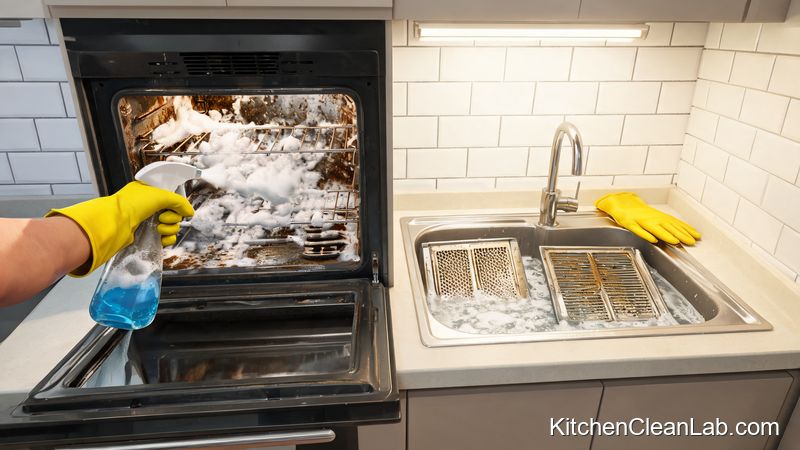
For a manual oven clean, remove racks and soak them in hot water with dish soap. Coat the oven interior with a baking soda and water paste, avoiding heating elements and the door gasket. Let it sit for several hours or overnight, then spray with white vinegar and wipe with a non-abrasive pad. If your oven has a self-clean cycle, follow the manufacturer's manual and stay home during the cycle; do not leave it unattended. The cycle can produce smoke and heat, so keep the kitchen ventilated.
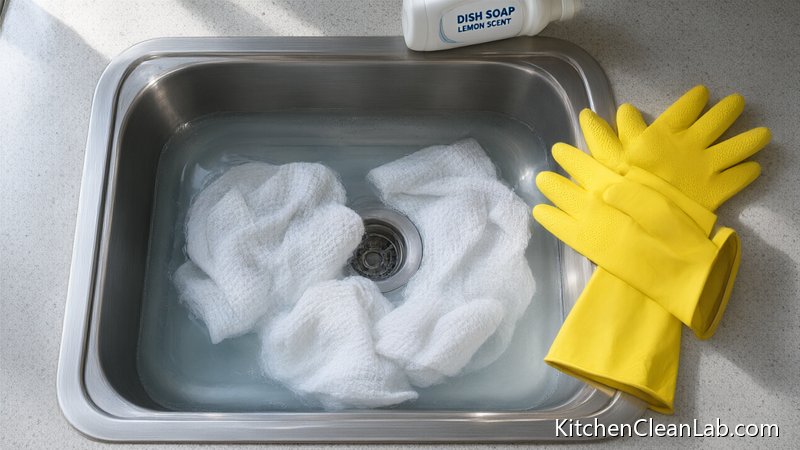
Remove range hood baffle or mesh filters and soak them in a sink of very hot water with dish soap or a degreaser for 15–20 minutes. Scrub with a soft brush, rinse, and dry before reinstalling.
Step 2: Dishwasher Filter, Microwave, and Coffee Maker
Remove and clean the dishwasher filter at the bottom of the basin. Food debris trapped there creates odors and reduces cleaning performance. Run an empty hot cycle with a cup of white vinegar placed on the top rack to dissolve scale and grease, or use a dishwasher cleaner tablet.
For the microwave, fill a microwave-safe bowl with one cup of water and a sliced lemon or a tablespoon of white vinegar. Heat on high for five minutes, then leave the door closed for two minutes. The steam loosens dried food, and you can wipe the ceiling, sides, and turntable easily. Descale the coffee maker with equal parts white vinegar and water, then run two clean water cycles to rinse.
Step 3: Refrigerator Coils and Door Seals
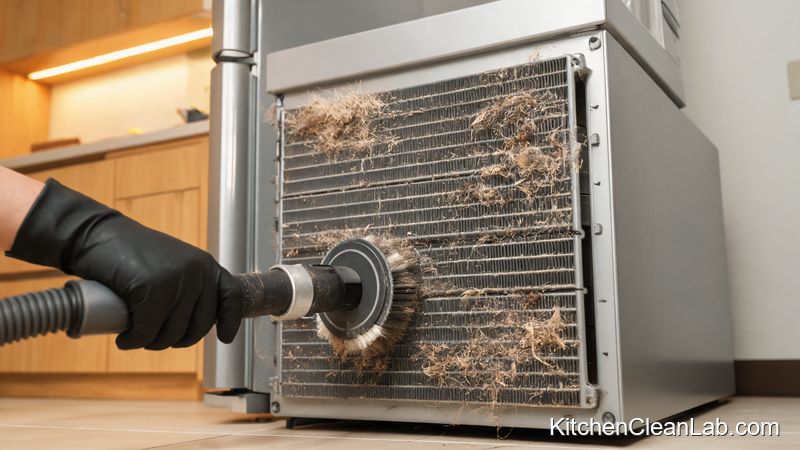
Unplug the refrigerator or switch off the circuit breaker before cleaning the coils. Pull the unit away from the wall carefully, and vacuum the condenser coils with a brush attachment. Coils are usually behind a grille at the bottom front or across the back. Removing dust improves cooling efficiency and reduces energy waste. While the fridge is pulled out, sweep and mop the floor underneath.
Wipe door gaskets with a cloth dampened with warm water and mild dish soap. Avoid using harsh chemicals on gaskets; they can dry out the rubber and prevent a tight seal. Check that the gasket sits flat and has no cracks.
Day 2 safety check:
- Unplug appliances before cleaning coils or any electrical components
- Never mix bleach with oven cleaners, degreasers, or ammonia
- Wear gloves and eye protection when scrubbing overhead grease
- Ventilate the kitchen during self-cleaning cycles and degreaser use
Day 3: Floors, Grout, and Forgotten Kitchen Zones
Day 3 moves to the floor, baseboards, cabinet toe kicks, trash zone, and behind the stove or refrigerator. These areas trap grease-laden dust, crumbs, and moisture, and cleaning them restores the kitchen's finish and reduces pest access points.
By now the upper and middle zones are clean. Finishing the floor last is intentional: dust and drips from Days 1 and 2 fall downward, and you do not want to mop twice.
Step 1: Vacuum Edges, Then Mop the Entire Kitchen Floor
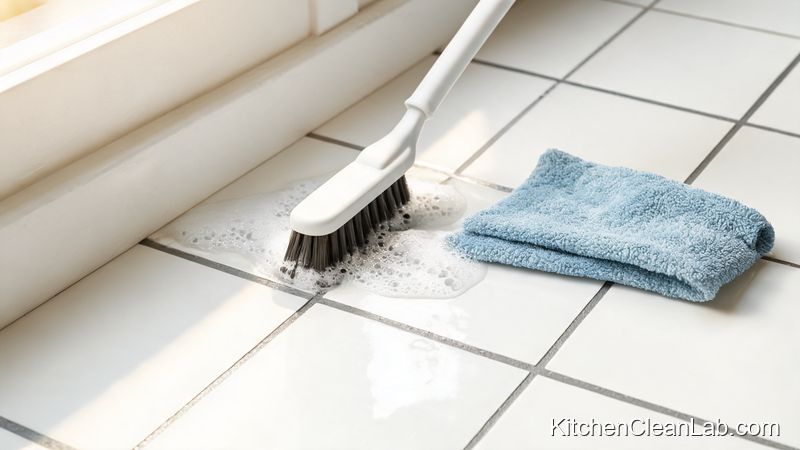
Use a vacuum with a crevice tool along baseboards, under cabinet overhangs, and around appliance legs. If possible, pull out the stove and refrigerator one more time to clean the floor behind them. For tile floors, scrub grout lines with a grout brush and a paste of baking soda and water or a pH-neutral tile cleaner. Rinse with clean water and let dry.
Mop with a cleaner suited to your flooring: wood, laminate, tile, or vinyl. Avoid soaking hardwood; use a damp microfiber mop instead of a wet string mop.
Step 2: Baseboards, Toe Kicks, and Door Trim
Kitchen baseboards collect a sticky mix of airborne oil and dust. Wipe them with a microfiber cloth dampened with warm water and a small amount of all-purpose cleaner or degreaser. Pay attention to the toe kick under lower cabinets; food splashes and mop water leave residue there. For painted trim, test the cleaner on an inconspicuous spot first.
Step 3: Sanitize the Sink, Trash Area, and Ventilation
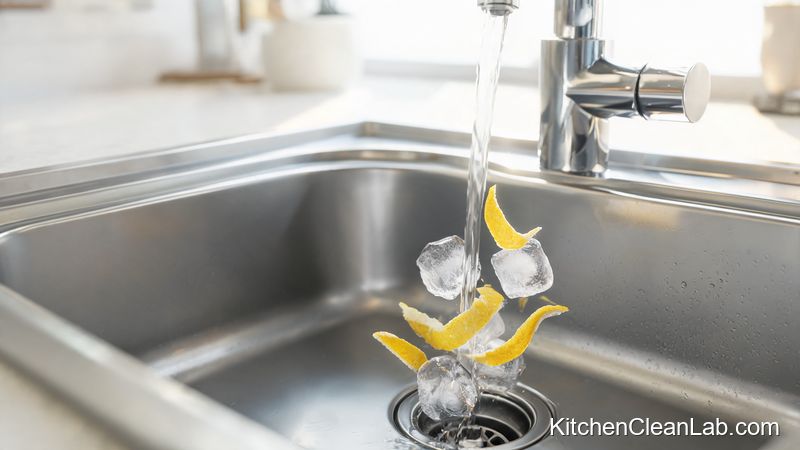
Scrub the sink basin and faucet with a non-abrasive cleaner or baking soda. Pour a mixture of baking soda and vinegar down the drain, let it fizz for 10 minutes, and flush with hot water. Wipe the trash can interior and exterior, then replace the liner. If your kitchen has a window above the sink, clean the glass, tracks, and sill. Open the window for 20 minutes to exchange stale air.
Optional finishing touches:
- Place a fresh box of baking soda in the refrigerator
- Line pantry shelves with washable liners
- Set a small bowl of citrus peels and water on the counter while you finish
Common Mistakes to Avoid During a Spring Kitchen Deep Clean
Most kitchen deep-cleaning setbacks come from skipping dwell time, mixing harsh chemicals, or trying to clean every surface in one day. Avoiding these errors will protect your finishes, appliances, and lungs.
- Mixing chlorine bleach with ammonia or acidic cleaners. This can create toxic chloramine or chlorine gas. Read labels and use one product at a time.
- Using steel wool on stainless steel or glass. It scratches the surface. Use non-abrasive scrub pads and soft cloths.
- Cleaning from the floor upward. Gravity brings dust down. Always work top-to-bottom inside each zone.
- Ignoring appliance manuals. Self-clean cycles, gasket care, and coil access vary by model. Check the manual before pulling or soaking parts.
- Forgetting to let degreasers dwell. Spray-and-immediately-wipe usually just moves grease around. Ten to fifteen minutes makes a bigger difference.
Frequently Asked Questions About Spring Kitchen Deep Cleaning
These are the most common questions homeowners ask before starting a 3-day kitchen reset. Each answer focuses on safety, realistic timing, and material-safe methods.
How long should I spend each day on a kitchen deep clean?
A realistic 3-day kitchen deep clean takes about 7 to 10 hours total. Day 1 usually runs 2.5 to 3 hours, Day 2 takes 3 to 4 hours because of oven and coil cleaning, and Day 3 takes 2 to 3 hours. You can split each day into morning and evening blocks if your schedule is tight.
Can I use white vinegar and baking soda for oven grease?
Yes, but they work best on light to moderate grease. Baking soda provides gentle abrasion, and vinegar helps cut mineral haze and light soil. For heavy, brown polymerized grease, use a commercial degreaser or an enzyme-based oven cleaner. Never combine vinegar with bleach or commercial oven cleaners.
Should I unplug my refrigerator when cleaning the coils?
Yes. Unplug the unit or switch off the relevant circuit breaker before pulling it away from the wall and vacuuming condenser coils. This prevents accidental electrical contact and keeps the area safe while you clean dust and pet hair from the coil area.
What is the most commonly missed kitchen deep-cleaning spot?
The range hood filter and the area behind the stove are the most frequently missed. Grease silently builds up on hood baffles, reducing airflow, while crumbs and dust collect behind the stove against the wall. Dishwasher filters and cabinet top edges are also commonly skipped.
Your 3-Day Kitchen Reset Works if You Stick to One Zone at a Time
A spring kitchen deep clean succeeds when you follow the order—cabinets and fridge, then appliance interiors, then floors—so you never have to reclean a surface. A focused 3-day schedule keeps the project realistic and prevents the burnout of a marathon session.
Start with the cabinet closest to the stove, set a timer for each block, and move the fridge back only after the floor behind it is dry. The goal is not perfection in one weekend; it is a clean baseline you can maintain with a 10-minute nightly counter wipe and a weekly floor sweep. That baseline makes next spring's deep clean faster and easier.