Why a Printable Weekly Kitchen Cleaning Checklist Saves Your Sanity
The kitchen is the hardest-working room in the home. Between daily meals, snack prep, grocery unpacking, and homework spread across the island, grease and grime build up faster than most people realize. A printable weekly kitchen cleaning checklist removes the guesswork by giving you a proven top-to-bottom routine. Instead of looking around and wondering where to start, you follow a simple order. The result is a cleaner space, fewer hidden crumbs, and less time wasted.
A weekly routine works better than a massive monthly overhaul. Grease film hardens, dust sticks to cabinets, and spills inside the microwave turn into concrete. By cleaning these problem areas every seven days, you avoid the six-hour Saturday scrub. This step-by-step guide gives you a realistic schedule with time estimates, plus practical tips to speed up the process.
Many cleaning guides assume you have already completed the daily basics. This checklist does not. Step 1 is clearing surfaces because a realistic kitchen cleaning routine has to start with the mess you actually live with. Whether you are preparing for holiday guests, recovering from a busy week, or simply resetting for the school week, this step-by-step kitchen cleaning guide meets you where you are.
The Simple Science Behind Kitchen Grease and Why Weekly Cleaning Matters
When you cook, hot oil and steam vaporize into the air. As the air cools, microscopic grease droplets settle on surfaces. Over a few days, this film remains sticky and catches dust. Within a week, it forms the yellowish grime found on cabinet tops, vent hoods, and backsplashes. Weekly cleaning stops that layer from hardening. Once grease hardens, it is far more difficult to remove and often requires harsh chemicals.
Moisture also plays a role. Sink areas, refrigerator seals, and trash cans stay damp, creating conditions for mold, mildew, and bacteria. A weekly kitchen cleaning schedule interrupts that cycle. It is not only about appearance; it is about sanitation and air quality. The kitchen is a food-prep environment, and a clean surface is a safer surface.
Kitchen Cleaning Supplies to Gather First
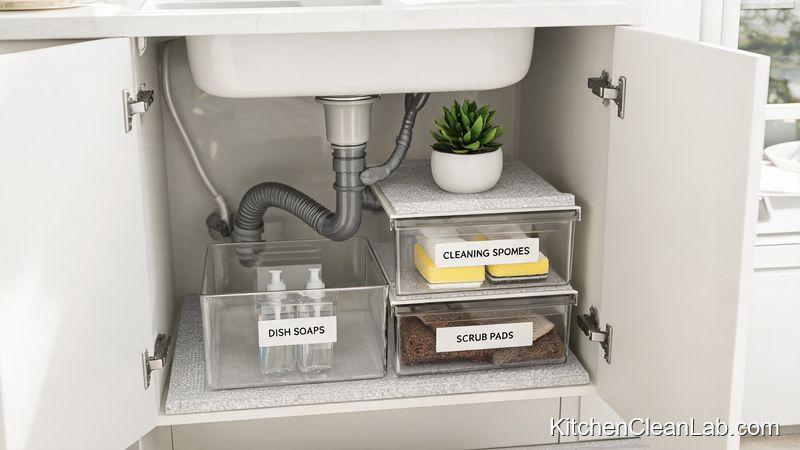
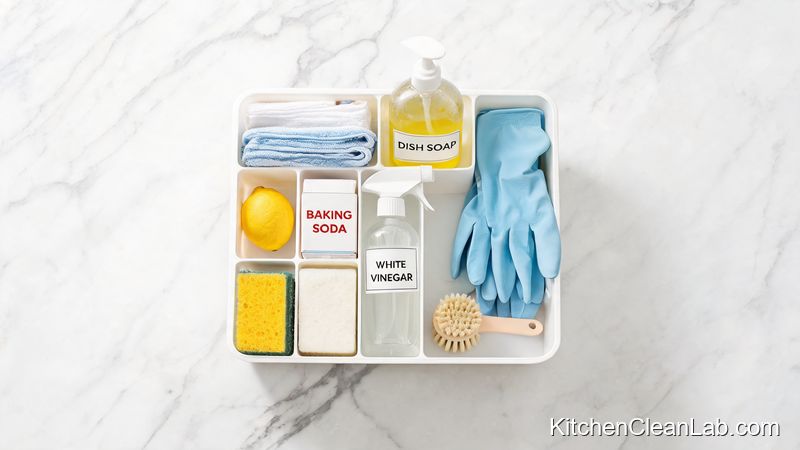
Before you begin, assemble everything in a portable caddy. This prevents interruptions and keeps your momentum. You do not need expensive specialty products for most jobs.
- Microfiber cloths: at least four; use color-coded cloths for counters and floors.
- Dish soap: its degreasing formula cuts kitchen grime better than many all-purpose sprays.
- White vinegar and lemon: natural acids for microwave steam cleaning and hard-water spots.
- Baking soda: a gentle abrasive for sinks and stainless steel.
- Spray bottle with water or all-purpose cleaner: for cabinets and backsplash.
- Sponges, scrub brush, and old toothbrush: for edges, grout, and fixtures.
- Mop or steam mop, broom, and dustpan: for floors.
- Step stool: for top-of-cabinet dusting.
- Rubber gloves and trash bags: to protect hands and clear clutter.
The Printable Weekly Kitchen Cleaning Checklist: Step by Step
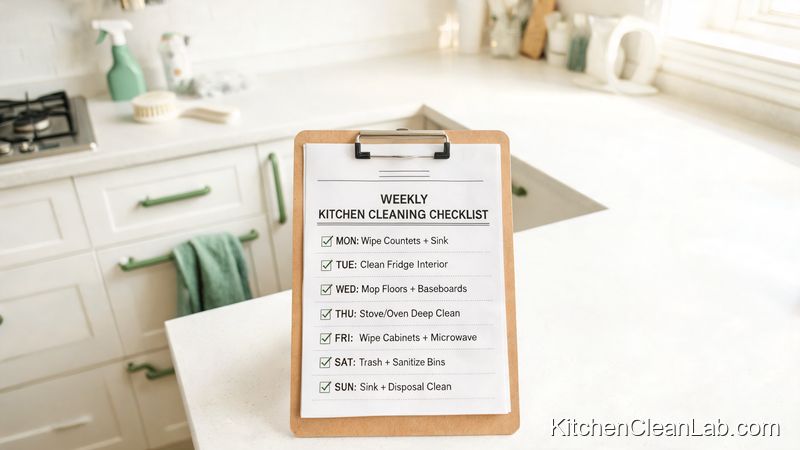
Set a timer for each block if you need momentum. The total active cleaning time for an average kitchen is about 60 to 90 minutes, but you can split steps across a morning or evening. Follow the steps in order to avoid re-dirtying surfaces.
Step 1: Clear and Declutter the Countertops (5–10 Minutes)
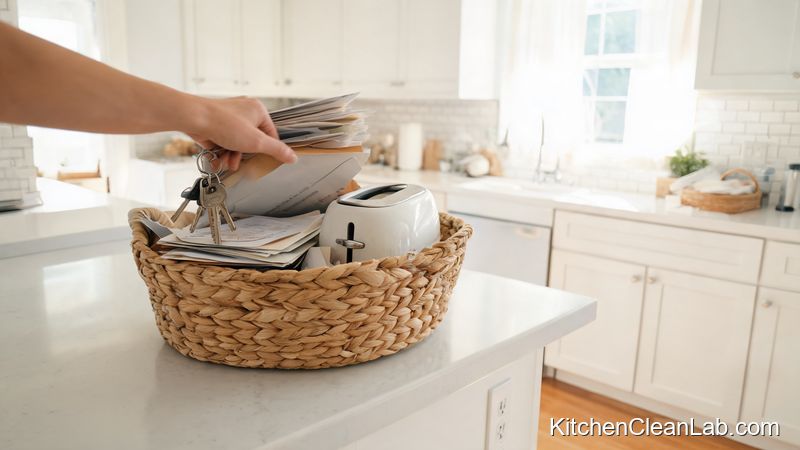
Start with a visible surface reset. Move small appliances, mail, lunchboxes, and random clutter. Load dirty dishes into the dishwasher or wash them. If you have too many stray items, put them in a basket and return them to their homes after cleaning. You cannot clean what you cannot see, so a printable weekly kitchen cleaning checklist always begins with clearing the decks.
Step 2: Dust Top to Bottom (5–10 Minutes)
Use a microfiber duster or a damp cloth on a broom to knock down cobwebs from corners. Wipe light fixtures, the top of the refrigerator, and upper cabinet edges. This step sends dust and crumbs to the floor, where you will handle them later. Always work from top to bottom so you do not re-dirty lower surfaces.
Step 3: Wipe Down Cabinets, Backsplash, and Walls (7–12 Minutes)
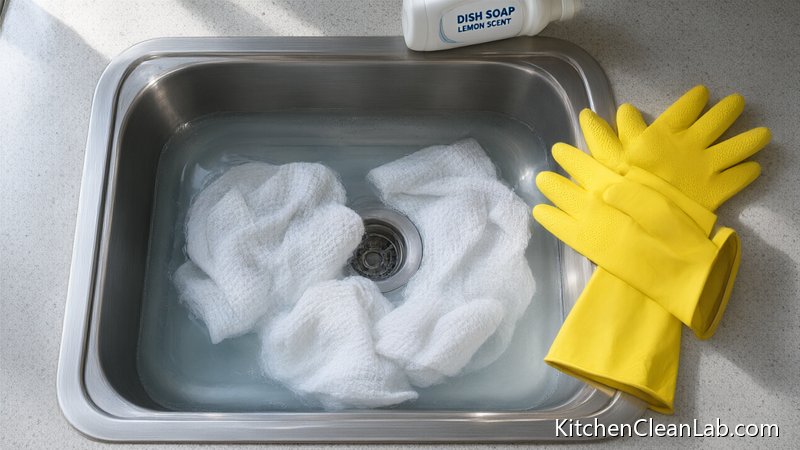
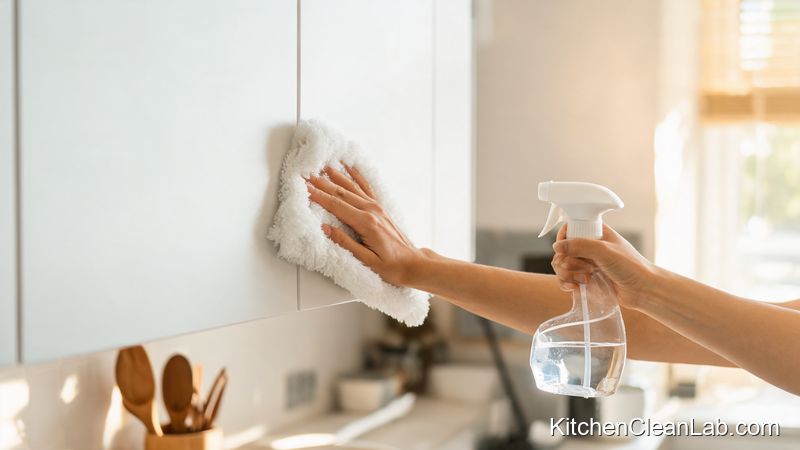
Kitchen grease travels in steam and settles on vertical surfaces. Fill a sink or bucket with warm water and a few drops of dish soap. Wring a microfiber cloth well, then wipe cabinet doors, handles, backsplash tiles, and the range hood. Pay extra attention to the vent above the stove; it often holds a layer of sticky dust. Spot-wipe visible splatters or do a full pass if time allows.
Step 4: Steam-Clean the Microwave and Wipe the Oven Door (8–12 Minutes)
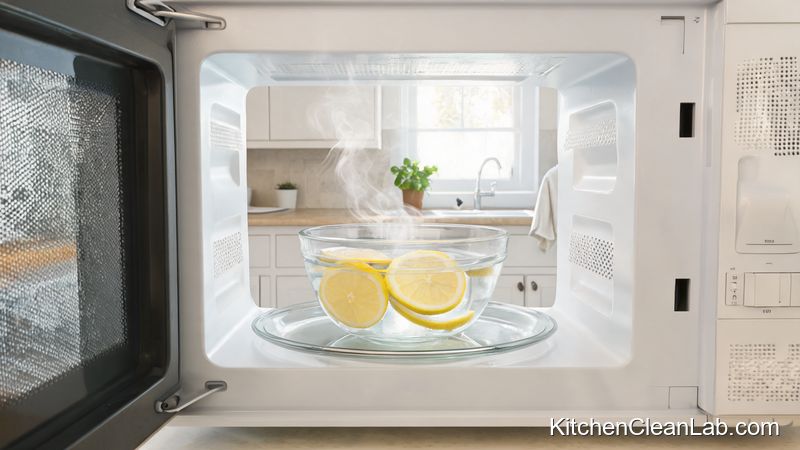
The microwave is easy to overlook until someone opens it. Fill a microwave-safe bowl with water and add a tablespoon of lemon juice or white vinegar. Run on high for two to three minutes, then let it sit for two more. The steam loosens dried splatters. Wipe the inside, ceiling, and door seal with a clean cloth. For the oven, wipe the door glass and handle with a degreaser. If the oven has heavy baked-on spills, schedule a self-clean cycle monthly rather than weekly.
Step 5: Scrub Counters, Sink, and Stove Burners (10–15 Minutes)
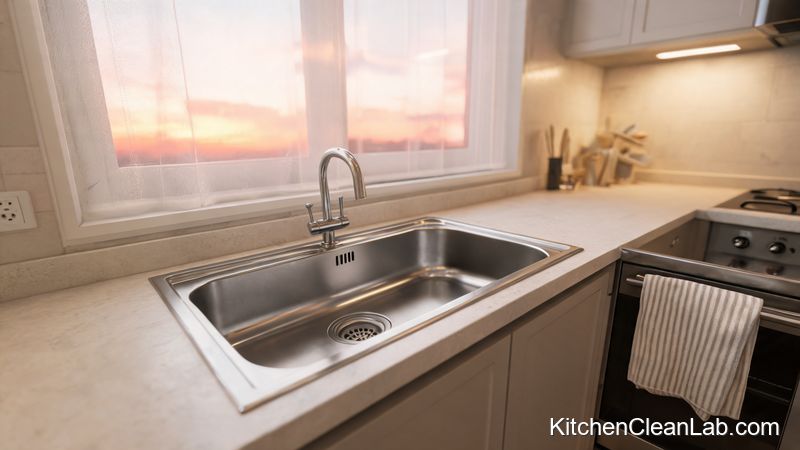
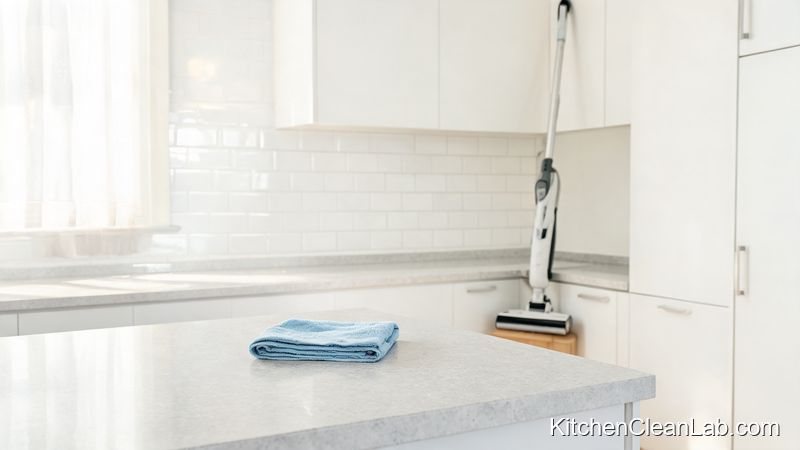
Move everything off one section of counter at a time, about three feet. Spray or apply your countertop-safe cleaner and scrub to the edges. Replace items before moving to the next section. For the sink, sprinkle baking soda, scrub with a sponge, and use an old toothbrush around the faucet and drain edges. For the stovetop, remove grates and burner caps, soak them in soapy water, then wipe the cooktop surface.
Step 6: Clean Out and Wipe Down the Refrigerator (10–15 Minutes)
Check the fridge for expired leftovers, slimy produce, and empty condiment jars. Remove drawers or shelves only if there are visible spills. Wipe the handles, door seal, and water dispenser with a disinfectant or mild soap. Straighten the front of the fridge and remove outdated papers or magnets. A step-by-step kitchen cleaning guide keeps this task from turning into a full deep clean.
Step 7: Wipe Small Appliances and Condiment Containers (3–5 Minutes)
Salt and pepper shakers, olive oil bottles, knife blocks, and stand mixers collect dust and grease. Wipe them with a damp microfiber cloth. Do not forget the toaster crumb tray and coffee maker drip tray. These small touches make the kitchen feel clean.
Step 8: Clean the Trash Can and Recycling Bin (2–4 Minutes)
Trash cans are rarely cleaned but often smell. Remove the bag, spray the inside and outside with a disinfectant or all-purpose cleaner, wipe down the lid and sides, and let it dry. Sprinkle a little baking soda in the bottom before replacing the bag.
Step 9: Sweep and Mop the Floors (10–15 Minutes)
Finish with the floors. Sweep from the corners and under cabinet overhangs. Move the trash can, pet bowls, and rugs. Mop with hot water and a floor-safe cleaner. If you have a steam mop, use it on sealed hard floors. Let the floor dry before walking on it. This is the final cleaning step in the weekly kitchen cleaning checklist.

Step 10: Restock and Reset the Kitchen (2–5 Minutes)
Replace clean dish towels, refill hand soap and dishwashing liquid, and put out a fresh sponge. If you are preparing for guests, gather serving utensils, potholders, salt and pepper, and other commonly needed items in a basket on the counter. This final step turns a clean kitchen into a functional one.
Weekly vs. Daily vs. Monthly Kitchen Cleaning: What Belongs Where?
Many people fail because they try to deep clean everything every day. Instead, divide the work by frequency.
- Daily kitchen cleaning: wash dishes or run the dishwasher, wipe countertops and the stovetop, sweep visible crumbs, sanitize the sink, and empty trash and recycling if full.
- Weekly kitchen cleaning: complete the full top-to-bottom checklist above, including cabinet fronts, microwave, fridge surfaces, trash can, and floor mopping.
- Monthly kitchen cleaning: clean the oven interior, descale the coffee maker, pull appliances away from walls to vacuum behind them, wash the exhaust filter, and deep clean pantry shelves.
You can keep this weekly kitchen cleaning checklist PDF inside a cabinet door or sheet protector.
Pro Tips to Make Weekly Kitchen Cleaning Less Painful
- Use a timer: Set 10 minutes per zone. Timers create urgency and prevent perfectionism.
- Keep supplies in one caddy: No one wants to walk to the laundry room for a rag mid-task.
- Clean top to bottom: Dust falls; never clean floors before upper surfaces.
- Use dish soap for grease: Dish liquid is designed to break up cooking oil, making it ideal for cabinets and backsplashes.
- Spot clean between weekly resets: Wipe spills immediately, and your weekly pass will be faster.
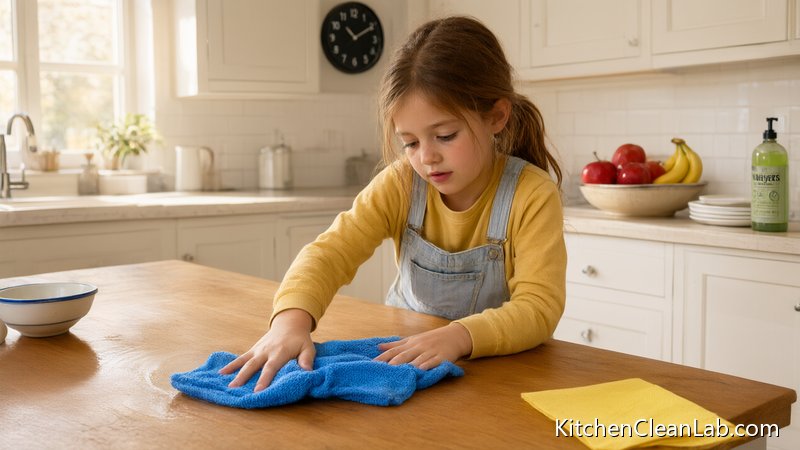
- Involve your household: Assign one step to each person. Even small children can wipe lower cabinet fronts.
- Keep the checklist visible: A printable weekly kitchen cleaning checklist on the fridge or inside a cabinet door builds accountability.
How to Customize Your Printable Weekly Kitchen Cleaning Checklist
Every kitchen is different. A small apartment kitchen may need only 45 minutes, while a large eat-in kitchen may need two hours. Use the checklist as a baseline and adjust to your layout.
- Small kitchens: combine cabinet wiping and backsplash cleaning into one 10-minute block. Focus on countertops and sink because they are used more heavily.
- Large kitchens: add separate zones for the island, butler's pantry, and breakfast nook. Rotate deep-clean tasks like grout scrubbing across the month.
- Busy families: split the checklist across two evenings: Monday for top-to-toe surfaces and Thursday for appliances and floors.
- Pet owners: add an extra floor sweep and wipe pet bowls weekly to control hair and dander.
- Allergy sufferers: dust with a damp cloth instead of a dry duster to trap particles rather than scatter them.
Frequently Asked Questions About Weekly Kitchen Cleaning
How long should a weekly kitchen cleaning take?
For an average kitchen, the active time is 60 to 90 minutes. If you have heavy grease or a large kitchen, allow up to two hours the first time. Maintenance gets faster every week.
What is the best order for cleaning a kitchen?
The best order is to declutter first, dust top to bottom, wipe vertical surfaces, clean appliances, scrub counters and sink, clean the fridge exterior, wipe small items, clean the trash can, then sweep and mop. This prevents dirtying clean areas.
What should you clean in the kitchen every week?
Weekly tasks include cabinet fronts, backsplash, microwave interior, countertops, sink, stove burners, fridge handles and shelves, small appliances, trash can, and floors.
Can I use bleach or vinegar on all kitchen surfaces?
No. Vinegar can dull natural stone like marble or granite. Bleach can damage grout and some countertops. Use a cleaner approved for your specific surfaces.
How do I clean a really greasy kitchen?
Use warm water and dish soap or a commercial degreaser. Let the product sit on greasy surfaces for a few minutes, then wipe. Repeat if necessary.
Is a printable checklist better than a phone app?
Both work, but a physical checklist on the fridge is visible to the whole household and does not require unlocking a phone with wet or soapy hands.
Conclusion: Make the Printable Weekly Kitchen Cleaning Checklist a Habit
A clean kitchen does not require hours of scrubbing every day. It requires a simple, repeatable system. This printable weekly kitchen cleaning checklist gives you a clear top-to-bottom plan that prevents grease buildup, keeps appliances fresh, and makes your home feel guest-ready. Print it, post it, and work through the steps once a week. After three or four weeks, you will notice the difference: fewer bad smells, less sticky residue, and a kitchen you actually enjoy using.
Use the images and time estimates in this guide to stay on track. The goal is not perfection; it is progress. Start with Step 1 and watch the room transform.