Why a Move-Out Kitchen Deep Clean Is Non-Negotiable
The kitchen is the first room landlords and property agents inspect during a final walkthrough. Grease buildup, food residue, and hidden grime can trigger deposit deductions faster than almost anything else. Learning how to deep clean your kitchen before moving out is not just about being polite—it is a financial strategy. A spotless kitchen communicates that you respected the property and can prevent disputes over cleaning fees.
Regular wiping and sweeping are not enough for a move-out inspection. You need to target the areas that tenants often forget: the inside of the oven, the range hood filter, the rubber seal of the refrigerator, and the sink drain. A thorough move out kitchen deep clean restores the space to the condition shown in your initial inventory report. This guide provides a step-by-step, landlord-approved approach to help you pass inspection and maximize your security deposit return.
Essential Supplies for a Move-Out Kitchen Deep Clean
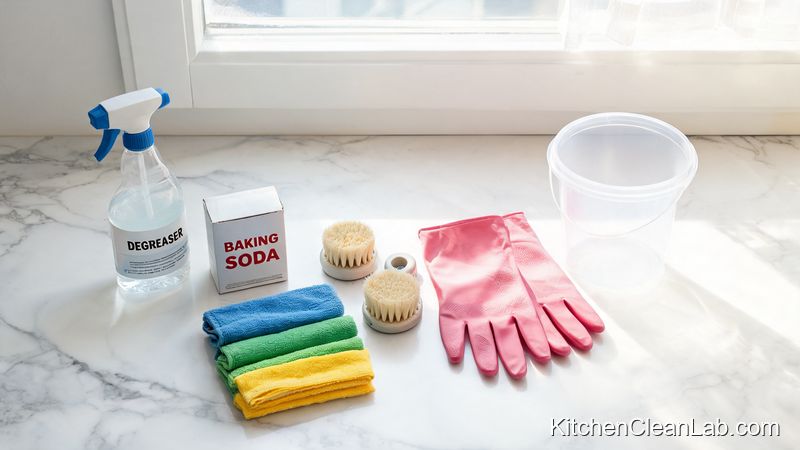
Before you begin, gather the right tools. Using professional-grade or heavy-duty household supplies will save time and deliver better results. A move out kitchen deep clean requires more than dish soap and a sponge. Here is a basic list of what you need:
- Degreaser: Use a citrus-based or commercial kitchen degreaser for range hoods, cabinets, and stovetops.
- Baking soda and white vinegar: Natural abrasive and acidic cleaners for ovens, sinks, and drains.
- Microfiber cloths: Lint-free wiping for stainless steel, glass, and countertops.
- Non-scratch scrub pads and stiff brushes: For grout, burner grates, and baked-on residue.
- Rubber gloves and safety goggles: Protect your skin and eyes from chemical cleaners.
- All-purpose cleaner and dish soap: For daily surface cleaning and degreasing.
- Trash bags and storage boxes: For decluttering, expired food, and leftover items.
- Vacuum and mop: For floors, corners, and vents.
- Old toothbrush: For crevices, faucet bases, and door seals.
How to Deep Clean Your Kitchen Before Moving Out: Step-by-Step
Follow this exact sequence to work efficiently from top to bottom. You will avoid re-cleaning surfaces and ensure no area is overlooked during your end of tenancy kitchen cleaning.
1. Declutter Cabinets and Drawers
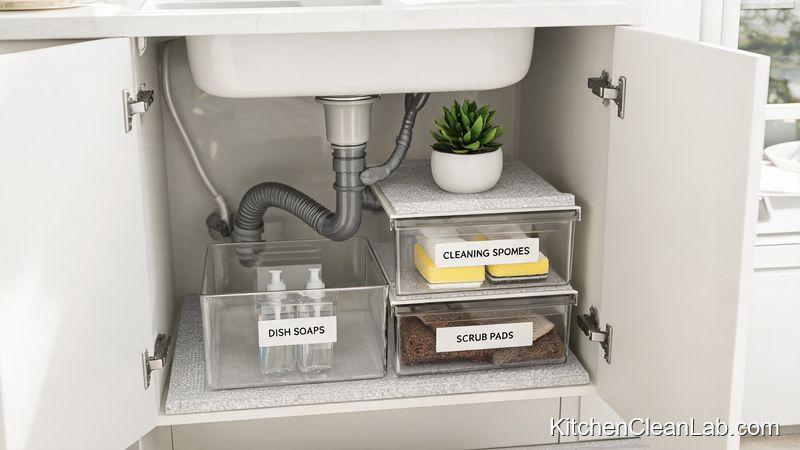
Start by removing every item from cabinets, drawers, and pantry shelves. Check expiration dates and toss anything old. Pack items you are keeping into moving boxes so the space is empty for cleaning. An empty move out kitchen deep clean is always faster and more thorough. Wipe down shelf liner or replace it if it is torn or stained. Vacuum out loose crumbs and dust before washing.
2. Clean from Top to Bottom
Dust and grease fall downward, so always start at the highest point. Use a step ladder to reach the tops of cabinets, light fixtures, and the top of the refrigerator. Vacuum or damp-wipe dust from ceiling corners and vents. If you clean the floors first, falling debris will ruin your work. This simple rule is the foundation of every professional move out cleaning checklist.
3. Degrease the Range Hood and Exhaust Fan
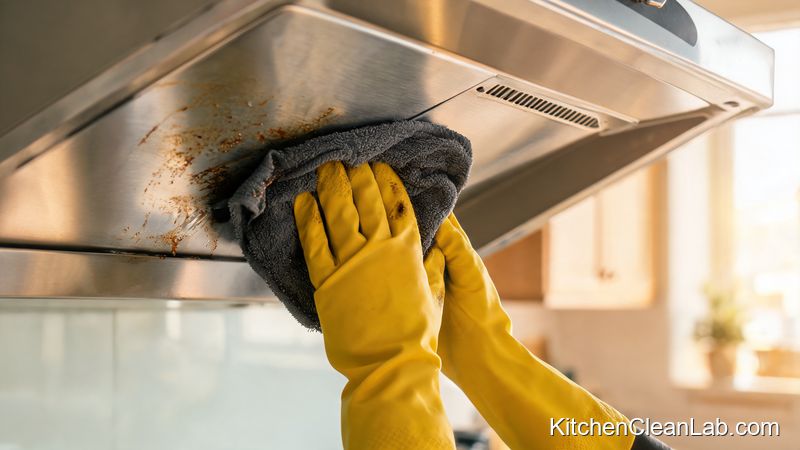
The range hood is a magnet for sticky grease and dust. Remove the metal filters and soak them in hot water with dish soap or a degreaser for at least 15 minutes. While they soak, spray the exterior and interior of the hood with a kitchen degreaser. Wipe with a microfiber cloth or non-scratch pad. Replace disposable charcoal filters if your unit has them, as clogged filters prevent proper ventilation. This step is a major focus of how to deep clean your kitchen before moving out because many landlords check the hood during inspections.
4. Deep Clean the Oven and Stovetop
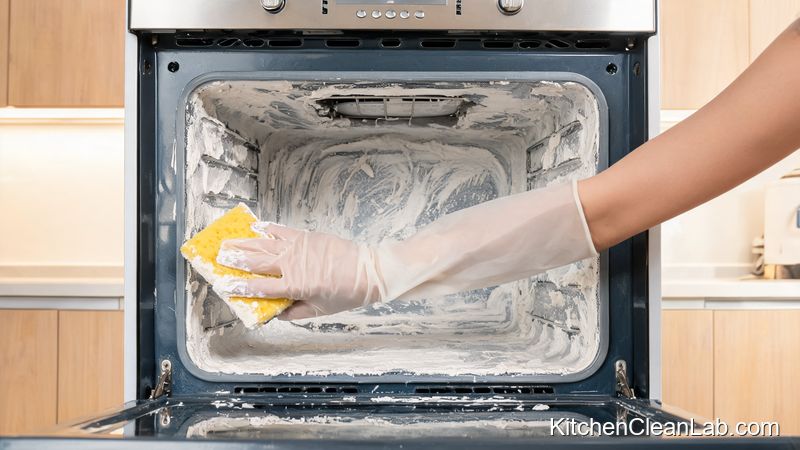
The oven often has the most baked-on grime. For a non-toxic method, mix half a cup of baking soda with a few tablespoons of water to form a paste. Spread the paste over the interior surfaces, avoiding heating elements and the door gasket. Let it sit for several hours or overnight. Then spray with white vinegar and wipe away the foam with a damp cloth. For stubborn spots, scrub gently with a non-abrasive pad.
Remove the oven racks and soak them in hot, soapy water. Scrub with a stiff brush, rinse, and dry. For the stovetop, remove burner grates and drip pans. Soak and scrub them in degreaser. Wipe the cooktop surface with an appropriate cleaner for glass, induction, or gas. Clear clogged burner holes with a pin if needed. A clean oven and stovetop are essential for a deep clean kitchen for landlord inspection.
5. Scrub the Sink and Faucet
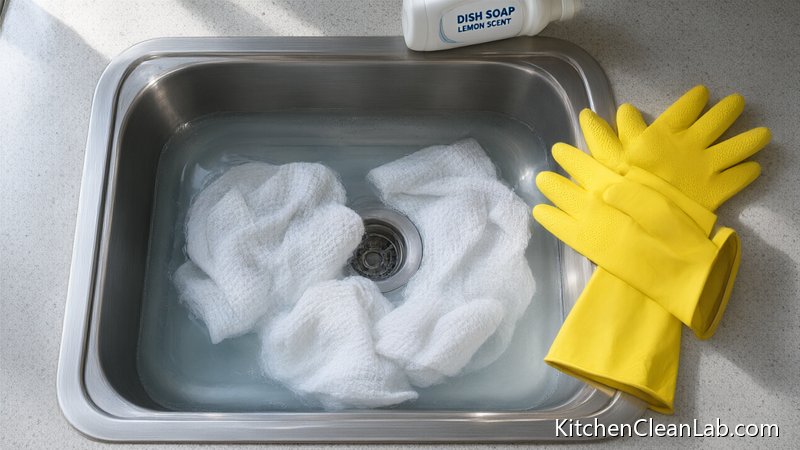
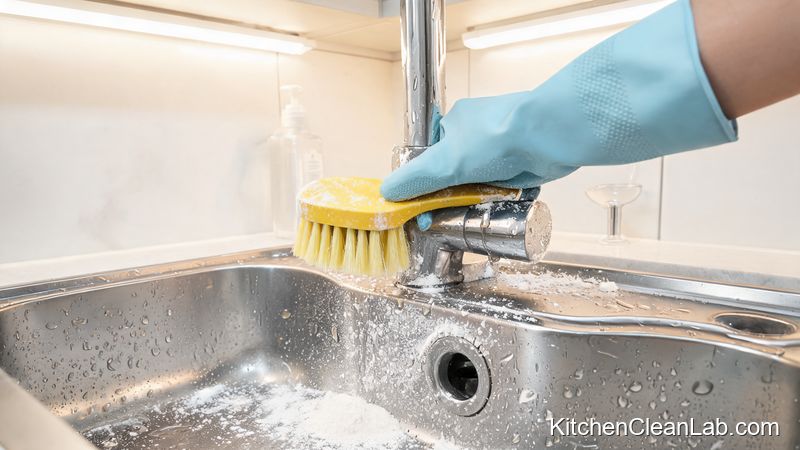
The kitchen sink harbors bacteria and mineral buildup. Sprinkle baking soda liberally over the basin, then scrub with a damp sponge or brush. Pay special attention to the drain, faucet base, and the underside of the rim. Rinse with hot water, then spray with a disinfectant or white vinegar for a final sanitizing wipe. If you have a garbage disposal, drop in a few ice cubes and lemon peels to sharpen blades and eliminate odors. A clean sink makes the entire kitchen feel more hygienic and ready for inspection.
6. Defrost and Clean the Refrigerator
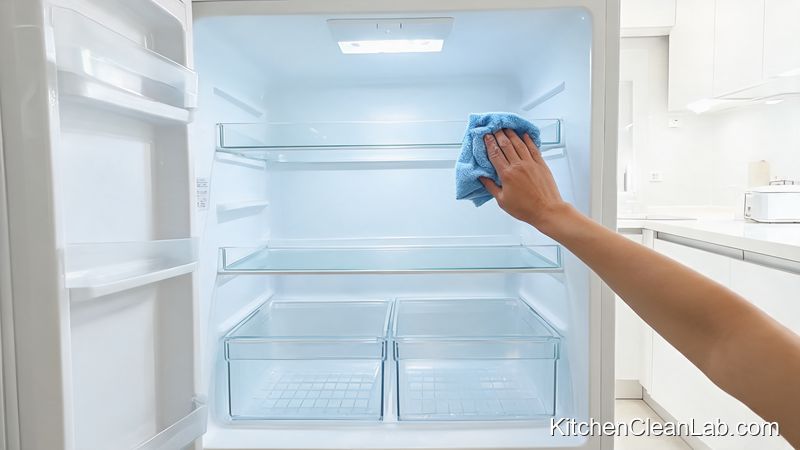
Unplug or turn off the refrigerator. Remove all food, shelves, drawers, and door bins. Soak removable parts in warm water with mild dish soap. Wipe the interior walls and ceiling with a solution of warm water and baking soda. Do not use harsh chemicals that can leave odors. Scrub the rubber door gasket with an old toothbrush to remove black mold and sticky residue. Dry all surfaces completely, replace shelves, and return food if you are still using the fridge. If you are moving out, leave the refrigerator empty, clean, and slightly propped open to prevent mildew. This step is a top priority in kitchen deposit cleaning.
7. Wipe Down Countertops, Backsplash, and Cabinets
Clear all items from countertops. Spray an all-purpose cleaner or mild degreaser on the surface and let it sit for a few minutes to dissolve grease. Wipe with a clean, damp microfiber cloth. For the backsplash, use a degreaser and a soft scrub brush to remove grime from tile and grout lines. Then wipe down cabinet fronts, handles, and drawer edges. Do not forget the tops of lower cabinets where dust settles. If cabinets are wood, dry them immediately to prevent water damage. This step visibly improves the entire move out kitchen deep clean.
8. Clean Small Appliances and Fixtures
Wipe down the exterior and interior of small appliances that belong to the property, such as a built-in microwave or dishwasher. Remove and clean the microwave turntable. Run an empty dishwasher cycle with a dishwasher cleaner or white vinegar if the appliance is staying. Clean light switch plates, door handles, and outlet covers—they collect fingerprints and grime. Replace any burnt-out light bulbs so inspectors see a bright, clean kitchen. These small details show you performed a complete end of tenancy kitchen cleaning.
9. Finish with Floors, Baseboards, and Vents
End with the floors because all dust and debris will have fallen from above. Vacuum the entire floor, including corners and under the edge of lower cabinets. Use a crevice tool for baseboards and vents. Then mop with a cleaning solution appropriate for your floor type. For tile grout, use a brush and a paste of baking soda and water to scrub dark spots. Wipe baseboards with a damp cloth. Allow the floor to air dry completely before the final inspection. A freshly cleaned floor ties the whole move out kitchen deep clean together.
Move-Out Kitchen Cleaning Checklist for Landlord Inspections
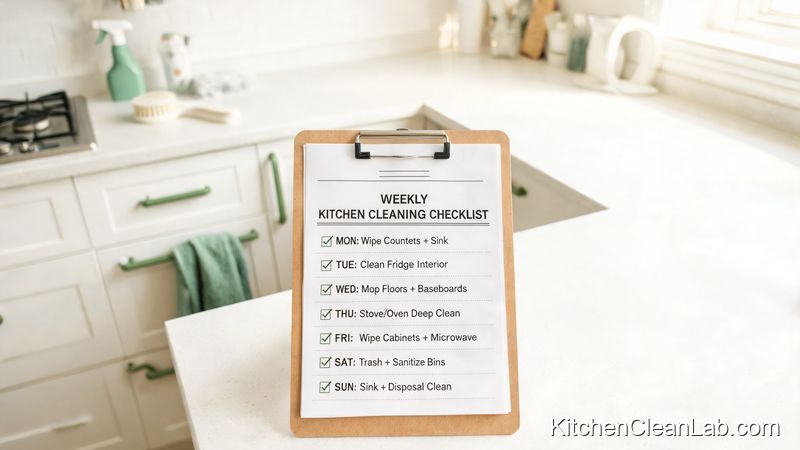
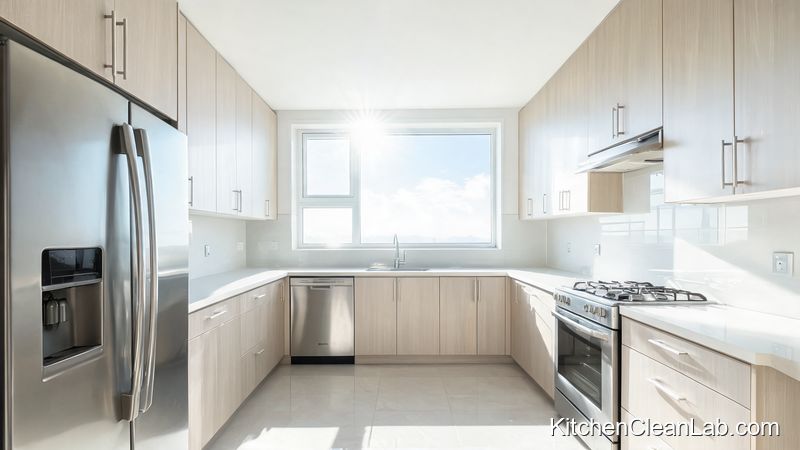
Use this printable reference to ensure nothing is missed when you deep clean kitchen before moving out. Landlords and agents typically inspect these exact areas:
- Range hood and filter: Removed, degreased, and dry.
- Oven interior, racks, and door: Free of baked-on food and grease.
- Stovetop burners, grates, and knobs: Removed, cleaned, and reassembled.
- Refrigerator interior, shelves, and gasket: Empty, wiped dry, and odor-free.
- Sink, faucet, and drain: Shiny, disinfected, and free of streaks.
- Countertops and backsplash: Clear of clutter, degreased, and dry.
- Cabinets and drawers: Empty, wiped inside and out, handles clean.
- Floors and baseboards: Vacuumed, mopped, and inspected for grout stains.
- Light fixtures and vents: Dusted and working bulbs.
Mistakes That Can Cost You Your Deposit
Understanding what not to do is just as important as knowing the steps for a move out kitchen deep clean. These common errors lead to disputes and expensive professional cleaning fees:
- Skipping the oven or refrigerator: Appliance interiors are top inspection priorities.
- Using abrasive tools on stainless steel: Steel wool leaves scratches and makes surfaces look worse.
- Forgetting the range hood filter: A greasy filter signals neglect and can block airflow.
- Cleaning floors first: Dust from upper cabinets and countertops falls onto freshly mopped floors.
- Leaving drawers and cabinets full: Inspectors cannot check cleanliness if items are still inside.
- Rushing the process: A quality move out kitchen deep clean takes four to eight hours depending on size and condition.
FAQ: Deep Cleaning Your Kitchen Before Moving Out
How long does it take to deep clean a kitchen before moving out?
Most tenants spend between four and eight hours on a thorough move out kitchen deep clean. The exact time depends on the size of the kitchen, how recently it was cleaned, and the condition of appliances. Plan for a full day to avoid rushing.
Do I need professional cleaning products?
No. A combination of baking soda, white vinegar, dish soap, and a good degreaser can handle nearly every kitchen surface. However, industrial-grade degreasers and specialized oven cleaners can reduce scrubbing time. Always test new products on a small hidden area first.
What if I am moving out of a rented condo or apartment?
Use the same end of tenancy kitchen cleaning checklist. Condos and apartments often have stricter inspection standards because furniture and appliances are shared through many tenancies. Pay extra attention to built-in appliances, cabinet interiors, and ventilation hoods.
Can I charge my tenant for kitchen cleaning if I am a landlord?
If the tenant has not completed a move out kitchen deep clean, you can usually deduct reasonable cleaning costs from the deposit, but only if the kitchen was left below the original condition. Document everything with photos and itemized invoices to support any deduction.
Should I leave the fridge open after cleaning?
Yes. If the refrigerator is empty and turned off, prop the door slightly open with a towel or bowl. This prevents mold and mildew from developing inside while the unit is not in use during the move-out period. Keep it open only if it is unplugged and dry.
Final Verdict: Leave the Kitchen Spotless and Get Your Deposit Back
A successful move-out inspection starts with a clean kitchen. By following this step-by-step guide, you now know how to deep clean your kitchen before moving out from top to bottom. Focus on the areas landlords actually inspect—the oven, range hood, refrigerator, sink, and cabinet interiors—and avoid common mistakes that trigger deposit deductions. With the right supplies, a systematic approach, and enough time, you can leave the kitchen in better condition than you found it and walk away with your full security deposit.