Why Meal Prep Cleanup Overwhelms the Sink
Meal prep cleanup often fails because the sink becomes the default landing zone for vegetable peels, meat trimmings, grease, and dirty cookware. Once the basin fills, you lose your primary washing station and create a clog risk. The fix is to treat the sink as an active workstation, not a waste repository.
Home cooks who batch-cook soups, roasted vegetables, grains, and proteins often generate two to three times more dishes than a standard weeknight dinner. Prep bowls, sheet pans, chef's knives, cutting boards, blender jars, and storage containers move through the kitchen in rapid succession. If every item lands in the sink, the pile becomes unmanageable before the first meal is packed. A better approach starts before the first vegetable is washed.
Start With a Reset: Empty the Sink and Dishwasher
Starting meal prep with an empty sink, clean dish rack, and available dishwasher space prevents yesterday's mess from blocking today's workflow. Clear the basin fully, then position a clean sink strainer at the drain before any food hits the counter. This one move keeps the washing station functional.
When you begin with dirty breakfast plates or last night's pans in the basin, you are already behind. Remove clean dishes from the drying rack, run or empty the dishwasher, and wipe down the sink. If you have a garbage disposal, run it briefly with cold water before prep to clear any lingering debris. This reset makes it possible to rinse produce, wash utensils, and handle cookware without rearranging a pile.
- Put away all clean dishes and clear the counter area around the sink.
- Make sure the dishwasher has room for prep bowls and small tools.
- Set a clean sink strainer or basket in the drain opening.
- Place a dry towel or mat next to the sink for wet tools.
Build a Food-Waste Station Before You Chop
A designated scrap bowl or compost container placed beside the cutting board captures peels, stems, eggshells, and trimmings before they reach the sink. This keeps the basin clearer and reduces the amount of solid material entering the drain. Aim for a container large enough to hold one full prep session.
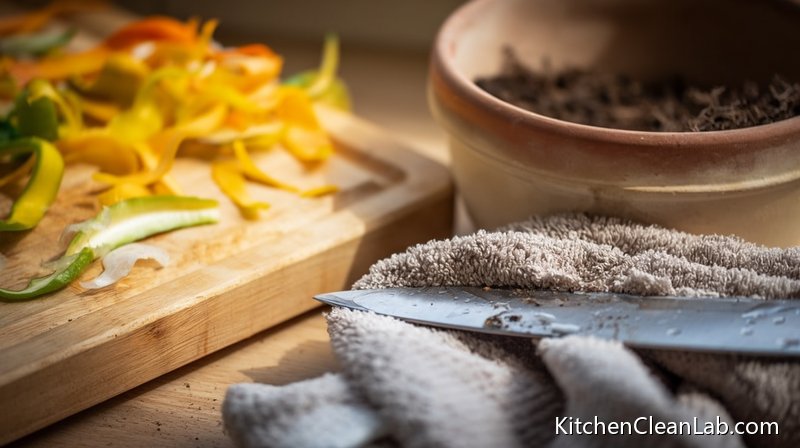
The distance between your prep area and the trash can determines whether scraps end up in the sink. If the bin is across the kitchen or behind a closed cabinet, food waste will collect on the cutting board and eventually get rinsed toward the drain. Set up a lightweight bowl, countertop compost pail, or small bucket directly at the edge of your workspace. As you peel carrots, trim chicken, or crack eggs, slide the waste into the bowl in one motion.
Use two containers if you handle meat and produce. Keep vegetable scraps separate if you plan to make stock, and use a lined container for meat trimmings and packaging. Empty the bowl as soon as it reaches three-quarters full, not when it starts spilling. This single habit removes the largest source of sink clutter.
Use a Sink Strainer as a Backup, Not a Garbage Can
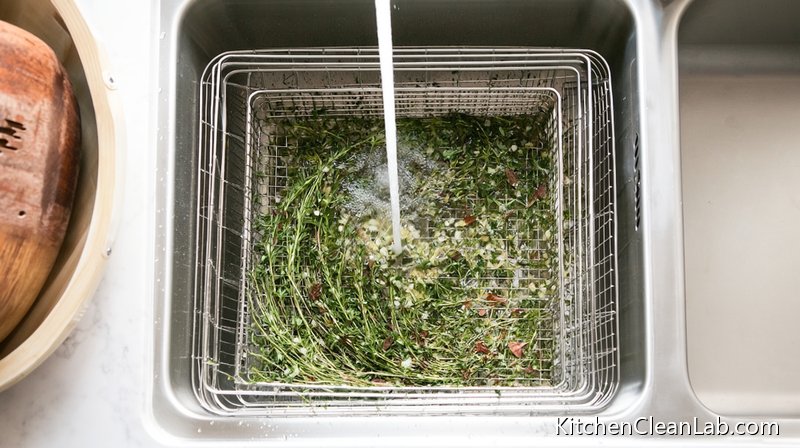
A quality kitchen sink strainer catches small residual food particles that remain during rinsing, but it should not replace scraping. Large scraps belong in the trash or compost first. Once the strainer is in place, it stops stray grains, seeds, and peels from slipping into the drain.
Think of the sink strainer as a safety net. Even careful cooks rinse away small bits of rice, herb stems, coffee grounds, or cooked-on food. Those particles can accumulate in the P-trap or contribute to unpleasant odors. A basket-style strainer with fine mesh or flexible silicone edges catches debris while allowing water to flow. Choose a strainer that fits most standard 3.5-inch kitchen drains and sits flush below the rim. The best designs are dishwasher safe, so you can clean the strainer along with your prep tools.
Place the strainer before cooking starts, not after the sink is already full. This positioning makes the routine automatic:
- Scrape plates, pans, and cutting boards into the waste station.
- Rinse or wash the item in the sink.
- Let the strainer catch the small residuals.
- Empty the strainer into the trash or compost after each major task.
Never shake a full strainer over the drain. Lift it out completely and tap the contents into the trash.
Follow the Scrape-Rinse-Catch-Empty Workflow
The most reliable meal prep cleanup pattern is scrape, rinse, catch, empty. Remove large food debris before dishes touch water, rinse only what needs it, let the sink strainer catch residual solids, then empty the strainer immediately. This prevents a soggy, smelly clog zone from forming.
Most sink overwhelm comes from skipping the scrape step. A plate with half a serving of rice and sauce should never enter the basin as-is. Use a silicone spatula or paper towel to push food into the trash or compost. For baked-on foods, fill the pan with a small amount of warm soapy water and let it sit away from the main washing area, not under a growing stack.
Reserve the sink for washing, not for storing food-soiled dishes. If the dishwasher is full, stack scraped dishes on a tray or bus tub next to the sink. That keeps the basin open for active use. During a long meal prep day, you may produce several rounds of dirty tools. Run a sink of warm soapy water or use a wash basin inside the sink so you can wash small items without filling the entire fixture.
Keep Fats, Oils, and Grease Out of the Drain
Fats, oils, and grease from roasting pans, ground meat, and marinades should never go down the kitchen drain. Even with a garbage disposal, grease cools and coats pipes, leading to clogs. Wipe greasy cookware with a paper towel and collect liquid oil in a sealed container.
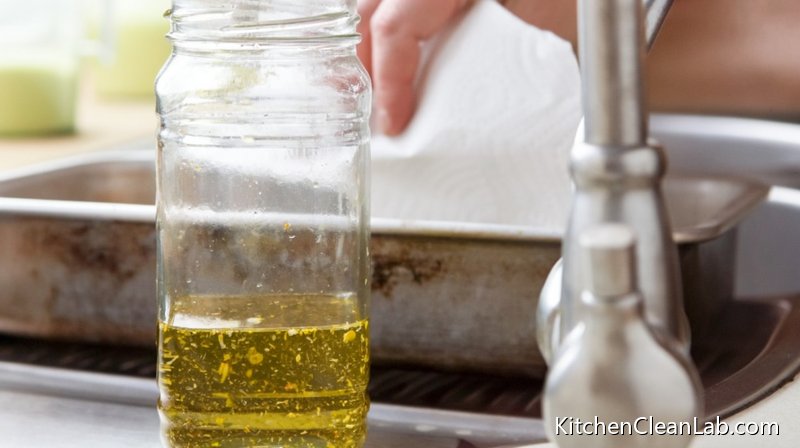
The U.S. EPA warns that fats, oils, and grease, often called FOG, can build up in sewer pipes and pumps. During meal prep, this means bacon fat, chicken drippings, avocado oil, coconut oil, butter, peanut sauce, and salad dressing remnants should stay out of the sink. Instead:
- Pour cooled cooking oil into a heat-safe jar, can, or foil-lined cup, then seal and trash it.
- Wipe greasy pans with a paper towel before washing.
- Use a mesh strainer over a bowl to separate small food bits from used frying oil if you plan to reuse it.
- Run cold water, not hot, when using the garbage disposal to keep any accidental grease from liquefying further down the pipe.
If grease accidentally spills in the sink, wipe the basin with a dry paper towel first, then wash with warm soapy water. Do not pour soap alone down the drain and assume it dissolves the grease.
Clean as You Go Without Derailing Your Cooking
Clean-as-you-go does not mean washing every spoon immediately. Use natural pauses such as oven timers, simmering pots, or resting meat to clear finished prep bowls and wipe counters. This keeps the sink open and prevents one overwhelming end-of-session pile. Focus on tools you will not reuse.
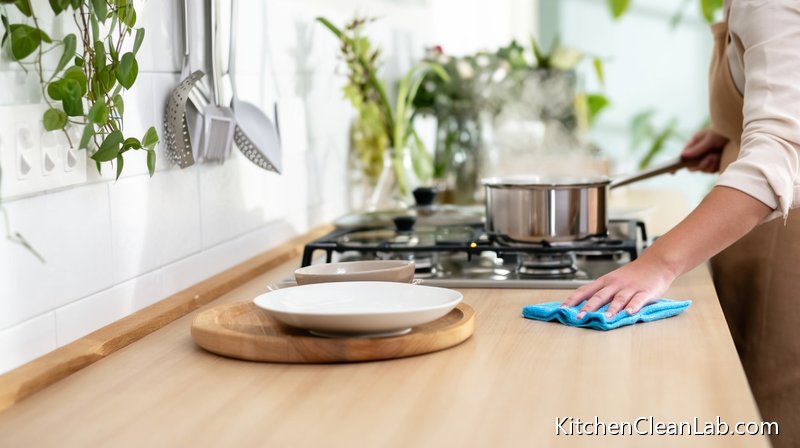
The goal of cleaning as you go is to maintain momentum. If you stop to wash a cutting board while onions are browning, you may burn them. Instead, group small cleaning tasks with kitchen downtime. When a sheet pan goes into the oven, clear the bowls used for chopping. When rice simmers, wash knives and measuring spoons. When stock is cooling, empty the sink strainer and wipe the faucet.
Create a done zone for dirty items that cannot be washed yet. A bus tub or large rimmed baking sheet can hold scraped bowls and utensils without blocking the sink. The key is that items in the done zone are already scraped, so they take seconds to wash or load later.
- Keep a spray bottle of all-purpose cleaner and a microfiber cloth within reach.
- Wipe spills as they happen, especially oils, sauces, and flour.
- Reuse one mixing bowl for multiple dry ingredients when possible instead of dirtying three.
- Wash knives by hand immediately after cutting raw meat to avoid cross-contamination.
Soak Strategically Without Flooding the Basin
Soaking works best in the cookware itself, not in a sink full of standing water. Fill stuck-on pans with warm soapy water and place them on the counter or back burner. This approach frees the sink for active rinsing and prevents a cloudy, greasy water bath.
A sink filled with soaking water becomes unusable for everything else. When you then pile dishes into that water, you create a cold, greasy soup that is harder to clean. For baked-on sheet pans, add a few drops of dish soap and the hottest tap water safe for the pan material. Let it soak on a trivet or unused burner. For stubborn roasted-on residue, add a dryer sheet or a tablespoon of baking soda to the water to help release the film. After soaking, scrape the pan and wash it normally.
If you must soak multiple items, use a large plastic bus tub or wash basin on the counter. That preserves the main sink for handwashing and produce rinsing.
Use the Right Tools for One-Pass Cleaning
The right cleanup tools reduce scrubbing time and keep more debris out of the drain. A pan scraper, long-handled dish brush, sink strainer, and microfiber cloths allow you to remove stuck-on food quickly without filling the basin. Pair these with a dedicated drain catch.
A few inexpensive tools can handle most meal prep messes:
| Tool | Best Use | Why It Helps the Sink |
|---|---|---|
| Silicone pan scraper | Removing stuck-on rice, cheese, and egg | Scrapes debris into trash before washing |
| Basket sink strainer | Catching small residual particles during rinsing | Prevents clogs and septic issues |
| Long-handle dish brush | Washing deep pots and blender jars | Keeps hands out of greasy water |
| Microfiber cloth | Wiping counters, faucets, and the sink basin | Removes residue before it hardens |
| Compost pail or scrap bowl | Collecting peels and trimmings during prep | Diverts large waste from the drain |
Choose tools that are dishwasher safe when possible. Rinse the strainer and sink brush after each heavy session, and replace the strainer if the mesh is torn or the rim no longer seals.
Common Meal Prep Cleanup Mistakes to Avoid
Most sink problems during meal prep come from treating the drain as a garbage disposal substitute, pouring grease down the sink, and letting dishes stack without scraping. Avoid these habits to keep the basin usable and the plumbing clear. Address them early in the prep session.
- Scraping plates over the sink without a strainer. You may think the disposal will handle it, but fibrous peels, pasta, rice, and coffee grounds can clog the mechanism or the line.
- Pouring hot grease into the drain. It may flow now, but it solidifies later in the P-trap or main line.
- Using the sink as a storage rack. A full basin blocks washing and encourages food to fall into the drain as you move items.
- Skipping the initial sink reset. If you start with dirty items in the basin, you create a bottleneck before the first chop.
- Waiting until the end of meal prep to empty the strainer. A full strainer slows drainage and can overflow debris into the pipe.
Step-by-Step: A 10-Minute Reset After Meal Prep
Once the meal prep containers are packed and the last pot is washed, spend ten minutes resetting the sink and surrounding zone. This prevents odors, removes hidden grease, and prepares the kitchen for the next session. The sequence is quick but high-impact, and a timer can keep you focused.
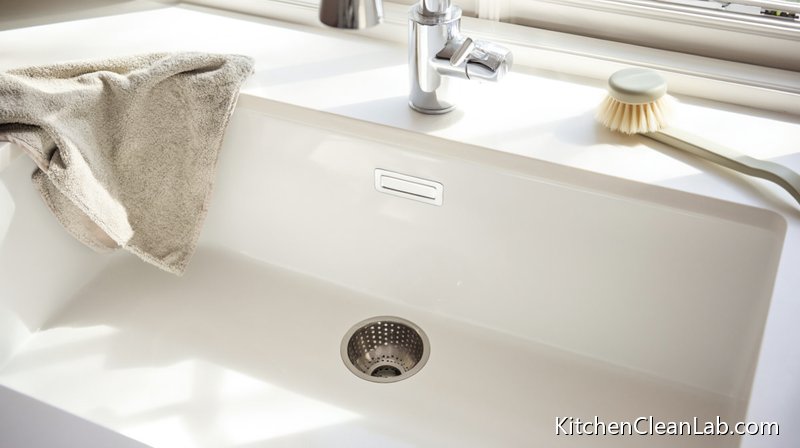
- Empty and rinse the sink strainer. Tap solids into the trash, then wash the strainer with dish soap or place it in the dishwasher.
- Scrape and load remaining dishes. Put dishwasher-safe items in the machine and handwash knives, wooden boards, and nonstick pans.
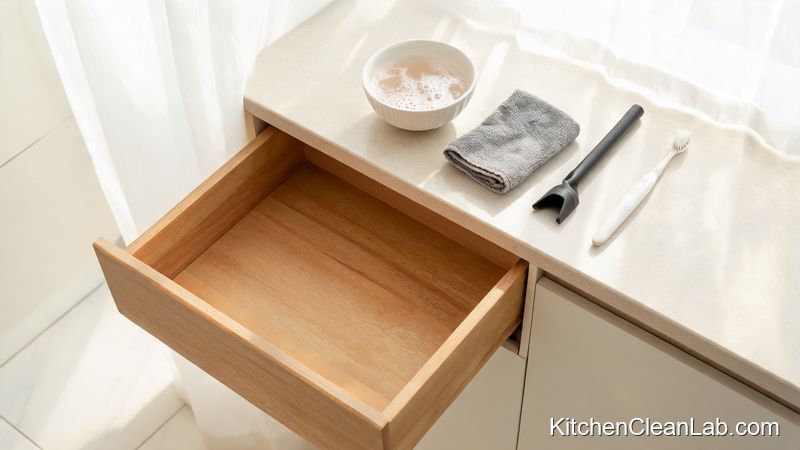
- Wipe down the sink basin. Use a few drops of dish soap or a non-abrasive cleaner. Rinse thoroughly and dry with a microfiber cloth to prevent water spots.
- Run the garbage disposal. If you have one, run cold water for 10 to 15 seconds after the last use. Add a few ice cubes and a slice of lemon to freshen the grinding chamber.
- Take out the trash and compost. Do not leave a full scrap bowl next to the sink overnight, especially in warm weather.
- Set a clean strainer back in the drain. This makes the next meal prep session start easier.
Frequently Asked Questions About Meal Prep Cleanup
Below are the most common meal prep sink questions, covering food scraps, grease, and strainer use with garbage disposals. These answers follow EPA guidance and practical kitchen workflow so you can avoid drain damage and bad odors. Read on for specific fixes that take seconds to apply.
How do I stop food scraps from going down the sink during meal prep?
Set up a dedicated waste bowl or compost pail directly next to your cutting board. Scrape every plate, pan, and prep tool into this container before rinsing. Place a basket sink strainer in the drain as a backup, and empty it after each major prep task. Avoid using the garbage disposal for fibrous scraps like onion skins, celery, and corn husks.
Can I put meal prep grease down the garbage disposal?
No. Garbage disposals grind solid food but do not safely handle fats, oils, and grease. Running hot water and dish soap will not prevent grease from cooling and coating the pipes downstream. Wipe greasy pans with a paper towel and pour cooled oil into a sealed container for the trash.
What is the fastest way to clean a sink after meal prep?
Empty the strainer, scrape and load dishes, then wash the basin with warm water and a few drops of dish soap. Use a damp microfiber cloth to wipe the sides and faucet, then dry with a clean towel. Run the disposal with cold water if you have one. The entire reset usually takes under ten minutes.
Should I use a sink strainer if I have a garbage disposal?
Yes. A sink strainer still catches small non-grindable items like fruit labels, rubber bands, and large pieces of shell. It also makes it easier to see what would otherwise enter the disposal. Choose a strainer designed for garbage disposal openings and remove it only when you are actively running the disposal.
Keep the Basin Functional, Not Full
Meal prep cleanup works when the sink stays available for washing rather than becoming a holding pen. A clear basin, nearby waste station, reliable sink strainer, and consistent scraping habit stop clogs and reduce post-cooking fatigue. That is the entire strategy, repeated every session.
The biggest shift is mental. Once you stop treating the sink as the destination for every dirty dish and food scrap, meal prep cleanup stops feeling overwhelming. Use the sink for washing, use the trash or compost for waste, and use a strainer for the small bits you cannot avoid. That distinction keeps your plumbing safer, your kitchen more organized, and your cooking flow much smoother. Even a marathon session, roasting vegetables, searing chicken, cooking grains, and portioning containers, can end with a clean, dry, ready-to-use sink in about ten minutes.