Why Deep Cleaning Kitchen Drawers and Cutlery Trays Matters More Than You Think
Direct answer: Deep cleaning removes trapped crumbs, grease, and moisture that cause odors, stains, mold, and pantry pests. Using a dry-first, damp-second method protects wood, laminate, and cutlery trays while restoring hygiene and extending the life of cabinetry.
Kitchen drawers are a blind spot in many cleaning routines. You might wipe the counter every day and still overlook the drawer holding your silverware. Crumbs, sugar, flour, and tiny oil droplets settle into corners and underneath the cutlery tray. Add a little humidity from damp utensils, and you create a film that smells musty and attracts bacteria, yeast, and pantry insects.
From a practical standpoint, the goal is not to soak the drawer, but to remove dry debris first, then use the least moisture needed. Solid wood, engineered wood, and laminate drawer boxes can swell, warp, or delaminate when exposed to excess water. A barely damp microfiber cloth is usually enough for routine deep cleaning. Harsh disinfectants and bleach are rarely necessary and can damage finishes or leave chemical residue near food-contact surfaces.
Regular deep cleaning also helps you catch early signs of pantry moths, bread beetles, and mold. The earlier you spot webbing, larvae, or dark speckles, the easier the fix will be.
How Often Should You Deep Clean Kitchen Drawers and Cutlery Trays?
Direct answer: Clean cutlery drawers every two to four weeks, utensil drawers every one to two months, food storage drawers every time you restock, and all drawer interiors, fronts, and runners twice yearly. Cooktop-adjacent drawers need light degreasing every two to three weeks.
Frequency depends on use, but a fixed rhythm prevents buildup. The table below is a practical schedule for most households.
| Drawer Type | Recommended Deep Clean | Common Problems | Safety Notes |
|---|---|---|---|
| Cutlery drawer | Every 2 to 4 weeks | Crumbs under tray, sticky film, water marks | Remove tray completely; dry cutlery before returning |
| Utensil drawer | Every 1 to 2 months | Greasy handles, dried food residue, wood spoon marks | Hand-wash wooden tools; avoid soaking wooden organizers |
| Food storage drawer | Every restock and before refilling | Flour spills, sugar crystals, moth eggs, beetle larvae | Use airtight containers; check packaging dates and webbing |
| Drawer under cooktop | Every 2 to 3 weeks | Grease film, dust on pans, sticky runners | Use mild degreaser on sealed surfaces; dry runners |
| All drawers, full reset | Twice a year | Runners, fronts, handles, liners, hidden corners | Check soft-close hardware; do not oil runners unless specified |
If someone in the household has allergies or respiratory sensitivities, consider cleaning the cutlery drawer more often and vacuuming instead of sweeping to avoid stirring dust into the air.
Tools and Cleaning Solutions You Actually Need
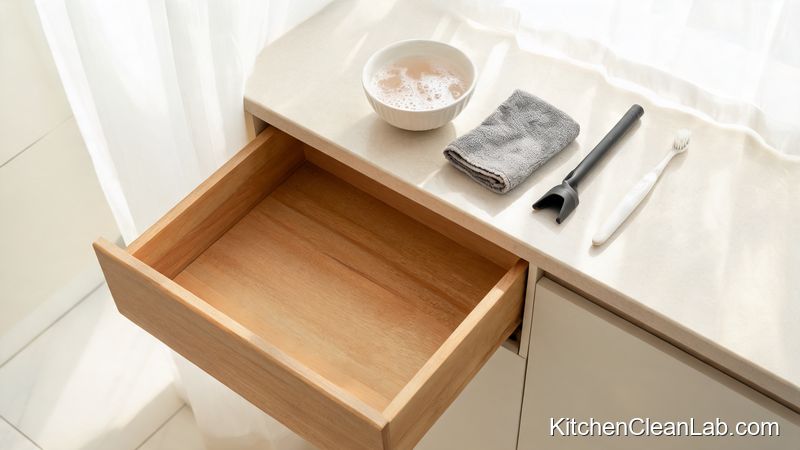
Direct answer: Use a vacuum crevice tool or dry brush, two microfiber cloths, mild dish soap, warm water, a soft toothbrush, and food-safe mineral oil for wood. Avoid abrasive scrubbers, bleach, and spraying water directly into drawer boxes.
You do not need specialty kitchen-drawer cleaners for most jobs. A simple, controlled setup works better and reduces the risk of damaging cabinet materials.
- Vacuum cleaner with crevice tool or a dry paintbrush/hand brush
- Two clean microfiber cloths — one damp, one dry
- Mild liquid dish soap or castile soap
- Warm water in a small bowl, not sprayed directly
- Soft-bristled toothbrush for corners, crevices, and tray slots
- Cotton swabs for runner edges and handle crevices
- Food-safe mineral oil or beeswax for untreated wood or bamboo trays
- Baking soda for odor absorption and gentle stain lifting
- White vinegar diluted 1:2 with water for sealed exterior grease, if needed
Always test cleaners on a hidden spot first, especially on painted, foiled, or high-gloss drawer fronts. Wear kitchen gloves if you have sensitive skin or are handling heavily soiled trays. Provide ventilation if you use vinegar or any degreaser.
Step-by-Step: Deep Cleaning Kitchen Drawers and Cutlery Trays
Direct answer: Empty the drawer, vacuum dry debris, then wipe with a barely damp cloth and dry immediately. Clean the tray by material, degrease fronts and hardware, and only return items when everything is completely dry.
Step 1: Empty, Declutter, and Inspect
Take everything out, including the cutlery tray, non-slip liner, and any drawer mat. Place items on a clean towel on the counter. This is the moment to remove duplicate ladles, unused gadgets, broken clips, and expired food packets. For food drawers, check dates and packaging.
While the drawer is empty, inspect for fine webbing, small larvae, reddish-brown beetles, or musty patches. Pantry moths and bread beetles often enter through packaged food. If you find signs of an infestation, isolate affected food and clean the drawer thoroughly before restocking.
Safety note: Handle knives and sharp tools carefully. Place blades in a separate container or keep them visible on the towel.
Step 2: Vacuum or Dry-Brush First
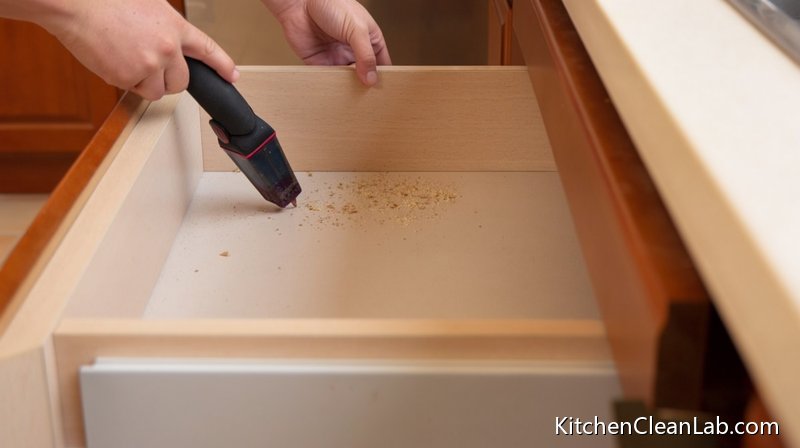
Never start with a wet cloth. Sugar, flour, and starch turn into sticky paste when wet. Instead, use the crevice tool to vacuum the empty drawer base, corners, side grooves, and the area where the drawer slides meet the box. A dry paintbrush or hand brush works if you do not have a vacuum.
Pay special attention to the underside edges of the cutlery tray and the rear corners. Most crumbs hide there.
Step 3: Wipe the Drawer Box with a Barely Damp Cloth
Mix warm water with a few drops of mild dish soap. Dampen one microfiber cloth, then wring it out hard. It should feel cool and barely wet, not dripping. Wipe the base, sides, and front inside face of the drawer. Follow immediately with a dry cloth to remove any residual moisture.
For greasy drawer boxes under the cooktop, add a small amount of diluted white vinegar or a mild degreaser to your cloth only, never directly onto the wood. Use a soft toothbrush to clean corners and silicone or rubber edge seals. Do not soak chipboard, MDF, or solid wood. If the bottom feels rough or swollen, check for previous water damage.
Step 4: Clean and Sanitize the Cutlery Tray and Dividers
The cutlery tray is often dirtier than the drawer itself. The method depends on the material:
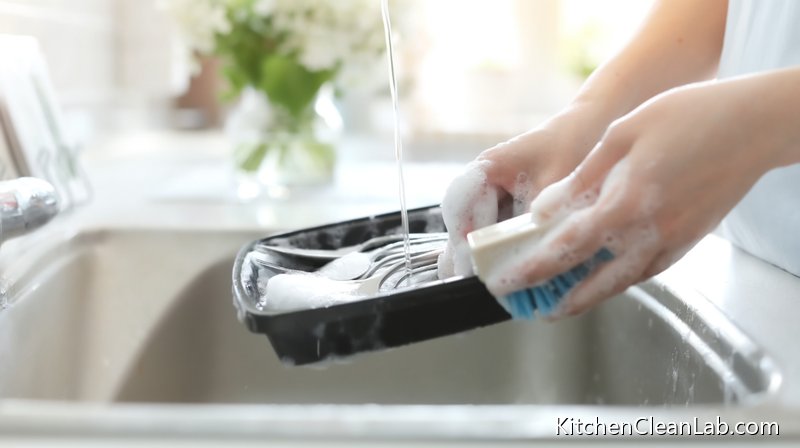
- Plastic tray: If the manufacturer allows dishwasher use, wash it on the top rack. Otherwise, hand-wash in the sink with hot water, dish soap, and a bottle brush. Rinse thoroughly and dry completely.
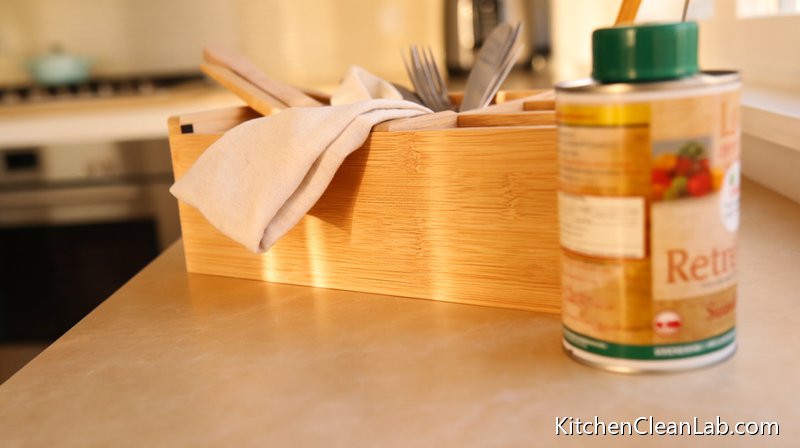
- Wooden or bamboo tray: Never soak or place in the dishwasher. Wipe all compartments with a damp cloth and a small amount of soap, then dry immediately. Apply a light coat of food-safe mineral oil or beeswax if the wood looks dry or dull.
- Metal or coated wire dividers: Wash by hand with mild soap. Avoid steel wool or abrasive pads that can scratch plating. Dry promptly to prevent rust.
Check tray compartments for sticky residue, mold spots, or insect eggs. A cotton swab dipped in warm soapy water reaches narrow slots. Rinse any soap film, because residue can transfer to cutlery.
Step 5: Degrease Fronts, Handles, and Runners
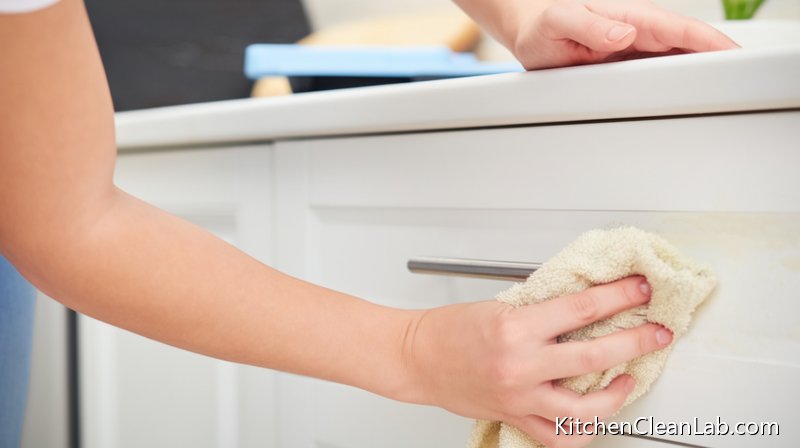
Drawer fronts and handles are the most touched surfaces in the kitchen. Wipe them with a damp microfiber cloth and mild soap. For drawers next to the hob, a 1:2 white vinegar to water solution can cut the grease film on sealed painted, gloss, or laminate fronts. Test first on an inconspicuous edge.
Wipe the metal or nylon runners and side rails with a dry or barely damp cloth only. Do not oil or grease drawer runners unless the manufacturer explicitly says so, because oil attracts dust and can damage soft-close mechanisms. If a drawer sticks or the soft-close feature fails, contact a qualified handyman or property management rather than forcing it.
Step 6: Dry Completely and Reline or Protect
Before reassembling, verify that the drawer interior, tray, and organizer are completely dry. Wet cutlery or a damp tray is a common cause of musty odors, water marks, and swollen drawer bases. Wash non-slip liners and plastic drawer mats by hand in warm soapy water, or according to the label, and let them air dry fully.
Return only items that are clean and dry. To prevent future buildup, consider adding a washable drawer liner and using compartment organizers that can be removed easily for cleaning. For food drawers, transfer open dry goods to airtight containers.
How to Remove Stubborn Grease and Odors Without Damaging Drawer Surfaces
Direct answer: Use warm water with a few drops of dish soap for light grease, or a 1:2 vinegar-water mix on sealed exteriors for heavier film. For odors, dry the drawer completely, then leave an open box of baking soda inside overnight before vacuuming it out.
Grease film can be stubborn, but aggressive scrubbing is usually unnecessary and often harmful. Work in layers:
- Light greasy film: Warm water and dish soap on a microfiber cloth.
- Heavier cooktop-adjacent grease: Diluted white vinegar on sealed painted or laminate fronts; test first.
- Sticky residue inside a plastic tray: Make a paste of baking soda and water, apply with a soft brush, then rinse and dry.
- Musty odor in a wooden drawer: After dry cleaning and wiping, place an open container of baking soda or activated charcoal inside for 12 to 24 hours. Remove and vacuum.
- Persistent mildew-like smell: Inspect the back panel and bottom for water damage. If wood is swollen or soft, you may need refinishing or professional repair.
Do not mask odors with scented liners or air fresheners. The source—moisture or trapped organic matter—must be removed first.
Common Mistakes That Ruin Kitchen Drawers and Cutlery Trays
Direct answer: Avoid wiping with a wet cloth before vacuuming, soaking wood or chipboard, washing wooden trays in the dishwasher, putting damp cutlery back, and using oil on runners. These mistakes cause swelling, warping, stale odors, rust, and finish damage.
- Wiping wet instead of barely damp: Excess water penetrates wood and glued joints, causing swelling and delamination.
- Starting with a damp cloth before removing crumbs: Sugar and flour turn into a sticky paste that spreads the mess.
- Putting wooden or bamboo trays in the dishwasher: Heat and moisture cause cracking, warping, and rough grain.
- Returning damp cutlery or trays to a closed drawer: This creates a humid microclimate that smells and can lift laminate.
- Oiling runners or slides: Most modern slides are designed to run dry; oil collects dust and causes sticking.
- Using harsh abrasives on gloss or foil fronts: Scratches are permanent and trap dirt.
- Ignoring early pest signs: A few moth eggs or beetle larvae can become a large infestation inside stored food.
FAQ: People Also Ask About Deep Cleaning Kitchen Drawers and Cutlery Trays
Direct answer: These answers cover dishwasher safety for plastic trays, removing musty drawer smells, sticky cutlery trays after washing, and protecting drawers from future crumbs and spills.
Can I put a plastic cutlery tray in the dishwasher?
Often yes, but check the manufacturer stamp or label first. Many heat-safe plastic trays can go on the top rack away from the heating element. If the plastic is thin, hand-wash it to prevent warping. Wooden, bamboo, or melamine-covered trays should never go in the dishwasher.
How do I get a musty smell out of a kitchen drawer?
Empty the drawer, vacuum thoroughly, and wipe with a barely damp cloth. Let it air dry fully, preferably open, for several hours. Place baking soda or activated charcoal inside overnight to absorb residual odor. If the smell remains, inspect the bottom and back panel for hidden water damage or mold.
Why does my cutlery tray feel sticky after cleaning?
A sticky film usually means too much dish soap was left behind, or oily residues were not fully removed. Wash the tray again with hot water, use less soap, and rinse thoroughly. For plastic trays, a diluted vinegar rinse can help cut grease; for wooden trays, wipe with clean water and dry immediately.
How do I keep kitchen drawers from getting dirty so quickly?
Use removable, washable drawer liners, store dry goods in airtight containers, and only place completely dry utensils back in the tray. Wipe cutlery tray compartments and handles weekly with a dry or slightly damp cloth, and vacuum drawer bases monthly to stop crumbs from building up.
A Practical Maintenance Routine That Keeps Drawers Clean Longer
Direct answer: Do a weekly 30-second wipe of cutlery tray compartments and drawer handles, return only dry items, use washable liners, and schedule a full drawer reset twice a year. This prevents biofilm, pest issues, and swollen wood.
Deep cleaning is not something you need to do every week once the system is in place. A simple rhythm works best:
- Weekly: Wipe the cutlery tray and handles with a dry microfiber cloth. Spot-clean any visible crumbs.
- Monthly: Empty the cutlery drawer, vacuum, and wipe the inside with a barely damp cloth.
- Every restock: Empty food drawers, inspect packaging, wipe spills, and check for pests.
- Twice a year: Pull all drawers out, clean fronts, runners, handles, trays, and liners, and leave drawers open briefly to air.
This routine is faster than a major restoration later. It protects the drawer box, keeps silverware and utensils genuinely clean, and makes your kitchen feel more organized. When every item that goes back is dry and every liner is washable, you eliminate most drawer odors and grease problems at the source.