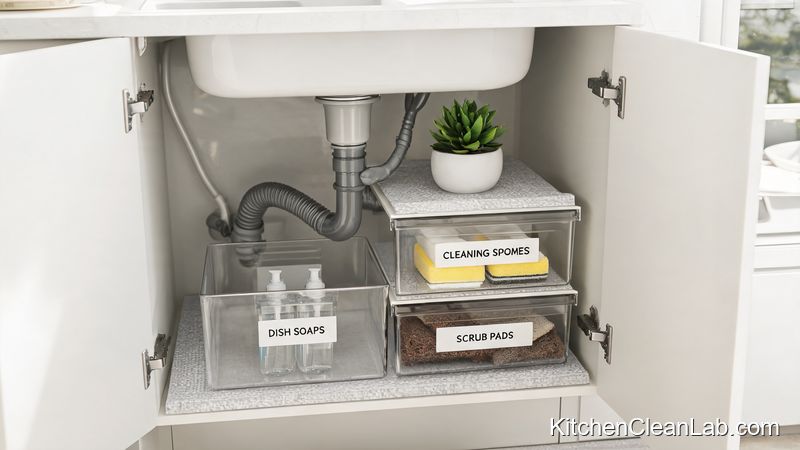
Why Your Kitchen Is a Hidden Bacteria Hotspot
Your kitchen often harbors more bacterial contamination than many bathroom surfaces because moisture, food residue, and frequent hand contact create ideal growth conditions. Focus on high-touch, damp, or porous surfaces rather than only visible spills to reduce foodborne illness risks.
NSF International household studies have repeatedly pointed to the kitchen sponge and sink areas as top bacterial reservoirs. The problem is not just visible grime; bacteria form protective biofilms on wet, scratched, or mineral-coated surfaces. A quick spray-and-wipe often removes only the top layer of grime while leaving viable pathogens beneath. Understanding where these colonies hide changes how you clean.
The five spots below are the ones most often missed in routine kitchen cleaning. They share three traits: they stay damp, they are touched often, or they have crevices that trap organic matter. The cleaning protocols here focus on breaking up biofilm, drying surfaces thoroughly, and using the right sanitizing method for each material.
1. The Kitchen Sponge: The Damp Bacteria Incubator
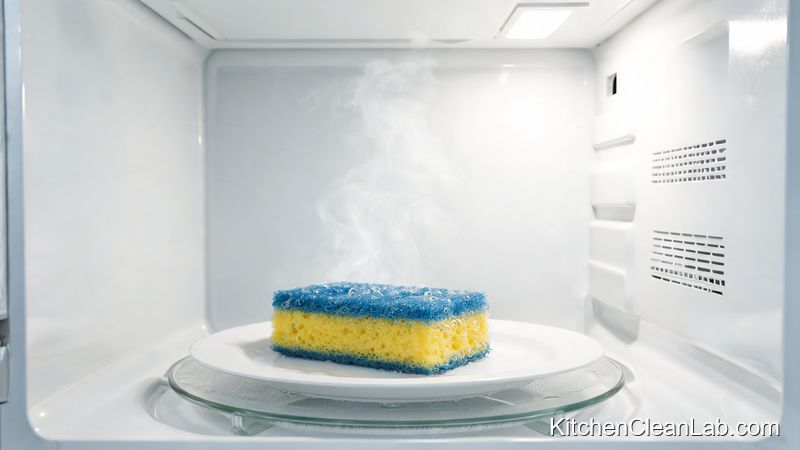
Sponges stay damp, trap food particles, and routinely test positive for E. coli and Salmonella. Sanitize a fully wet sponge in the microwave for one minute, or run it through a dishwasher sanitizing cycle, and replace it every two weeks.
The tool you use to wash dishes can easily become the filthiest item in the house. A sponge offers exactly what bacteria need: moisture, trapped nutrients, and warm temperatures. Rinsing with soapy water is not enough because soap does not reliably kill pathogens, and squeezing the sponge does not remove the microscopic organic matter trapped inside its pores.
How to clean it safely:
- After every use, rinse the sponge thoroughly under hot water and wring it out until it is as dry as possible.
- Store it in a well-ventilated sponge holder, not a closed dish or a flat sink caddy where water collects.
- Once a day, sanitize it by placing a fully wet sponge in the microwave for 60 seconds. It must be wet to avoid a fire hazard.
- If you prefer, run it through the top rack of the dishwasher on a high-heat sanitizing cycle.
- Replace kitchen sponges every two weeks, or sooner if they smell sour. The odor means bacterial byproducts have already spread through the material.
If you are handling raw poultry or cleaning up after high-risk foods, use a disposable paper towel or a dedicated dish brush. Brushes dry faster than sponges and are easier to sanitize by soaking in diluted bleach.
2. Refrigerator Seals, Handles, and High-Touch Appliance Controls
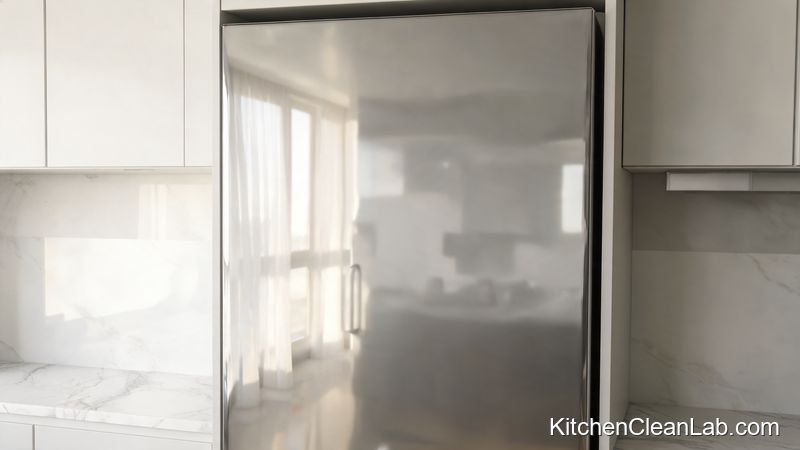
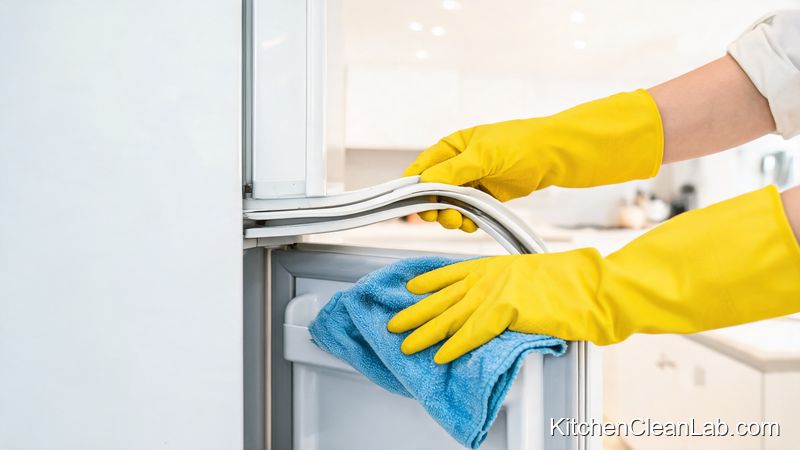
Refrigerator door seals, handles, and appliance controls collect raw food juices, skin oils, and moisture, supporting Listeria and E. coli. Wipe handles daily with disinfectant; scrub seals weekly with a brush and white vinegar solution to reach folded rubber.
Think about the number of times you open the fridge while handling raw meat, unwashed produce, or your phone. Handles and touch panels get direct contact, but rubber seals are worse because their accordion folds trap crumbs and condensation. Food spills, especially liquid from meat packaging, can seep into the seal and stay there for weeks in a slightly warm environment.
For handles and buttons:
- Spray a microfiber cloth with an all-purpose disinfectant or a 50/50 mix of white vinegar and water. Do not spray liquid directly onto electronic panels or digital displays.
- Wipe the refrigerator handle, stove knobs, microwave controls, kettle handle, and coffee maker buttons at the end of each day.
- Dry with a clean microfiber cloth to prevent moisture from settling around seals and switches.
For refrigerator seals:
- Pull the rubber gasket back gently and vacuum or wipe out visible crumbs with a dry cloth.
- Scrub the folds with a dedicated soft toothbrush dipped in a solution of equal parts white vinegar and warm water.
- If you see black or pink mold, use a diluted bleach solution made with 1 tablespoon of unscented chlorine bleach per 1 gallon of water. Ventilate the kitchen and wear gloves. Never mix bleach with vinegar or ammonia.
- Rinse with plain water and dry the seal completely before closing the door.
3. The Sink Basin, Drain, and Faucet Aerator
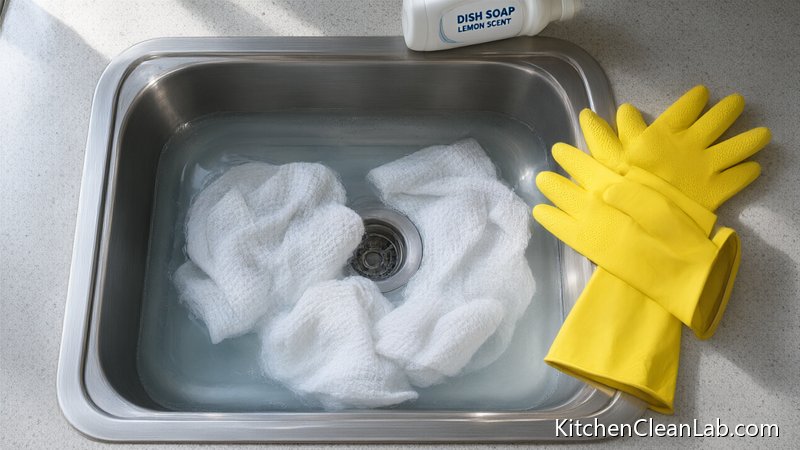
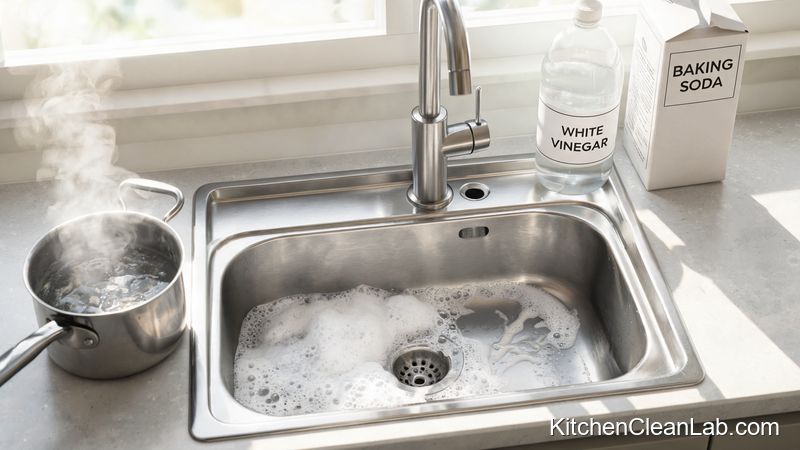
Your sink drains and faucet aerators build biofilms shielded by limescale and food waste. Scrub the basin daily and flush drains weekly with baking soda, vinegar, and boiling water; soak aerators monthly in vinegar.
Soapy water flowing through a sink does not sanitize it. Food scraps, raw meat juices, and standing water create a slimy biofilm across the basin and inside the drain. Over time, the drain can actually feed bacteria back toward the surface. The small mesh screen at the tip of the faucet, called an aerator, is another often-forgotten spot. Mineral buildup on the aerator gives bacteria a rough surface to cling to, and water splashing from dirty dishes can introduce new pathogens every day.
Daily sink basin cleaning:
- After doing dishes, remove food particles and scrub the basin with a non-abrasive cleaner or a paste of baking soda and water.
- Pay attention to the rim around the drain and the underside of the faucet base.
- Rinse thoroughly and wipe with a dry microfiber cloth to reduce standing water.
Weekly drain and aerator protocol:
- Pour one-half cup of baking soda down the drain.
- Follow with one cup of heated white vinegar and let the mixture fizz for ten minutes.
- Flush with a full kettle of boiling water to help break up grease and biofilm.
- Unscrew the faucet aerator and soak it in white vinegar for thirty minutes. Scrub gently with an old toothbrush, then rinse and reattach.
4. Cutting Boards, Knife Blocks, and Blender Gaskets
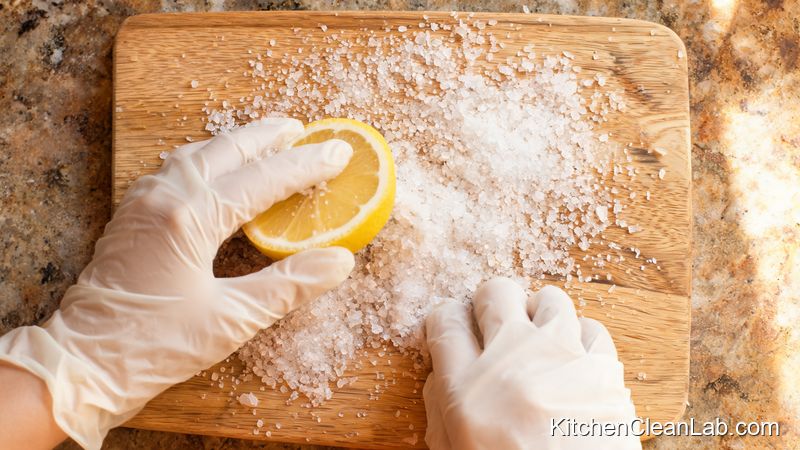
Knife grooves on cutting boards and damp rubber blender gaskets trap bacteria that ordinary rinsing cannot reach. Disinfect plastic boards in a dishwasher sanitizing cycle; scrub wooden boards with salt and lemon; disassemble blender bases after each use.
Cutting boards develop microscopic grooves from knives. Those crevices hold meat juices and tiny food particles even after a quick wash. Wood and plastic both present risks, but they require different methods. Plastic boards can often handle a dishwasher sanitizing cycle, while wooden boards need a non-soaking method that cleans without driving moisture deep into the grain.
Cutting board cleaning:
- Plastic cutting boards: place them in the dishwasher on a high-heat sanitizing cycle. If washing by hand, use hot water and a scrub brush, then apply a diluted bleach solution of 1 tablespoon bleach per 1 gallon of water.
- Wooden cutting boards: sprinkle coarse salt over the board, then scrub with the cut side of half a lemon. Let it sit for three to five minutes, rinse, and dry upright. Do not soak wood in water.
- Replace cutting boards when deep cracks or grooves form, because those areas cannot be reliably sanitized.
Knife blocks and blender gaskets:
- Knife blocks: tip the block upside down to shake out debris, then clean the slots with a pipe cleaner or thin brush dampened with a mild bleach solution. Let the block dry for 24 hours before replacing knives.
- Blender gaskets: after every use, unscrew the blender base, remove the rubber gasket, and wash it separately with hot soapy water. Do not simply rinse the jar; milk and fruit residue collect under the seal and form a slimy biofilm.
5. Crisper Drawers and Small Appliance Handles
Refrigerator crisper drawers trap moisture from produce, allowing mold, yeast, and Listeria to build. Remove drawers monthly, wash them in warm soapy water, dry completely, and wipe kettle or coffee maker handles daily.
The bottom drawers of the refrigerator hold loose vegetables, unwashed fruit, and sometimes forgotten leftovers. Moisture gets trapped in these compartments, especially if produce bags leak or condensation builds. Because they are cold but not freezing, crisper drawers can support mold, yeast, and bacteria such as Listeria monocytogenes.
Monthly crisper drawer cleaning:
- Empty the drawers completely and check for spoiled produce or standing liquid.
- Pull the drawers out of the refrigerator. Most models allow you to tilt and lift them free.
- Wash them in the sink with warm water and mild dish soap. For visible mold, use a food-safe sanitizing wipe or diluted vinegar solution after washing.
- Rinse well and let them air dry completely before putting them back and restocking produce.
Small appliance handles:
- Wipe kettle, coffee maker, and toaster oven handles daily with disinfectant. These are high-touch surfaces that often get skipped because they look clean.
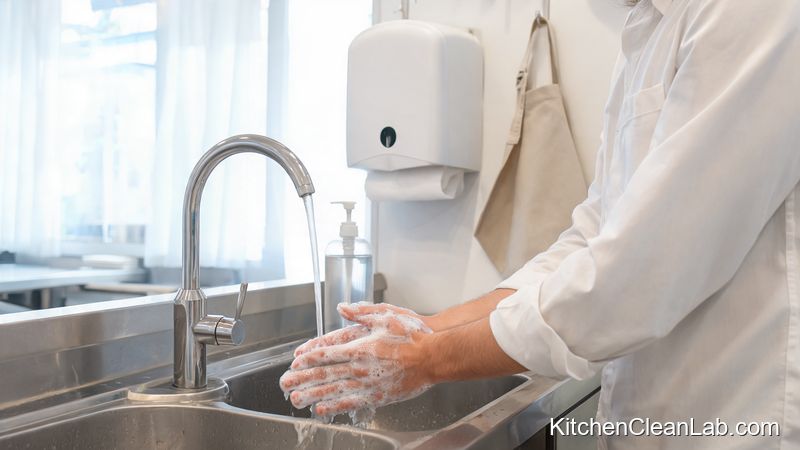
- Prepare food only after washing hands, but still clean appliance handles at the end of the day to break the cross-contamination chain.
A Step-by-Step Weekly Kitchen Sanitizing Routine
Tackle high-risk spots in order: dry surfaces first, clean visible debris, then disinfect, and allow proper drying. Focus on the sponge, sink drain, handles, seals, and cutting boards at least weekly to interrupt bacterial growth.
This routine takes about twenty minutes and prevents hidden bacteria from becoming a deeper problem.
- Start with the sink: remove dishes and food scraps, then scrub the basin and rim.
- Remove the sponge and sanitize it. If it is more than two weeks old, replace it.
- Wipe all handles, knobs, and appliance touch points with a disinfectant-dampened cloth.
- Scrub the refrigerator seal and dry it completely.
- Flush the sink drain with baking soda and vinegar, then boiling water.
- Inspect and clean cutting boards, knife blocks, and blender gaskets as needed.
- Empty and wash crisper drawers monthly, or sooner if you see spills.
| Hotspot | Why It Harbors Bacteria | Cleaning Frequency | Recommended Method |
|---|---|---|---|
| Kitchen sponge | Damp, porous, holds food particles | Sanitize daily; replace every 2 weeks | Microwave wet sponge for 60 seconds or dishwasher sanitize |
| Refrigerator seals and handles | High touch, moisture, raw food juices | Handles daily; seals weekly | Disinfectant or vinegar solution with soft brush |
| Sink basin, drain, aerator | Biofilm and standing water | Basin daily; drain weekly; aerator monthly | Scrub basin; baking soda and vinegar flush; vinegar soak |
| Cutting boards | Knife grooves trap meat juices | After each use; deep sanitize weekly | Dishwasher sanitizing for plastic; salt and lemon for wood |
| Crisper drawers | Trapped moisture and spoiled produce | Monthly or after spills | Remove, wash in warm soapy water, dry completely |
Common Mistakes That Make Kitchen Bacteria Worse
Using one damp cloth to wipe multiple surfaces, rinsing raw chicken, and spraying liquid directly onto appliance electronics spread bacteria and damage equipment. Use separate cloths, sanitize daily, and avoid cross-contamination when handling raw meat.
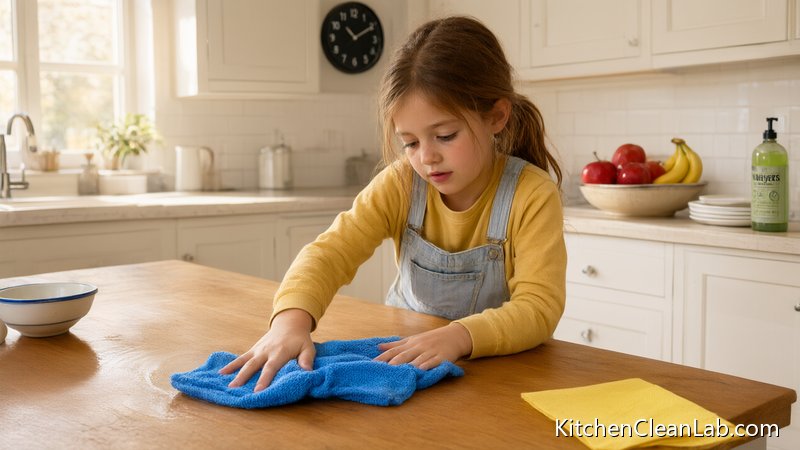
- Wiping with the sponge you used for dishes. That transfers bacteria from the sink to counters. Keep a separate dish brush or disposable cloth for food contact surfaces.
- Rinsing raw chicken. USDA and CDC guidance advises against washing raw poultry because contaminated droplets can spread Salmonella around the sink and nearby counters. Cook to a safe internal temperature instead.
- Mixing bleach with vinegar or ammonia. This creates toxic chlorine gas. Use one product at a time and ventilate the room.
- Reusing a sour-smelling sponge. Odor is a sign of bacterial breakdown. Replace the sponge immediately, not just when it looks dirty.
- Soaking wooden cutting boards. Long exposure to water warps wood and opens cracks that make bacteria harder to remove.
- Skipping the dry step. Bacteria need moisture. A surface that remains wet after cleaning can quickly re-colonize, especially around seals and drains.
FAQ: Kitchen Bacteria Hotspots and Cleaning Questions
These common questions clarify how to sanitize kitchen bacteria hotspots without damaging appliances or boards. The answers cover sponge replacement, vinegar effectiveness, safe appliance cleaning, and wood board disinfection.
How often should you replace a kitchen sponge?
Replace a kitchen sponge every two weeks. If the sponge has a sour odor or has been used to wipe up raw meat juices, replace it immediately. Between uses, wring it out and sanitize it daily by microwaving a wet sponge for one minute or running it through a dishwasher sanitizing cycle.
Does vinegar actually kill kitchen bacteria?
White vinegar has mild antibacterial properties and works well for dissolving limescale and loosening biofilm, but it is not a registered disinfectant. Use it for routine cleaning and mineral buildup, but switch to a disinfectant labeled as EPA-registered or a properly diluted bleach solution when high-risk raw meat contamination is involved.
What is the safest way to clean refrigerator handles and touch screens?
Spray a microfiber cloth with a disinfectant or a 50/50 vinegar-water solution, then wipe the surface. Never spray liquid directly onto touch panels or digital controls. Dry the area afterward to prevent moisture from reaching electrical components and gaskets.
Can you clean wooden cutting boards with bleach?
Avoid soaking wooden cutting boards in bleach because it damages the wood and may leave harmful residue. Instead, scrub with coarse salt and lemon, rinse, and dry upright. If you need stronger disinfection, use a food-safe sanitizing spray made for wood surfaces and follow the product label.
Final Word on a Safer Kitchen
A safer kitchen requires cleaning hidden high-touch and high-moisture spots, not just clearing visible spills. Add the five hotspots above to a weekly routine and replace sponges, cracked boards, and damaged seals promptly.
The real takeaway is that kitchen sanitation is about consistency and the right methods, not expensive products. Separate food-contact cleaning tools, dry surfaces thoroughly, and treat drains, seals, and handles as part of the daily cleanup rather than monthly deep-cleaning projects. When those habits become routine, the kitchen stops being a hidden reservoir for bacteria and becomes a safer place to prepare food.