Why a One-Afternoon Pantry Reset Works
You can clean and organize pantry shelves in three to five hours when you follow a strict sequence: clear every surface, purge expired or unused food, create meal-based zones, measure carefully, contain only what needs containing, and label every home. Speed keeps decisions sharp and prevents overthinking.
Most pantry messes return because people skip cleaning and buy organizers before they understand shelf dimensions. A one-afternoon reset forces you to finish the entire task while the kitchen is already torn apart. Even a small pull-out cabinet or a shelf above the refrigerator can be reset with the same rhythm.
Professional organizers often call the pantry the hardest room because food constantly enters the house. Unlike a hall closet, you cannot stop shopping. That is exactly why the system has to be simple enough to maintain on a busy weeknight. If a child or partner cannot return an item to the correct zone within five seconds, the system is too complicated.
Step 1: Empty the Shelves and Clean the Surfaces
Pull every jar, box, and can off the shelves, then vacuum out loose crumbs and wipe each surface with a food-safe cleaner. Let the shelves dry completely before any food returns; this removes dust, sticky spills, and pest eggs that often hide behind forgotten jars.
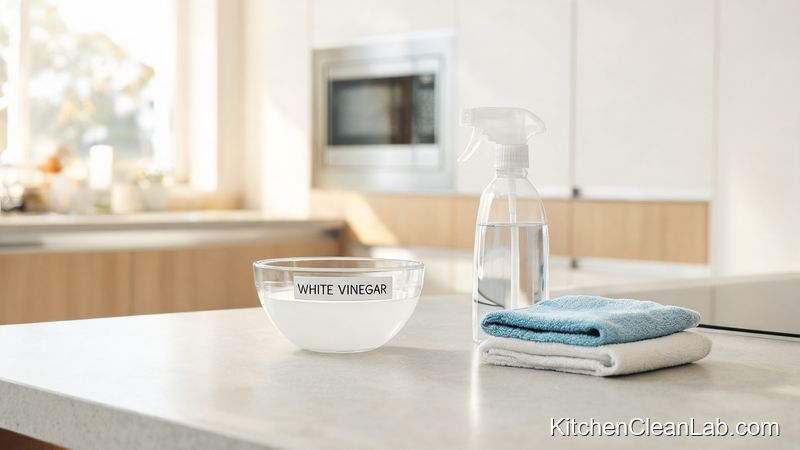
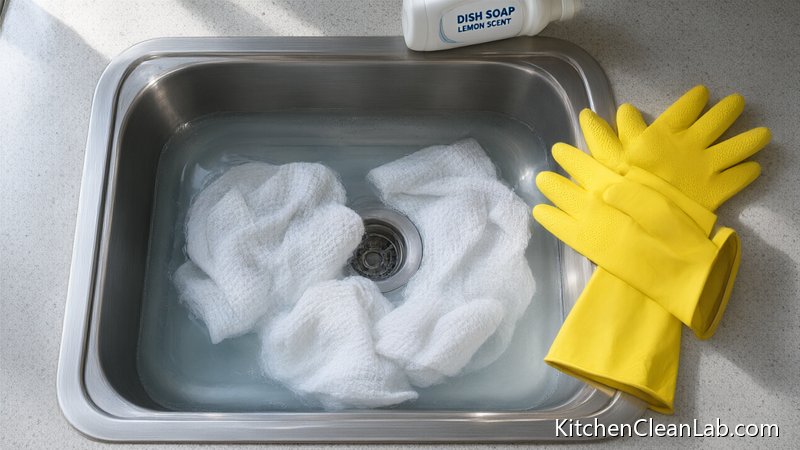
Use a sturdy step stool with non-slip feet. A kitchen chair is not rated for this reach and can tip on tile or wood. For laminated wood or wire shelves, a mix of equal parts white vinegar and warm water is affordable and safe near food. For greasy residue, add a drop of mild dish soap to warm water. Avoid bleach and strong degreasers inside the pantry because fumes can linger around open food packages.
If you see small black or brown beetles, webbing in flour packages, or powdery dust under cans, treat it as a possible pantry pest issue. Vacuum the shelf joints and wipe with a vinegar solution. Dispose of infested food in a sealed bag outside the kitchen. Before you refill, check the shelf brackets and shelf liner. Replace torn non-slip liner now, because it is much easier to do while the space is empty.

Step 2: Triage Everything Into Keep, Donate, and Toss
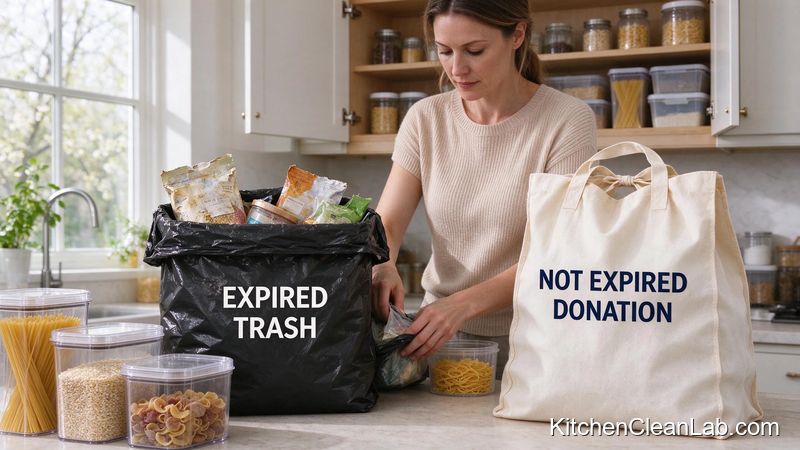
Sort every food item into three boxes: keep, donate, and toss. Check dates, but use your senses and common sense. Toss anything with a foul odor, damaged packaging, active pests, or a past safety date for meat, dairy, or baby items.
'Best by' often refers to quality, not safety. A can of beans that is two months past the date is usually safe if the can is not dented, rusted, or bulging, but a bloated can is a sign of bacterial activity and should be tossed. For opened dry goods, look for stale odor, clumping, or discoloration. If you have five half-open bags of rice, combine them into one container only if they are the same type and have similar use-by dates.
Be ruthless about foods you do not eat. The money is already spent. If an unopened shelf-stable item is still within date and you genuinely will not use it, place it in the donation pile for a food bank. Do not donate expired food or open packages. The purge should take about 30 minutes for a medium pantry. Setting a timer helps you decide quickly instead of revisiting the same bag of lentil chips three times.
Step 3: Build Zones That Match How You Actually Cook
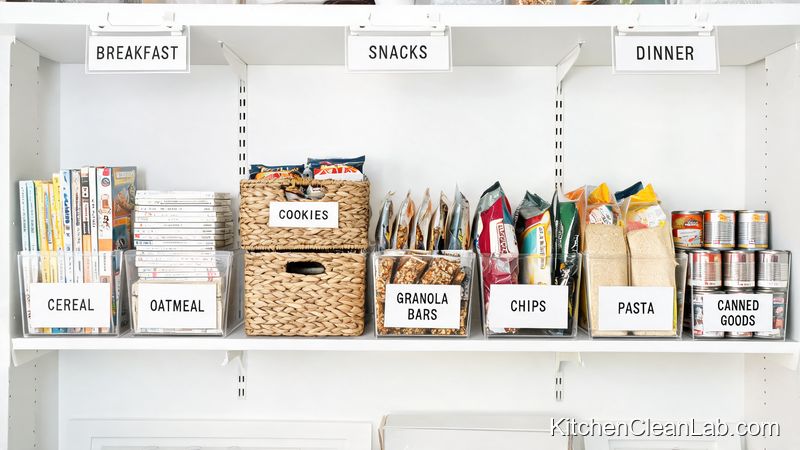
Create five to seven food zones based on meals and daily habits, such as breakfast, dinner prep, snacks, baking, and beverages. Place daily-use zones at eye level, heavy items lower, and occasional treats or backup stock on top shelves.
Start by writing your categories on sticky notes and grouping food on the kitchen counter before you put anything back. Over-categorizing—like separate sections for rice, pasta, couscous, and quinoa—looks neat but collapses quickly. Instead, use a broad 'grains and sides' zone if that matches how you cook. If your household has young kids, put one snack bin on a low shelf they can reach without climbing. If allergies are a concern, create a dedicated bin with a clear 'safe' label and keep it separate from allergen-containing foods.
Prime real estate is the shelf or drawer directly between chest and eye level. Reserve it for the items you reach for every morning and every dinner rush: coffee, cereal, cooking oils, salt, pasta, and common spices. Top shelves are for light backups and rarely used appliances. Bottom shelves are best for heavy cans, bulk grains, and large bottles. Think about traffic flow: a smoothie station can group protein powder, chia seeds, blender cups, and shelf-stable milk alternatives in one bin near the counter where you blend.
Step 4: Measure, Select Containers, and Decant Wisely
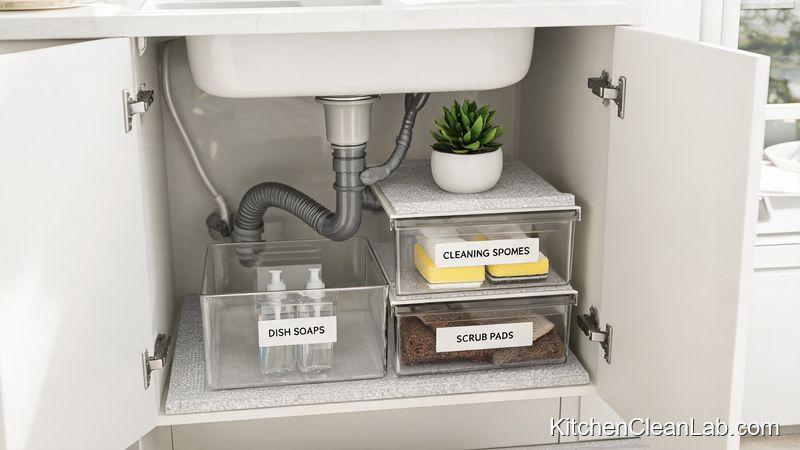
Measure shelf width, depth, and height before you buy any bins, risers, or canisters. Choose containers that maximize vertical space, fit the shelf depth without hanging over, and allow about 10 percent empty space for restocking.
Pantry products fail when they are purchased for how they look rather than how they function. Clear bins are useful because they let you see what is left, but they need to fit the shelf depth exactly. Woven baskets hide messy packages but work best for broad categories. Three-tier risers turn a single shelf of canned goods into visible rows. Lazy Susans spin hard-to-reach corners into accessible storage. Airtight canisters are ideal for flour, sugar, oats, and rice, but they are not mandatory for a successful reset.
| Pantry Problem | Recommended Tool | Best Use |
|---|---|---|
| Canned goods disappearing in back | Three-tier shelf riser | Beans, broth, tomato sauce, canned vegetables |
| Small packets and bars toppling | Clear slim bins or drawer bins | Snack bars, spice packets, fruit pouches |
| Oils and sauces in a corner | Lazy Susan or divided turntable | Olive oil, vinegars, soy sauce, honey |
| Baking dry goods | Airtight glass or BPA-free plastic canisters | Flour, sugar, oats, pancake mix, rice |
| Kid snacks on low shelf | Open bins with handles | Easy pull-out for small hands |
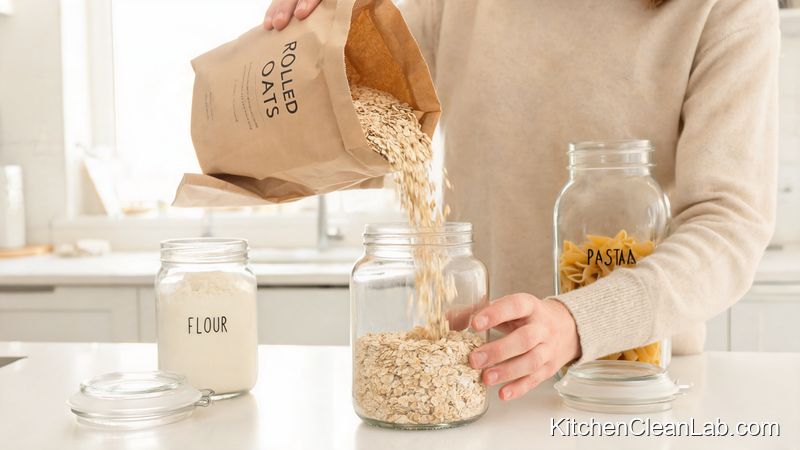
Decanting creates that polished look, but it also adds labor. Decant only the staples you store for more than a few weeks. If you buy one box of cereal that disappears in three days, leave it in the box or use a simple clip. For items like flour and oats, use a funnel and make sure the canister is completely dry before filling. Write the best-by date and cooking instructions on a removable label on the bottom or back. If anyone in the house has celiac disease or a severe allergy, keep gluten-free or allergen-free items in a separate, clearly marked container and never share scoops.
Step 5: Label for Visibility and Accountability
Label each zone and every container that is not immediately obvious. Labels are the road map that keeps multiple household members from placing cereal in the baking zone or crackers in the dinner zone.
You do not need a professional label maker to succeed. A basic label maker, removable vinyl labels, chalk markers on glass, or even painter's tape with permanent marker works. Use large, high-contrast text that can be read from shelf height. Label the bin, not every individual package, unless you are decanting. For clear containers of flour, sugar, and salt, labels prevent dangerous mix-ups. If you have gluten-free or nut-free bins, add a bright color-coded label or tape to make safety zones instantly visible.
Labels also create gentle accountability. When a family member sees 'snacks' and 'dinner sides,' they are more likely to return boxes to the right place. If you rearrange later, use removable labels until the system has held for at least a month.
Step 6: Restock With a Shelf-Edge System
Place older items toward the front and newer items toward the back, then leave a small amount of empty space on every shelf. This FIFO method—first in, first out—prevents expired food from hiding behind a wall of new boxes.
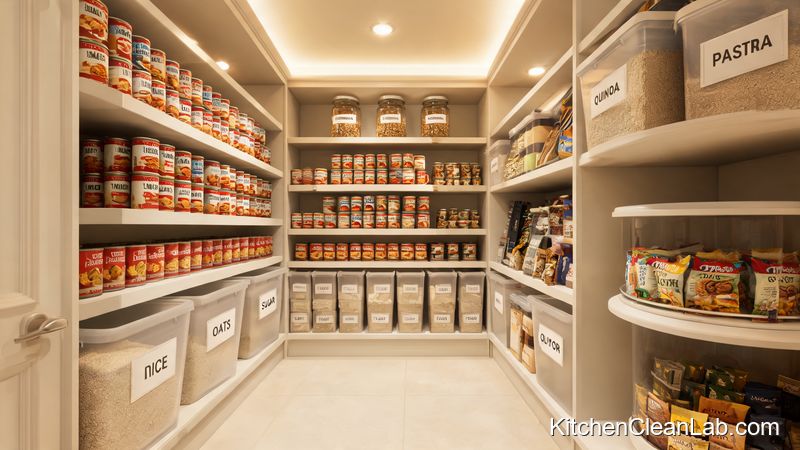
Start restocking one zone at a time. Put heavy items like large juice bottles, bulk grains, and extra canned goods on bottom shelves. Place daily breakfast and dinner items at eye level. Reserve top shelves for light extras, paper goods, or rarely used tools. If you store items on a high shelf in a deep cabinet, put them in a bin with a handle so you can pull the whole bin down safely instead of reaching blind.
Adjust shelf height before you refill if your system allows it. An extra two inches can be the difference between a spice jar fitting upright and falling over every time someone reaches past it. When you finish, take a photo of each shelf on your phone. That photo becomes your reference for future restocking and a quick way to avoid buying duplicates. The pantry should look full enough to feel abundant but not so packed that you cannot slide a bin out with one hand.
Common Pantry Cleaning Mistakes to Avoid
A failed pantry reset usually comes from one of five mistakes: buying organizers before measuring, cleaning shelves without clearing them, over-decanting fast-moving foods, creating too many categories, or placing frequently used items out of reach.
- Buying containers by eye: Shelf depth and height vary. A bin that is too deep will block the shelf edge; too tall will prevent shelf adjustment.
- Skipping the purge: You do not want organized clutter. Expired food takes up valuable space and attracts pests.
- Over-decanting: If you transfer pasta into a jar every week, you will eventually stop doing it. Decant only long-term staples.
- Using harsh chemicals: Bleach, ammonia, and heavy degreasers can contaminate food packaging and leave strong odors. Stick with food-safe cleaners or vinegar and water.
- Ignoring weight: Glass jars and heavy canned goods belong on lower shelves or sturdy brackets. Overloading a floating shelf risks sagging or collapse.
Frequently Asked Questions About Pantry Shelf Cleaning
These are the most common questions people ask when they reset a pantry in one afternoon. The answers focus on speed, safety, and long-term maintenance.
Can you really clean and organize pantry shelves in one afternoon?
Yes, most medium pantries take three to five hours when you follow a timed sequence and avoid perfectionism. The physical work is straightforward; the hard part is making fast decisions about what to keep and where to place it. Larger walk-in pantries may require a helper, but a standard reach-in or cabinet system fits within one afternoon.
What is the fastest way to clean sticky pantry shelves?
Use warm water with a mild dish soap, a microfiber cloth, and a plastic scraper for dried syrup or honey. Lightly dampen the shelf, wait two minutes, then wipe and dry. Avoid soaking wood or particleboard shelves with excess water, because they can warp or swell.
What pantry items should not be decanted?
Do not decant baby formula, medical foods, or specialty allergy foods that require lot numbers and preparation instructions. Also skip foods you finish quickly, strongly scented snacks, and anything in odor-resistant packaging. For these, keep original packaging and use a bin or clip.
How do I keep pantry shelves from getting messy again?
Schedule a 10-minute weekly reset to pull expired items, face labels forward, and return strays to their zones. Take a photo before grocery shopping to avoid duplicate purchases. Make labels part of your household rule: every item has one home, and that home is marked.
The Payoff: A Pantry That Holds Up
A clean, organized pantry saves time, reduces food waste, and lowers stress during cooking. The real test is not how it looks at the end of the afternoon, but how it functions two weeks later when groceries come in and life gets busy.
If a shelf starts to slip, do not redesign the entire pantry. Spend five minutes returning items to their zones and removing anything that no longer fits. The best system is the one you can reset before the next grocery run. Once you see how much space you actually have, you may find you buy less and cook more.