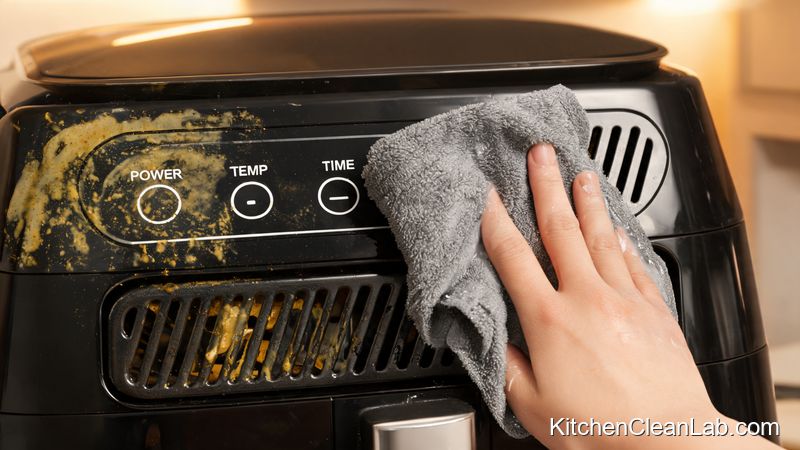
Why a Keurig Needs More Than a Rinse Cycle
Sanitizing a Keurig deep inside removes coffee oils, mineral scale, mold spores, and hidden grounds that ordinary rinsing leaves behind. A monthly deep clean restores brewing temperature, prevents clogged needles, and keeps your coffee from tasting stale or sour over time.
Most owners wipe down the drip tray and assume the machine is clean. The real trouble sits in the pod holder tube, the entrance and exit needles, the water reservoir, and the internal water lines. Warm water and a quick brew cycle cannot reach the biofilm that forms in these damp, low-flow areas. If you notice longer brew times, weak coffee, or a musty smell, those are signs that residue has been accumulating for weeks or months.
Mineral scale from hard water is another stubborn problem. Calcium and magnesium deposits narrow the internal tubing and force the heating element to work harder. Descaling with white vinegar or a citric acid-based Keurig descaling solution breaks down those minerals. Sanitizing goes further by reducing the bacteria and yeast that feed on residual coffee sugars. Treat descaling and sanitizing as two parts of the same monthly service.
What You'll Need Before You Start
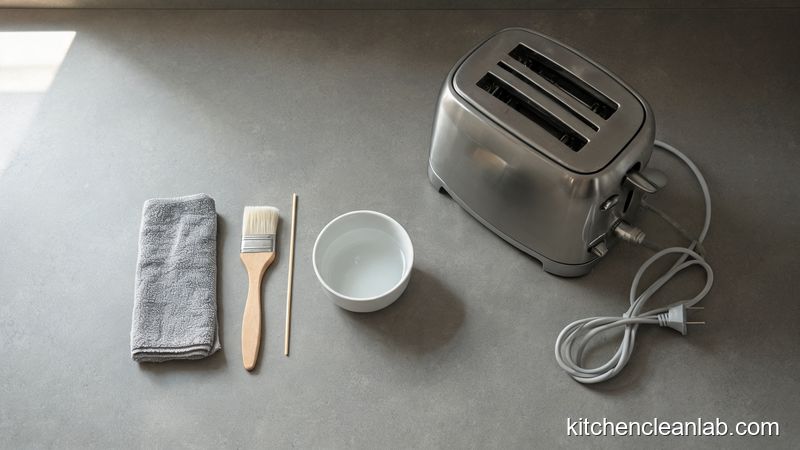
Gather a clean metal paper clip, white vinegar or Keurig descaling solution, warm water, dish soap, a ceramic mug, a microfiber cloth, and a soft sponge. Never use abrasive scrubbers or sharp metal tools on plastic parts because they can scratch surfaces and create new places for bacteria to hide.
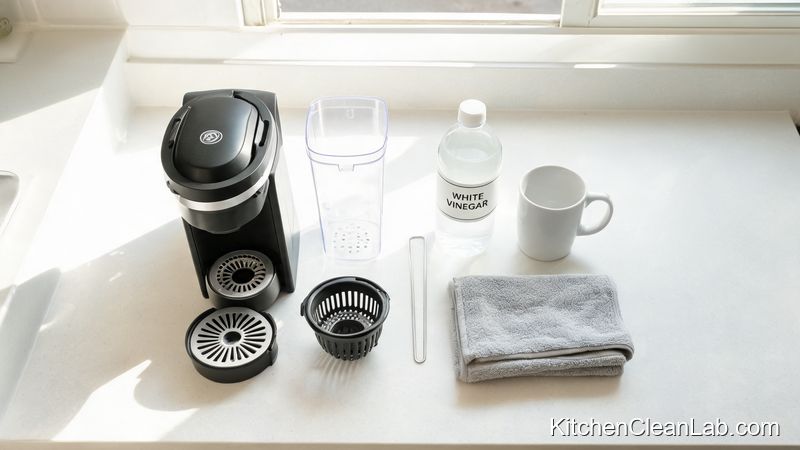
- White vinegar: Use standard 5% acidity. Do not use cleaning vinegar at higher concentrations on plastic without dilution.
- Paper clip: Straighten one side fully. Metal works best because it is rigid enough to dislodge sticky coffee residue.
- Ceramic mug: Use a mug that holds at least 10 ounces to catch rinse water.
- Dish soap and warm water: A grease-cutting formula helps remove coffee oils from removable parts.
- Microfiber cloth: Use it for exterior wiping and drying to avoid lint.
- Gloves and eye protection: Vinegar splashes can irritate eyes, and the needle points are sharp.
How to Sanitize a Keurig Coffee Maker Deep Inside: Step-by-Step
Work from the outside in: unplug the brewer, remove every detachable part, clear both needle areas with a paper clip, wash and sanitize the parts, descale the internal lines, and run two water-only rinse cycles before brewing. This full sequence prevents cross-contamination between surfaces.
Step 1: Unplug and Remove the Pod Holder
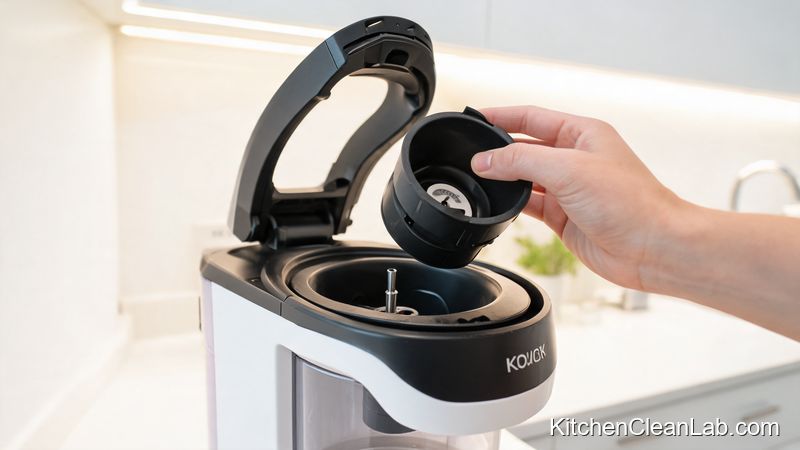
Turn off the machine and unplug it from the wall outlet. Lift the brewer handle, grasp the top of the pod holder with one hand, and push upward on the bottom with the other hand. The pod holder and funnel should release. If the funnel does not pop out, press the sides and pull downward. Keep your fingers away from the exit needle at the bottom of the funnel because it is sharp enough to puncture skin.
Step 2: Clear the Exit Needle Tube with a Paper Clip
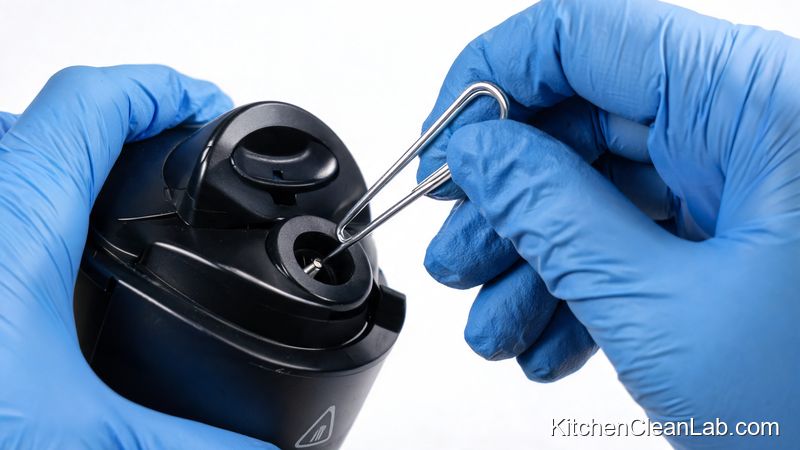
The tube on the bottom of the pod holder collects compacted coffee grounds and oil. Straighten one side of a paper clip and gently insert it into the tube. Wiggle it around in small circles to break up buildup, then rinse the pod holder and funnel under warm running water. For stubborn residue, soak the parts in warm soapy water for 10 minutes before scrubbing with a soft brush.
Do not use the paper clip as a lever to pry against the plastic. The goal is to dislodge residue, not enlarge the hole or crack the housing.
Step 3: Sanitize the Entrance Needle Area
Lift the brewer lid and look for two small holes near the entrance needle. Insert the straightened paper clip into each hole and move it gently to release dried coffee particles. Keep your other hand clear of the needle. Wipe the area with a damp cloth afterward. If the machine has a removable pod holder, this step is easier, but the entrance needle area still needs attention because it is where hot water enters the K-cup.
Step 4: Wash and Sanitize All Removable Parts
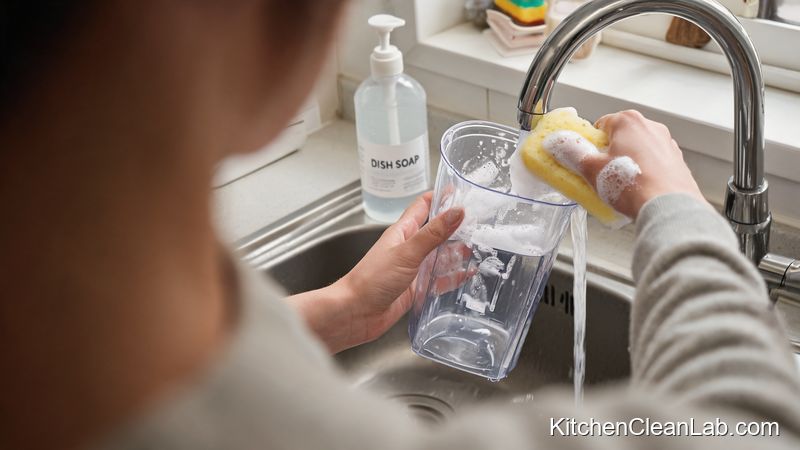
Fill a sink basin with warm water and a few drops of dish soap. Submerge the pod holder, funnel, drip tray, and water reservoir if it is removable. Scrub with a soft sponge, paying special attention to crevices and the tube. Rinse everything thoroughly. For extra sanitizing, use a food-safe sanitizing spray or a very dilute bleach solution on hard plastic parts, then rinse until no odor remains. Air-dry completely before reassembly.
The water reservoir should be cleaned weekly even though it is not in the direct brewing path. Bacteria can grow along the walls and float into the water supply. If your model has a water filter, remove it before sanitizing the reservoir and replace the cartridge if it is past its service interval.
Step 5: Descale the Water Reservoir and Internal Lines
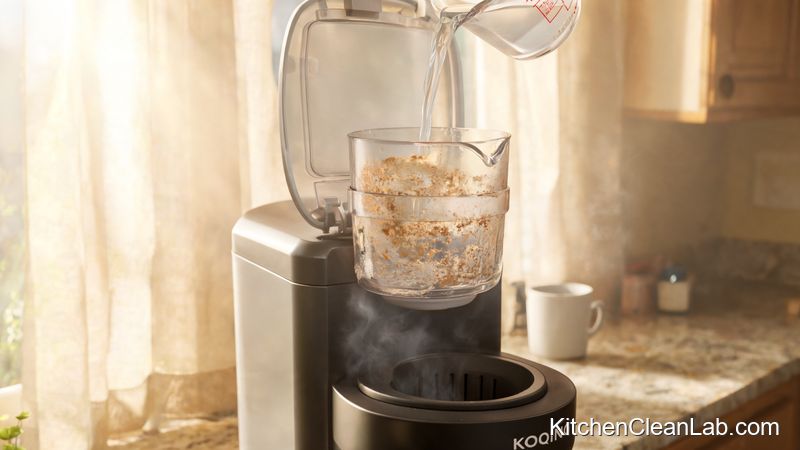
Reassemble the clean parts and place a large ceramic mug on the drip tray. Remove the water filter if present. Fill the reservoir with a 50/50 mix of white vinegar and water, or follow the instructions on a Keurig descaling solution. Run the brew cycle repeatedly without a K-cup until the reservoir is empty. Do not let the machine run dry; stop when the reservoir is almost empty and discard the hot liquid from the mug as needed.
For a heavily scaled machine, pause after the first few cycles and let the vinegar solution sit in the internal lines for 30 minutes. This dwell time improves mineral removal. Replug the machine only when the reservoir is filled and you are ready to brew; never descale a dry machine.
Step 6: Rinse Thoroughly and Reassemble
Fill the reservoir with fresh water and run at least two full water-only cycles to flush out vinegar and loosened debris. Wipe down the exterior, the lid, and the drip tray area with a damp microfiber cloth. Replace the water filter if you removed one. Brew a test cup of plain water and smell it before making coffee; if you detect vinegar, run one more rinse cycle.
Quick-Reference Cleaning Schedule and Supplies
Use a three-level routine to keep a Keurig sanitized: wipe the pod area and drip tray after each use, wash removable parts weekly, and deep-clean with descaling monthly. The schedule prevents buildup without requiring complicated tools.
- After each use: Remove the used K-cup, wipe the drip tray and pod holder area, and leave the lid open for one hour to dry.
- Weekly: Hand-wash the pod holder, funnel, drip tray, and water reservoir with warm soapy water. Dry thoroughly.
- Monthly: Complete all six steps above, including paper clip needle cleaning and descaling.
- Every 2 to 3 months: Replace the water filter cartridge if your model uses one.
- Seasonally: Inspect the power cord and base for dust or grime, and wipe the heating platform if visible.
Supplies are simple: paper clip, white vinegar, dish soap, soft sponge, microfiber cloth, and a mug. Keep them in a small bin near the coffee station so the monthly service feels routine.
Common Mistakes That Can Ruin Your Machine
Avoid using sharp metal tools anywhere except the small paper clip needle holes, and never submerge the brewer base in water. Most Keurig failures after cleaning come from trapped moisture, harsh chemicals, or reassembling parts while they are still wet.
- Skipping the final water-only rinse: Vinegar residue will make the next few cups taste sour and may break down plastic seals over time.
- Using full-strength bleach inside the reservoir: Bleach is too aggressive for internal water lines and can leave a toxic odor. Stick with diluted vinegar or a Keurig-approved descaler.
- Reassembling wet parts: Moisture trapped in the pod holder can grow mold within days. Let every part air-dry completely.
- Prying with the paper clip: Too much force can crack the pod holder or enlarge the needle holes, leading to leaks and weak brews.
- Ignoring the water reservoir: Even if the brew path looks clean, a slimy reservoir will keep introducing bacteria into every cup.
If you descale more than once a month, use a gentler citric acid solution instead of vinegar to reduce plastic stress. For homes with hard water, a small water filter pitcher can also reduce future scale.
Frequently Asked Questions About Keurig Sanitizing
Sanitizing a Keurig means cleaning the pod holder, both needles, reservoir, and internal lines. Descale monthly, clean removable parts weekly, and use only water or approved cleaning solutions in the reservoir because harsh chemicals can damage the machine and affect coffee flavor.
How often should I sanitize my Keurig coffee maker?
Deep sanitize the full machine once per month if you brew daily. If you use the Keurig less than three times a week, a thorough cleaning every six to eight weeks is usually enough. Wipe the pod area after each use and wash removable parts weekly regardless of brew frequency.
Can I use bleach to sanitize a Keurig?
Do not run bleach through the internal water lines. For hard plastic removable parts, a very dilute bleach solution of 1 tablespoon bleach per gallon of water can be used, but all parts must be rinsed until no bleach smell remains. White vinegar or a citric acid descaler is safer for routine internal sanitizing.
Why does my Keurig still taste like vinegar after descaling?
Vinegar particles remain in the internal lines and around the pod holder. Empty the reservoir, refill with fresh water, and run at least three water-only cycles using a large mug. If the smell persists, soak the removable parts in fresh water and run two more rinse cycles.
Do all Keurig models have a removable pod holder?
Most K-cup Keurig models have a removable pod holder and funnel, but the exact release method varies by model. Check the plastic housing for two side tabs or lift the handle and push from underneath. If the part feels stuck, check the user manual before forcing it because the exit needle is sharp.
Keep the Machine Clean Longer
Sanitizing a Keurig deep inside is not a one-time rescue job. The most effective habit is to dry the pod area after each use, use filtered or distilled water when possible, and set a monthly reminder for the full descaling and paper clip routine. Small daily actions keep the internal lines clear and reduce the need for aggressive cleaning.
After the final reassembly, run a plain water brew and inspect the flow. The stream should be steady and hot, and the water should have no visible floating particles or odor. Store the machine with the lid open if you will not use it for more than a day. That simple airflow prevents the damp, enclosed conditions that allow mold and yeast to take hold. When your next cup tastes clean and brews at the right temperature, you know the full sanitizing sequence worked.