Why Toaster Crumbs and Heating Elements Demand a Proper Cleaning Routine
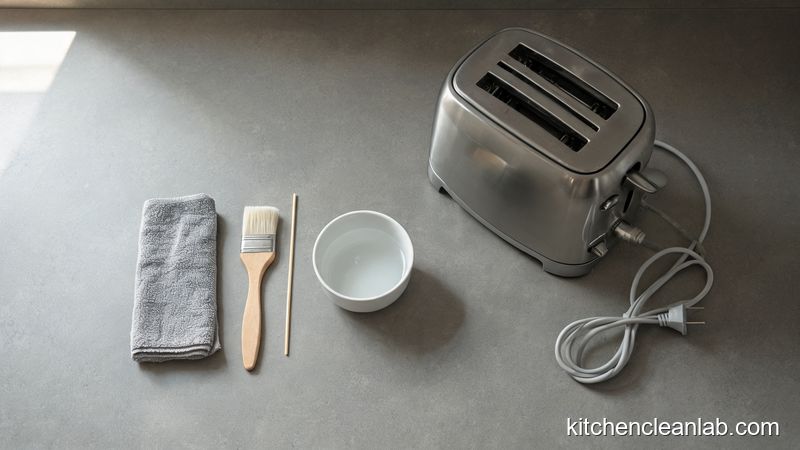
A clean toaster is not cosmetic. Crumbs and starch harden on heating elements, causing uneven browning, burnt odors, and potential smoldering. You need only a soft brush, microfiber cloth, and five minutes to clean the toaster safely after it is unplugged and cool.
Every slot of toasted bread, bagel, or frozen waffle sheds starch, sugar, and oil into the base of the appliance. Over time, those deposits harden on the heating elements and crumb tray. That leads to uneven browning, a sharp burnt smell, and a higher risk of smoldering. The safest routine requires nothing more than a soft brush, a microfiber cloth, and a few minutes of your time. In practical kitchen testing, we have found that the most reliable clean comes from dry brushing first, then using moisture only where truly necessary.
How Often Should You Clean a Toaster? A Realistic Schedule
For daily toast use, empty the crumb tray weekly and deep clean the slots and heating elements monthly. If you toast buttery items, frozen hash browns, or thick bagels, inspect the tray every three to four uses. Visible crumbs at the bottom of the slot mean it is time to clean.
- After each use: Shake out loose crumbs only if the toaster is cool and unplugged.
- Weekly: Empty the crumb tray, invert the toaster over a trash bin, and brush the interior slots.
- Monthly: Deep clean the heating elements, wash the crumb tray with dish soap, and polish the exterior.
- Seasonally: Inspect the power cord, check vent openings for debris, and reset any smart controls if applicable.
Appliance repair technicians generally agree that crumbs are the number one cause of toaster failure. A consistent schedule prevents carbon from bonding to the heating elements, which is much harder to remove than loose crumbs.
Step-by-Step: How to Clean Toaster Crumbs and Heating Elements Safely
Always start with an unplugged, cool toaster. Remove the crumb tray, invert the appliance over a trash bin, brush the slots with a dry pastry brush, and clean the heating elements with a dry or barely damp cloth wrapped around a wooden skewer. Never insert metal tools or submerge the toaster.
The following method works for standard pop-up toasters, smart toasters, and four-slice models with removable trays. If your model has a sealed crumb tray or unusual vent design, check the manual before using any moisture near the interior.
Step 1: Unplug the Toaster and Let It Cool
Never clean a toaster that is warm or connected to power. Even a simple exterior wipe can push moisture into vent openings or the control panel. Pull the plug from the wall, not by yanking the cord, and wait at least 30 minutes if the appliance was recently used. This protects both your hands and the internal wiring.
Step 2: Remove and Wash the Crumb Tray
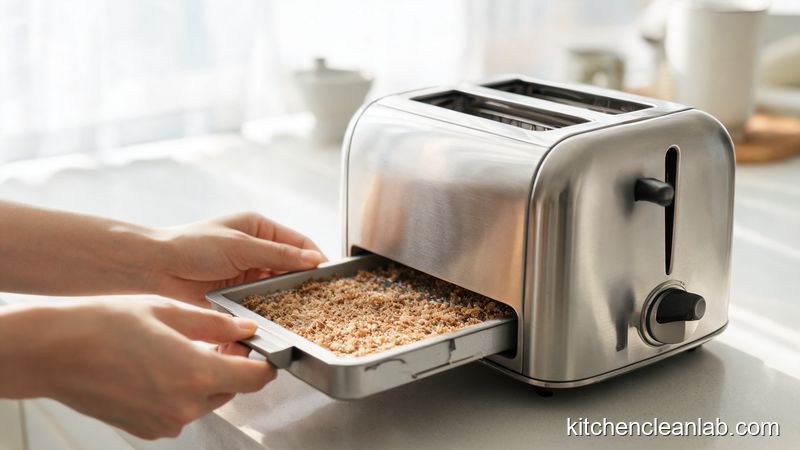
Slide the crumb tray out from the bottom of the toaster. Most modern toasters have one or two trays; dual-slot models may have a separate tray for each side. Tap the tray over a trash bin, then wash it in warm water with a drop of dish soap if grease is present. Dry the tray completely before reinserting it. Do not place it in the dishwasher; high heat can warp the metal or plastic and dull nonstick finishes.
Step 3: Invert and Tap Out Loose Crumbs
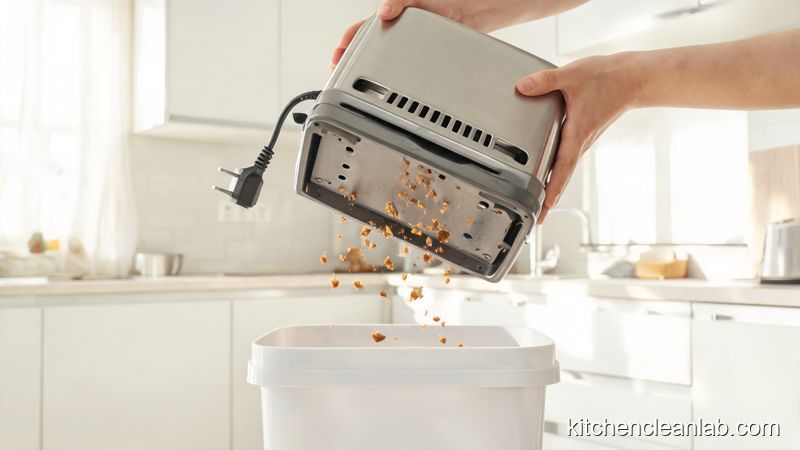
Hold the toaster upside down over a large trash can or spread-out newspaper. Use a soft pastry brush or a clean, dry toothbrush to sweep the slots. Tap the sides gently with the palm of your hand, not a utensil. For stubborn fine dust, a hair dryer on the cool setting can blow debris from the corners, but keep the nozzle a few inches away and use the lowest airspeed.
Step 4: Brush the Slots Without Bending the Heating Elements
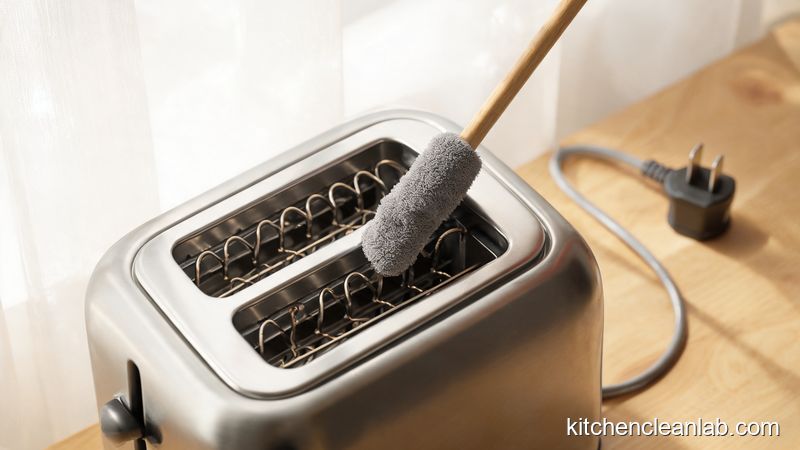
Look inside the slots with a flashlight. The heating elements are thin, fragile wires or ceramic bars. Use a soft brush to dislodge crumbs around them, moving from top to bottom. Avoid pressing hard against the quartz or wire elements; a bent element can create hot spots or break. If crumbs are stuck to the side walls, use a wooden chopstick with a dry microfiber cloth to dab them loose.
Step 5: Clean the Heating Elements with Caution
Never use a knife, fork, metal skewer, steel wool, or any conductive tool near the heating elements. If baked-on starchy residue is visible, wrap a wooden skewer or chopstick in a slightly damp microfiber cloth and wipe only the cool element surface. Do not saturate the cloth. Water dripping into the toaster chassis can cause a short circuit. After wiping, leave the toaster upside down for an hour to air dry completely.
Step 6: Wipe the Exterior and Polish the Finish
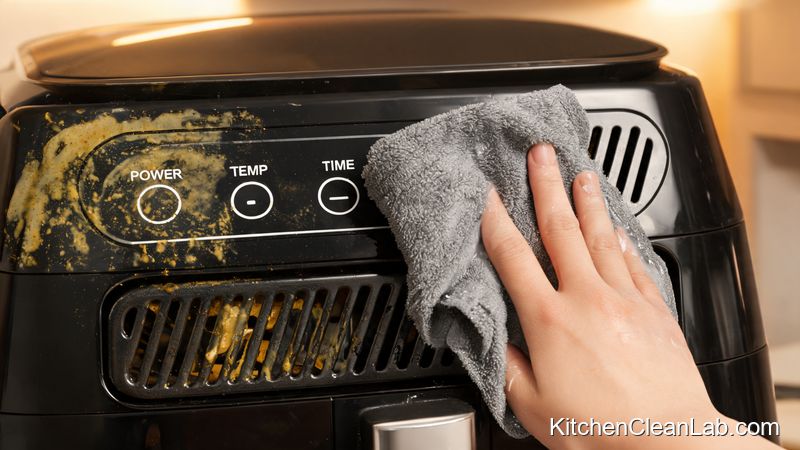
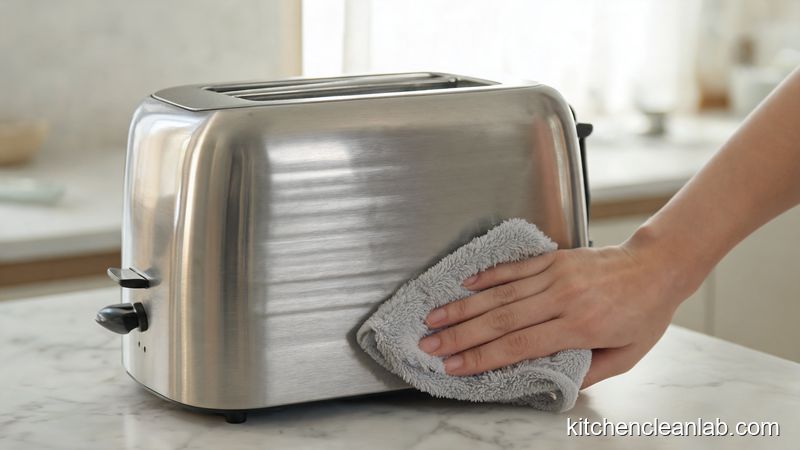
Use a barely damp microfiber cloth to wipe the outside, including the lever, dials, and vents. For brushed stainless steel, apply a few drops of olive oil or food-safe mineral oil to a separate dry cloth and wipe with the grain, then buff dry. For painted or plastic exteriors, a drop of mild dish soap on a damp cloth is usually enough. Avoid abrasive sponges and caustic cleaners that can etch the surface.
Step 7: Air Dry Fully Before Reconnecting
After any interior cleaning, leave the toaster unplugged and upside down on a dry towel for at least one hour. Check that the crumb tray is completely dry before sliding it back into place. Only plug the toaster back in when the interior and exterior feel dry to the touch. Do not run the toaster empty as a substitute for cleaning; empty cycles can produce smoke and odor.
Safe and Unsafe Toaster Cleaning Tools
Stick to non-conductive, non-abrasive tools for the interior and gentle cloths for the exterior. The right tool prevents scratched finishes and broken heating elements. Here is a quick reference for what belongs near your toaster and what should stay in the drawer.
| Task | Safe Choices | Avoid |
|---|---|---|
| Crumb tray | Warm water, mild dish soap, soft sponge | Dishwasher, steel wool, abrasive scrub pads |
| Interior slots | Soft pastry brush, dry toothbrush, cool air from hair dryer | Metal utensils, water spray, compressed air blasts |
| Heating elements | Wooden skewer, bamboo chopstick, dry or barely damp microfiber | Knife, fork, metal skewer, wet cloth, pressure |
| Exterior | Microfiber cloth, mild dish soap, olive oil for stainless steel | Abrasive sponges, bleach, oven cleaner, harsh degreasers |
| Burnt-on residue | Baking soda paste on cool surfaces, gentle rinsing | Oven cleaner, metal scrapers, hard scrubbing |
Common Toaster Cleaning Mistakes That Can Ruin the Appliance
Most toaster damage comes from simple mistakes: cleaning while plugged in, using metal tools, submerging the base, or scrubbing with abrasives. Avoid these errors and the appliance will last longer and toast more evenly.
- Cleaning while plugged in. Always unplug first, even for exterior wiping.
- Poking heating elements with metal. Conductive tools can damage elements and create a shock hazard.
- Submerging the appliance. Water enters the electrical housing and causes short circuits.
- Putting crumb trays in the dishwasher. High heat warps many trays and dulls finishes.
- Using oven cleaner or bleach. Caustic fumes and residues can damage internal components and affect food taste.
- Scrubbing brushed steel against the grain. This leaves permanent scratches and dull patches.
- Running the toaster to burn off residue. Modern toasters are not self-cleaning, and this can trigger smoke alarms.
Frequently Asked Questions About Cleaning Toaster Crumbs and Heating Elements
These are the most common questions people ask when toaster crumbs start to smell or toast browns unevenly. If the appliance is unplugged and cool, most cleaning tasks are safe to handle at home with basic supplies.
How do I get burnt crumbs out of a toaster?
Unplug the toaster and let it cool. Remove the crumb tray and tap it out. Invert the whole unit over a trash can, then use a dry pastry brush or a cool hair dryer to loosen carbonized crumbs from the heating elements and slot walls. For stubborn residue, dab it with a wooden skewer wrapped in dry or barely damp microfiber cloth. Let the interior dry fully before plugging it back in.
Can I use water to clean the inside of a toaster?
You should not pour or spray water inside a toaster. A barely damp cloth can be used on cool heating elements and interior walls if you wring it out thoroughly, but dry brushing is safer. Excess moisture can reach electrical connections, cause corrosion, or create a shock risk. If any moisture is used, air dry the toaster upside down for at least an hour.
Why does my toaster smell burnt even after emptying the crumb tray?
The crumb tray does not catch everything. Fine particles and starch can collect on the heating elements or the slot base. Invert the toaster, brush the slots, and inspect the heating elements for dark, hard residue. If the smell persists after a proper cleaning, check for particles near the internal base with a flashlight and avoid running the toaster until it is clean.
How often should I clean the heating elements in a toaster?
Inspect the heating elements weekly and deep clean them monthly if you toast daily. If you frequently toast buttered bread, seed-heavy loaves, or frozen items, check every few uses. A regular inspection prevents carbon buildup from becoming baked on and difficult to remove.
Your Toaster-Cleaning Safety Checklist
Keep this quick list near your appliance until the routine becomes automatic. A five-minute weekly cleaning prevents most burnt smells, uneven toasting, and fire risks without special chemicals.
- Unplug the toaster and confirm it is cool.
- Remove and empty the crumb tray over a trash bin.
- Invert the toaster and brush out the slots with a dry, soft brush.
- Clean heating elements only with non-metal tools and a barely damp cloth.
- Wipe the exterior with a microfiber cloth, and polish stainless steel with the grain.
- Air dry fully before plugging the appliance back in.
Once you establish the weekly rhythm, the task takes less time than brewing a pot of coffee. A well-maintained toaster should deliver even browning, remain free of burnt odors, and avoid the common failure points caused by accumulated crumbs.