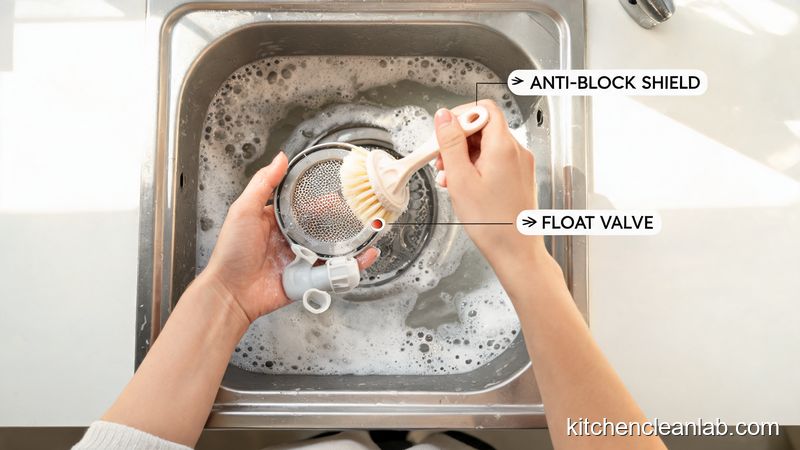
Why Cleaning a Blender Blade Safely Is Non-Negotiable
A blender blade can slice fingers even when it is too dull to puree well. Food trapped under the blade assembly also creates a biofilm of bacteria, yeast, and mold. Always unplug the base and use a long-handled brush to keep your hands away from sharp edges.
Most home cooks assume a dull blade is a safe blade. That is not true. A blade with micro-serrations from regular use can still break skin with light pressure. The tight space between the blade and the jar floor is where smoothie residue, nut butter, and soup fats collect. If you wipe that area with a sponge while holding it in your hand, you expose your fingers to multiple cutting edges at once. The safer approach uses the blender's own motor or a brush with a handle long enough to keep your fingers at least three inches from the blade.
There is also a hygiene reason to clean the blade assembly, not just the jar walls. Food safety professionals consistently identify blender gaskets as one of the most commonly overlooked reservoirs of bacteria in home kitchens. A quick visual check after a smoothie is not enough; residue hides under the blade disc and inside the seal channel.
Tools That Make Blade Cleaning Safer
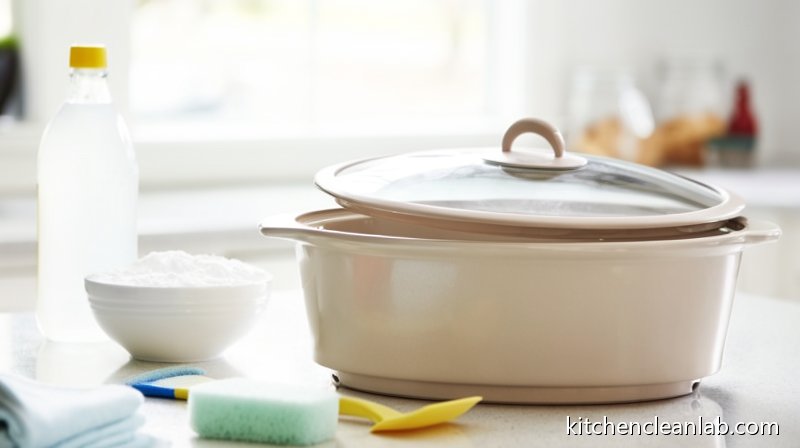
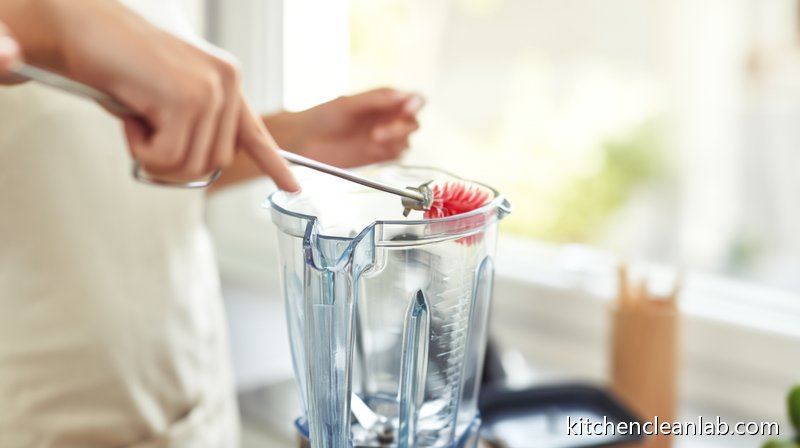
You do not need specialty products. Dish soap, warm water, a long bottle brush, an old toothbrush, a microfiber cloth, and white vinegar handle most stuck-on messes. A clean dish towel improves grip when you unscrew a removable blade assembly. These simple tools are safer and cheaper than aggressive scrubbing or metal scrapers.
- Long-handled bottle brush: Reaches under the blade and across the jar floor without requiring fingers below the pour spout.
- Old toothbrush: Cleans the blade bolts, gasket channel, and the underside of the blade base.
- Microfiber cloth or dry dish towel: Provides grip when unscrewing the blade assembly and catches slippery parts.
- Liquid dish soap: Cuts through oils and emulsifies smoothie residue better than water alone.
- White vinegar and baking soda: Deodorize and lift mineral or pigment stains from plastic jars and rubber seals.
Keep a dedicated brush for blender cleaning. Do not use the same brush for baby bottles or water bottles without sanitizing it. Soft-bristle brushes are safer than metal scrubbers, which can scratch plastic and create grooves that trap bacteria.
5 Easy Steps to Clean a Blender Blade Without Cutting Yourself
Work in this order: unplug the machine, separate the jar, run a warm soapy water rinse, scrub around the blade with a long-handled brush, then dry all parts fully before reassembling. This prevents cuts and hidden residue.
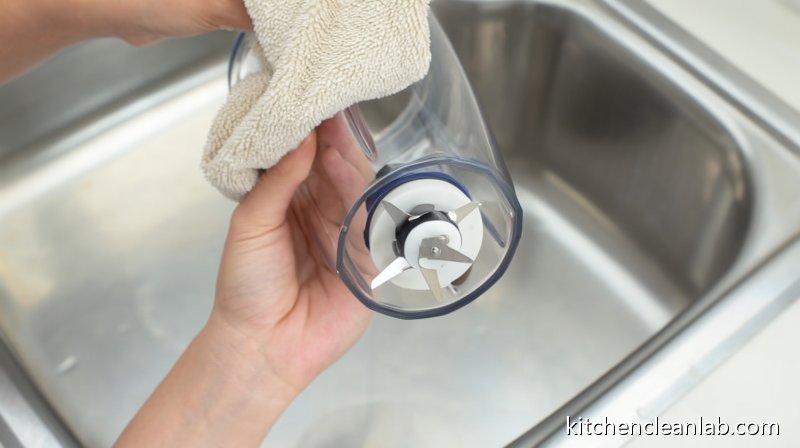
- Unplug the blender and separate the jar. Never clean a blender that is still connected to power. Remove the jar from the base. If the blade assembly unscrews from the bottom, wrap a dry cloth around the blade base for grip and twist counterclockwise. Press only on the base, never on the blades.
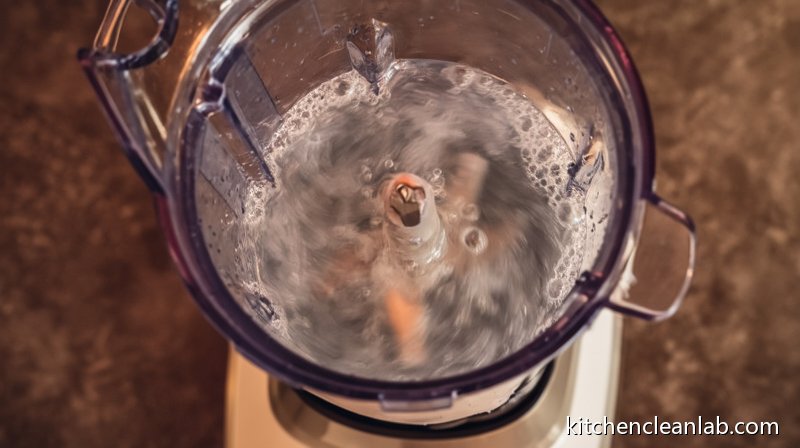
- Run a quick soapy rinse. Fill the jar halfway with warm water and add two drops of liquid dish soap. Secure the lid and blend on medium-high for 20 to 30 seconds. The spinning action pushes soapy water through the blade area and along the jar walls. Dump the water carefully from the pour spout.
- Scrub around the blade with a long-handled brush. Apply a small amount of dish soap to a bottle brush or toothbrush. Reach into the jar and clean the top, bottom, and sides of each blade edge. Use a gentle circular motion around the center post. Keep your fingers outside the jar at all times.
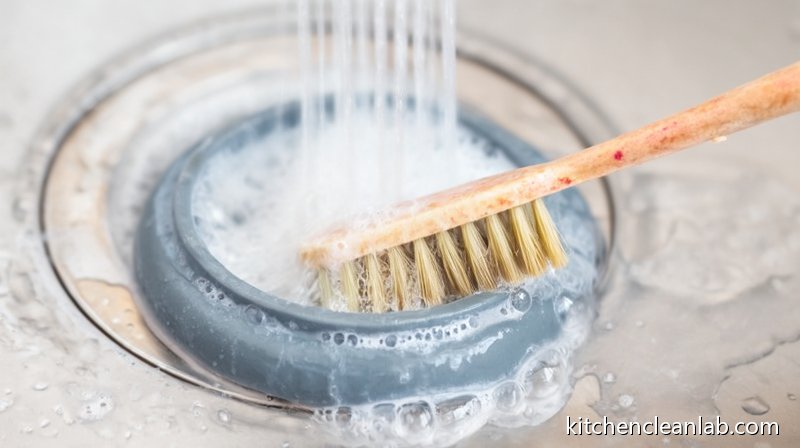
- Clean the gasket and blade base. If your blender has a removable rubber gasket, slide it off and wash it separately in warm soapy water. Use an old toothbrush to clean the groove where the gasket sits. This is where smoothie pulp and mold often hide.
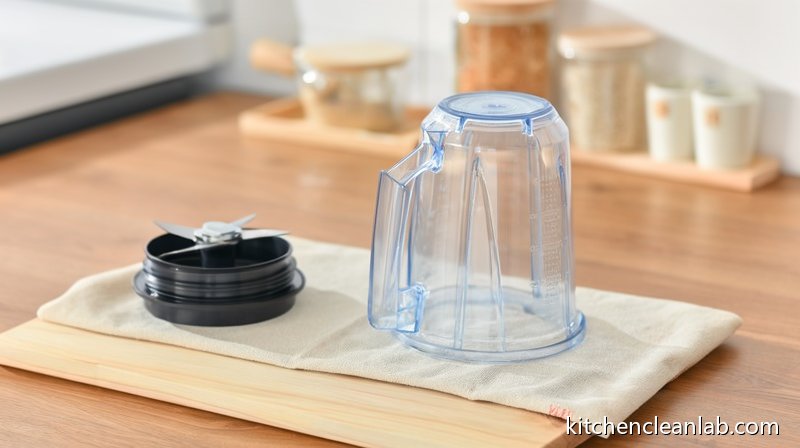
- Rinse, dry, and reassemble. Rinse every part with clean water until no soap film remains. Dry with a lint-free towel or place parts upside down on a drying mat. Reassemble only when completely dry to prevent mildew and metal corrosion.
How to Remove Stuck-On Food Without Scraping Your Fingers
For nut butter, smoothie residue, or dough, fill the jar halfway with warm water and a drop of dish soap, then run it on medium-high for 20 to 30 seconds. If residue remains, add 1/2 cup white vinegar or 1 tablespoon baking soda and repeat.
- Peanut butter and nut butters: Use hot tap water, not boiling, and let it soak for 10 minutes before running the clean cycle. Oil emulsifies better with warm water and dish soap.
- Berry and green smoothie stains: Rub a paste of baking soda and water on plastic walls with a soft brush, or blend white vinegar and water and let it sit for 15 minutes.
- Garlic, onion, or spice odor: Fill halfway with water, add 1/2 cup white vinegar, and blend for 15 seconds. Rinse well.
- Dried dough or batter: Soak the jar in warm soapy water first. Do not scrape with a knife or metal spatula; it can create burrs on the blade and scratches on the jar.
For blade assemblies that cannot be removed, after the soapy blend, turn the jar upside down in the sink and spray water through the bottom opening to flush out particles caught under the blade disc.
Common Blender Cleaning Mistakes That Lead to Cuts
People often hold a sponge directly against the blade, leave the blender plugged in, or neglect the gasket. Those habits increase cut risk and leave bacteria behind. Use a brush, unplug first, and remove the gasket whenever possible.
- Using a hand-held sponge inside the jar: Your fingertips naturally brace against the blade area. Even a small slip can cause a deep cut.
- Cleaning while the blender is plugged in: If you accidentally press a pulse button or the motor starts, the blade can spin while your hand is inside or near the jar.
- Forgetting the gasket: A slimy or black-spotted gasket can contaminate every batch. Remove it by hand when dry, not with a knife.
- Using steel wool or abrasive scrubbers: These scratch plastic and metal surfaces, creating grooves where bacteria collect and making future cleaning harder.
- Reassembling wet parts: Trapped moisture under the blade base leads to rust, mildew, and a musty smell.
Blade Cleaning Methods Compared
The fastest daily method is a soapy water blend, but a weekly disassembly clean is safer for gasket hygiene. Dishwashers can be convenient, yet heat and detergent may dull blades and warp seals over time. Choose based on how dirty the jar is.
| Method | Time | Cut Risk | Best For |
|---|---|---|---|
| Quick soapy blend | 30 seconds | Low | Daily smoothies and light residue |
| Manual deep clean | 10-15 minutes | Moderate | Oily jars, gaskets, stubborn build-up |
| Dishwasher top rack | 1-2 hours | Low if loaded carefully | Heat-safe jars and lids, not blades |
| Vinegar soak | 15-30 minutes | Low | Odors, stains, mineral film |
How to Keep a Blender Blade Clean Longer
Rinse immediately after use, run the soapy water method, and store the jar upside down with the lid off. This prevents food from welding onto the blade and reduces how often you need to deep clean.
- Clean right away: Dried smoothie acts like glue. A 30-second rinse immediately after use saves a 10-minute scrub later.
- Inspect the gasket weekly: If it feels slimy or looks stained, remove it and soak it in warm water with a drop of dish soap or white vinegar.
- Let everything air out: Store the jar off the base with the lid open or off. This allows moisture to evaporate from the blade area.
- Wipe the base separately: Use a damp cloth on the motor base controls. Never immerse the base in water or put it in the dishwasher.
FAQ: Blender Blade Cleaning Questions
These answers cover dishwasher safety, sticky nut butter, the fastest cut-free method, and deep cleaning frequency. Use them to keep your fingers safe and extend the life of your blender jar parts.
Can I put blender blades in the dishwasher?
Check your manual first. Many blender jars and lids are top-rack safe, but the blade assembly and rubber gasket can dull, warp, or trap water in the dishwasher. If you must use the dishwasher, place parts on the top rack and use a gentle cycle. Hand-washing the blade base is usually the safer choice.
How do I get peanut butter or sticky residue off a blender blade?
Fill the jar halfway with warm water, add a drop or two of dish soap, and blend on medium-high for 30 seconds. If residue remains, let it soak for 10 minutes and then scrub with a long-handled brush or old toothbrush. Avoid scraping with metal tools.
What is the fastest cut-free way to clean a blender blade?
The soapy blend method is fastest. Add warm water and a drop of dish soap, secure the lid, and run the blender for 20 to 30 seconds. Rinse and let it dry. Use a long-handled brush only for any visible remaining spots.
How often should I deep clean a blender blade and gasket?
Deep clean the blade assembly and gasket at least once a week or after heavy use such as nut butter, soup, or dressings. Remove the gasket every few uses to check for mold, slime, or trapped food particles.
The Takeaway: Make Cut-Free Blender Cleaning a Habit
Blender blade cleaning does not have to be risky. Unplug the unit, use warm soapy water and a long-handled brush, and dry every part before reassembling. That habit takes less than a minute after most uses and prevents cuts, odors, and hidden mold.