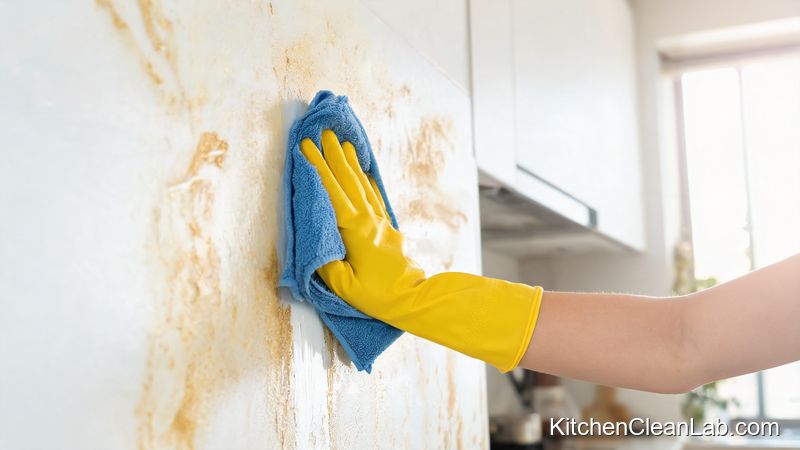
Why Mold Grows Around Kitchen Sink Caulk
Mold grows around kitchen sink caulk because frequent splashing, food residue, and trapped moisture create the warm, humid conditions mold spores need. Caulk is porous, so water sits in tiny crevices and lets mildew take root behind the seal, not just on the visible surface.
Mold thrives around kitchen sink caulk when water, grease, and dish soap collect in the seam between the sink and countertop. Every time you wash dishes, rinse produce, or run the garbage disposal, small water droplets land on the caulk. If the kitchen is not well-ventilated, that moisture remains long enough for mold spores to germinate.
Kitchen sink mold often appears as black, dark green, gray, or pink spots along the caulk line. The most common hotspots include the seam where the sink meets the counter, the back caulk line behind the faucet, and the area around soap dispensers or air gaps. Food particles and cooking steam add organic matter and humidity, which feeds mildew and speeds up staining.
Safety First: Protect Yourself and Your Kitchen
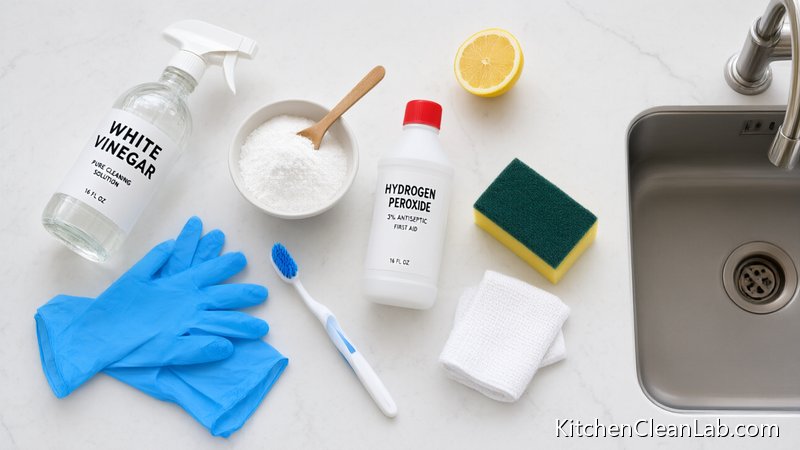
Before cleaning mold from kitchen sink caulk, open a window, turn on the exhaust fan, and wear nitrile gloves and a mask. Mold spores and cleaning agents can irritate lungs and skin, so avoid mixing cleaners—especially bleach and ammonia—and protect nearby countertops from drips.
Mold spores can become airborne when you scrub, so site preparation matters. Open a nearby window and run the range hood or kitchen exhaust fan for at least 15 minutes before you start. If possible, use a small fan directed toward the window to pull moist air away from the work area.
- Wear protective gear: Use nitrile or rubber gloves, safety glasses, and an N95 mask when cleaning visible mold.
- Never mix chemicals: Do not mix bleach with ammonia, vinegar, or hydrogen peroxide. The combination can produce dangerous gases.
- Clear the counter: Remove sponges, dish towels, drying racks, and soap bottles from around the sink so mold spores and cleaning solution do not contaminate them.
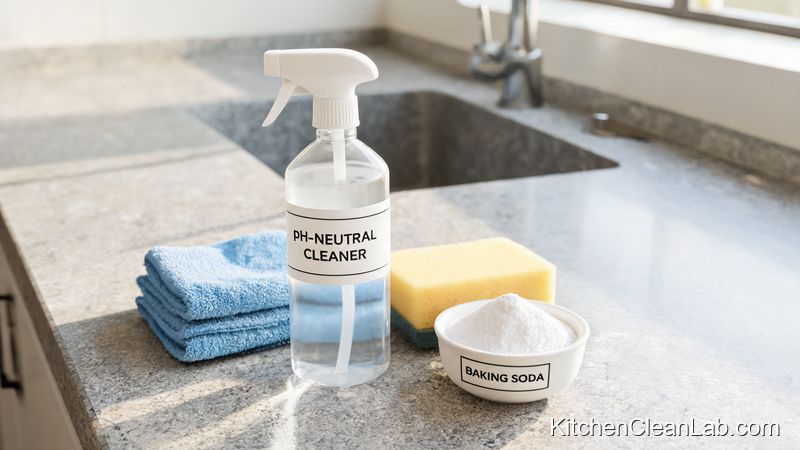
- Test first: If your countertop is natural stone, test cleaning solutions on a hidden section because vinegar and hydrogen peroxide can etch or lighten some surfaces.
How to Clean Moldy Kitchen Sink Caulk Step by Step
Clean moldy sink caulk by applying white vinegar or 3% hydrogen peroxide, letting it sit for 15 to 30 minutes, scrubbing gently with a baking soda paste, and drying the seam completely. For light staining, this lifts surface mold without damaging the caulk. Replace caulk if stains persist.
For most kitchen sink caulk, start with white vinegar because it is non-toxic and safe for many surfaces. If that does not remove the stain, follow with baking soda scrubbing and then 3% hydrogen peroxide. The entire process usually takes 45 to 60 minutes including dwell time.
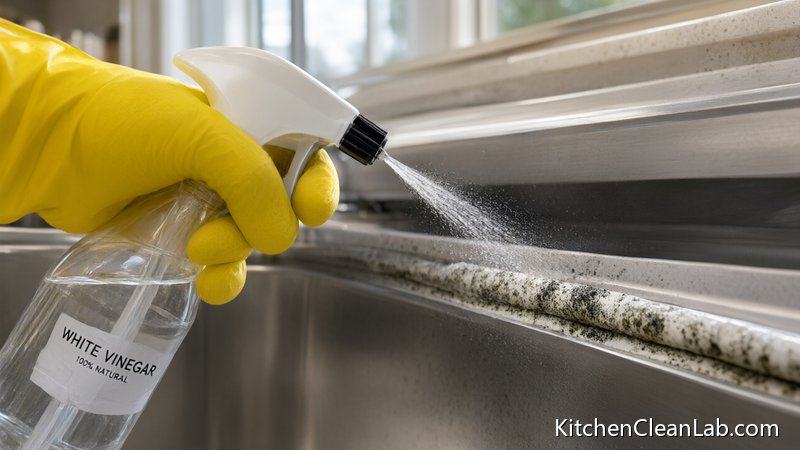
Step 1: Saturate the Caulk with White Vinegar
Fill a clean spray bottle with undiluted white vinegar. Spray the moldy caulk until the entire seam is visibly wet. Allow the vinegar to sit for 15 to 30 minutes. The acetic acid in vinegar breaks down mildew and soap scum on the surface while loosening the grip of the mold.
Step 2: Apply a Baking Soda Paste
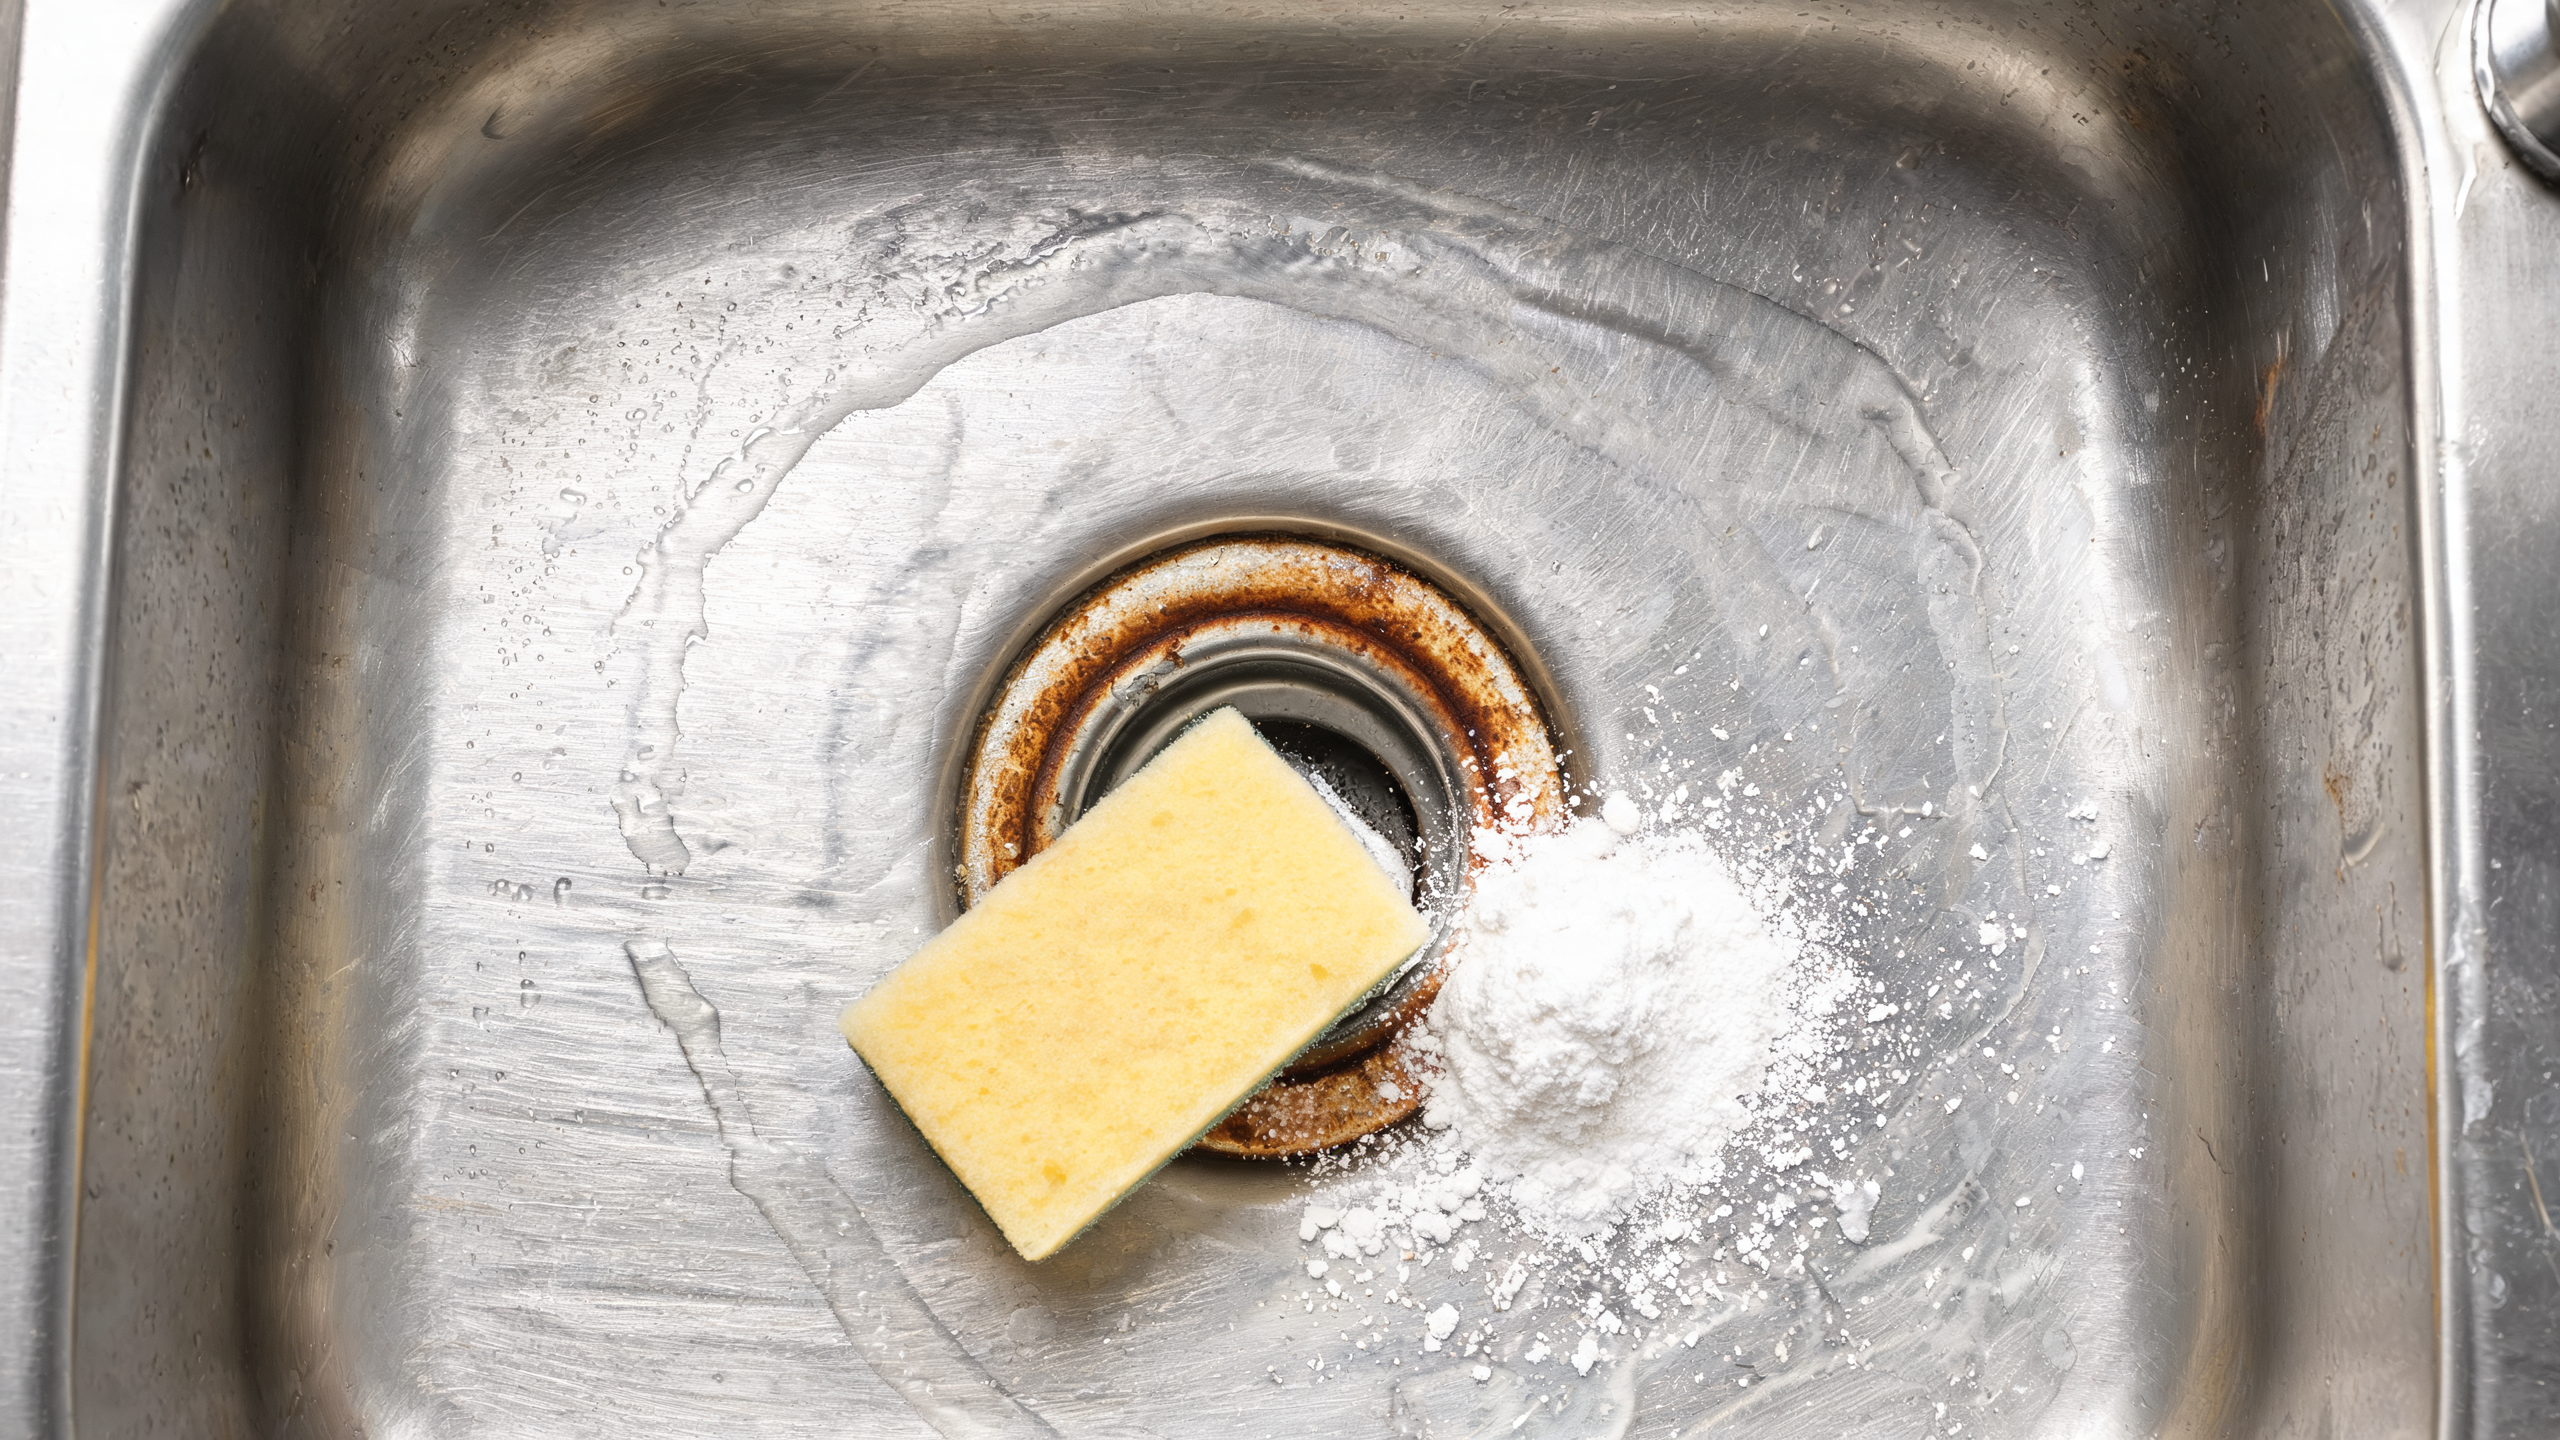
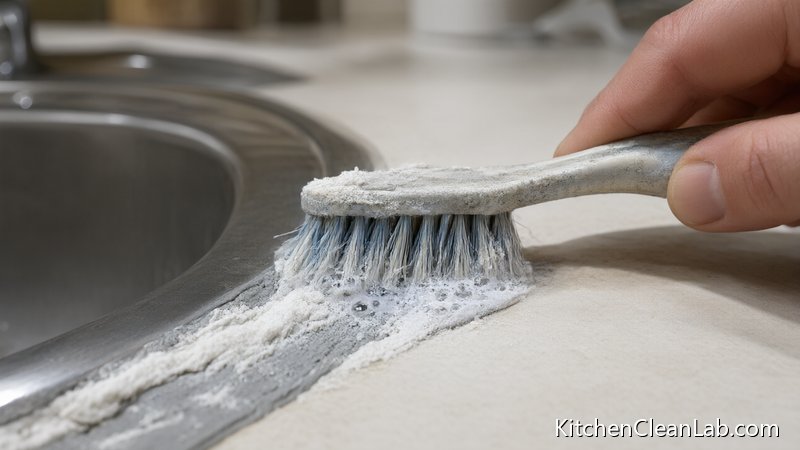
Mix 1/2 cup of baking soda with 1 to 2 tablespoons of warm water to create a thick paste. Spread the paste over the vinegar-soaked caulk. A light fizzing reaction may occur; this helps scrub away surface mold and neutralizes the sour vinegar smell.
Step 3: Scrub Gently with a Soft Brush
Use an old toothbrush or a small soft-bristle brush to scrub the paste along the caulk line in small circular motions. Focus on crevices where the sink meets the counter and on discolored spots. Avoid wire brushes, steel wool, and abrasive scouring pads, which can scratch the caulk and create new moisture traps.
Step 4: Rinse and Inspect the Caulk
Rinse the area with clean water and wipe it dry with a microfiber cloth. Look closely at the caulk line. If the stain is lighter but still visible, repeat Steps 1 through 3 before moving on to hydrogen peroxide. Removing layered kitchen grime often takes more than one pass.
Step 5: Use 3% Hydrogen Peroxide for Stubborn Mold
Spray 3% hydrogen peroxide directly onto the remaining dark or black spots. Let it sit for 15 to 30 minutes. Hydrogen peroxide is an oxidizer that can lift deeper mold stains from caulk. After the dwell time, scrub gently with a soft brush and rinse. Keep it away from fabric and colored towels because it may cause bleaching.
Step 6: Dry the Caulk Completely
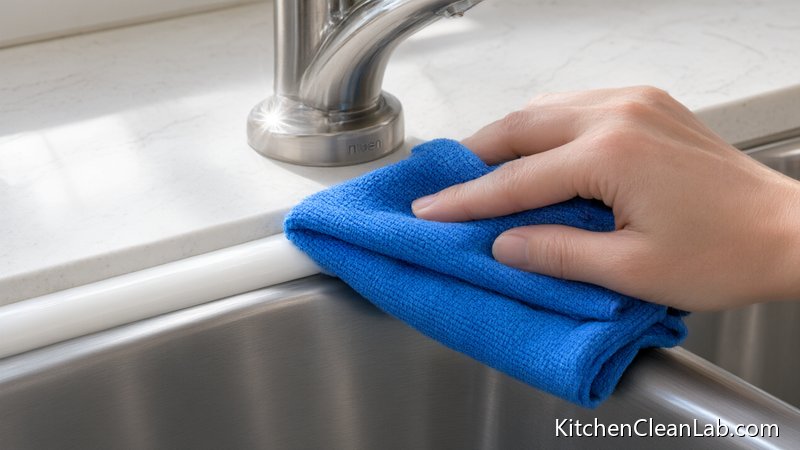
Dry the entire seam immediately with a microfiber cloth or paper towel. In humid kitchens, point a small fan at the sink for 20 minutes after cleaning. Mold cannot grow without moisture, so drying is the step that prevents rapid regrowth.
Natural Mold Cleaner Comparison for Sink Caulk
| Cleaner | Best Use | Dwell Time | Key Precautions |
|---|---|---|---|
| White vinegar | Routine mold and mildew on caulk | 15–30 minutes | Avoid prolonged contact with natural stone |
| Baking soda paste | Gentle scrubbing and odor control | 10 minutes | Rinse thoroughly to avoid gritty residue |
| 3% hydrogen peroxide | Stubborn black mold stains | 15–30 minutes | May bleach fabrics and some surfaces; test first |
| Commercial mold remover | Heavy staining on sealed caulk | Follow label | Ensure proper ventilation and check sink material compatibility |
When to Replace Kitchen Sink Caulk Instead of Cleaning
Replace kitchen sink caulk when mold remains after two cleaning attempts, when the caulk is cracked, peeling, or pulling away from the counter, or when stains return within days. Embedded mold grows behind the seam and cannot be scrubbed away from the front.
Caulk is porous enough that mold can grow through the back side of the bead and emerge again even after the surface looks clean. If the caulk has lost its bond, the sink seam is no longer waterproof, and scrubbing will not restore the seal.
- Cracks or gaps: Visible cracks, separation from the counter, or shrinking caulk allows water behind the bead.
- Persistent staining: Dark mold that reappears within one or two weeks after cleaning signals deeper growth.
- Soft or crumbling caulk: Caulk that feels mushy, brittle, or falls apart when touched should be replaced.
- Water under the sink: Moisture inside the sink base cabinet may indicate a failed seal or a plumbing leak.
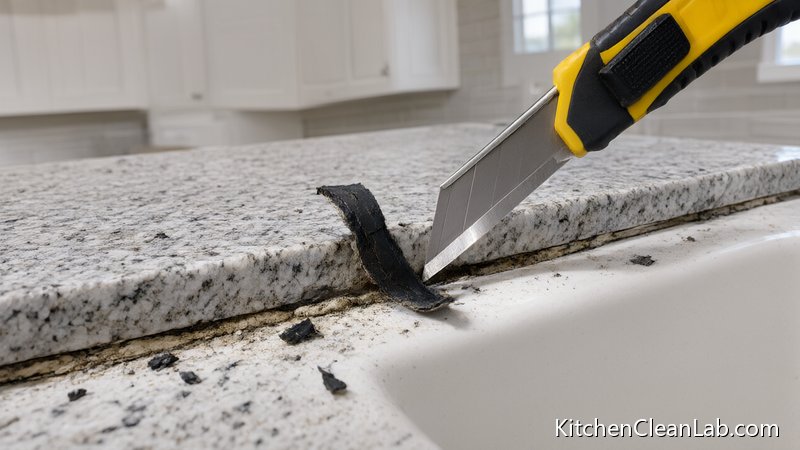
To replace the caulk, remove the old bead with a caulk removal tool or utility knife, then clean the joint with a damp cloth and allow it to dry completely. Use a mold-resistant kitchen and bath silicone sealant for the best moisture protection. If you find a leak or damage underneath the sink, address it before resealing.
How to Prevent Mold from Returning Around the Sink
Prevent caulk mold by reducing moisture and food residue at the sink. Wipe the caulk line dry after dishwashing, run the exhaust fan during steamy tasks, fix dripping faucets, and clean the seam with vinegar once a week to stop spores from taking hold.
The most reliable long-term strategy is moisture control. Even small changes in kitchen habits can keep the caulk line dry and starve mold before it starts.
- Wipe the caulk daily: After washing dishes or food prep, run a dry microfiber cloth along the caulk line and around the faucet base.
- Run the exhaust fan: Use the range hood or kitchen fan during dishwashing, boiling, and running the dishwasher if it releases steam.
- Fix drips quickly: A leaky faucet or loose handle can keep the caulk wet even when you are not using the sink.
- Clean with vinegar weekly: Spray the caulk once a week with white vinegar, wait 15 minutes, and wipe dry as a maintenance routine.
- Keep the seam clear: Avoid stacking wet sponges or cloths along the back of the sink where they touch the caulk.
Common Mistakes to Avoid When Cleaning Sink Caulk
The biggest mistakes are using bleach, mixing ammonia with bleach, scrubbing with wire brushes, and skipping the drying step. Bleach can degrade caulk and send moisture deeper, while abrasive tools scratch the seal and make the mold problem worse over time.
Many kitchens turn to harsh chemicals out of frustration, but aggressive cleaners often shorten the life of caulk and create a rougher surface that holds water. Avoiding these missteps will save time and protect the sink area.
- Do not use bleach as the default cleaner: Bleach may lighten mold on the surface, but it can weaken flexible caulk and may not kill mold below the surface.
- Never mix bleach and ammonia: This creates chloramine gas, which is dangerous to inhale.
- Avoid abrasive pads: Steel wool and scouring powders can etch the caulk and surrounding sink finish.
- Do not skip drying: Leaving the caulk wet after cleaning invites mold to return within days.
- Do not seal over mold: If caulk is heavily stained, remove it instead of covering it with new caulk. New caulk will not stick well and mold will continue to grow underneath.
Frequently Asked Questions About Sink Caulk Mold
Readers often ask whether bleach or vinegar works better, how to tell if caulk needs replacement, and how to handle mold behind the caulk. The short answer: start with vinegar or hydrogen peroxide, and replace caulk when staining persists or the seal is damaged.
Can I use bleach to clean moldy sink caulk?
Bleach may lighten surface mold quickly, but it is not ideal for kitchen sink caulk. It can weaken flexible caulk over time and does not reliably kill mold that has penetrated the porous material. If you use diluted bleach, ventilate the kitchen heavily and never mix it with ammonia, vinegar, or other cleaning agents.
Does white vinegar really kill mold on caulk?
White vinegar kills many common household mold species and works well on fresh surface mildew. For deeper black staining, use it with baking soda scrubbing or follow with 3% hydrogen peroxide. Vinegar is not a guaranteed sterilizer for all types of mold, so replacement may be necessary if the stain returns quickly.
How often should I clean kitchen sink caulk?
For prevention, spray the caulk with white vinegar once a week and wipe it dry. Deep clean visible mold as soon as it appears. If you are deep cleaning more than twice a month and mold keeps returning, inspect the caulk for cracks or check for an underlying leak.
What if mold is behind the caulk?
Mold behind the caulk usually means water has reached the joint between the sink and counter. Surface cleaning will not solve this. Remove the old caulk, clean and dry the gap completely, fix any leak or condensation source, and reseal with a mold-resistant kitchen and bath sealant. If there is water damage inside the cabinet, contact a professional.
Keep Kitchen Sink Caulk Mold-Free with a Simple Routine
A dry sink is the best long-term defense. After cleaning, wipe the caulk with a microfiber cloth, run the exhaust fan during dishwashing, and repeat a vinegar treatment weekly. These small habits prevent moisture from settling into the caulk and stop mold before it starts.
Effective caulk mold cleanup is not just about the strongest cleaner. It is about choosing the right method, protecting yourself, and changing the conditions that allowed mold to appear. When you keep the kitchen sink seam dry and inspect it regularly, you extend the life of the caulk and maintain a cleaner, healthier kitchen.